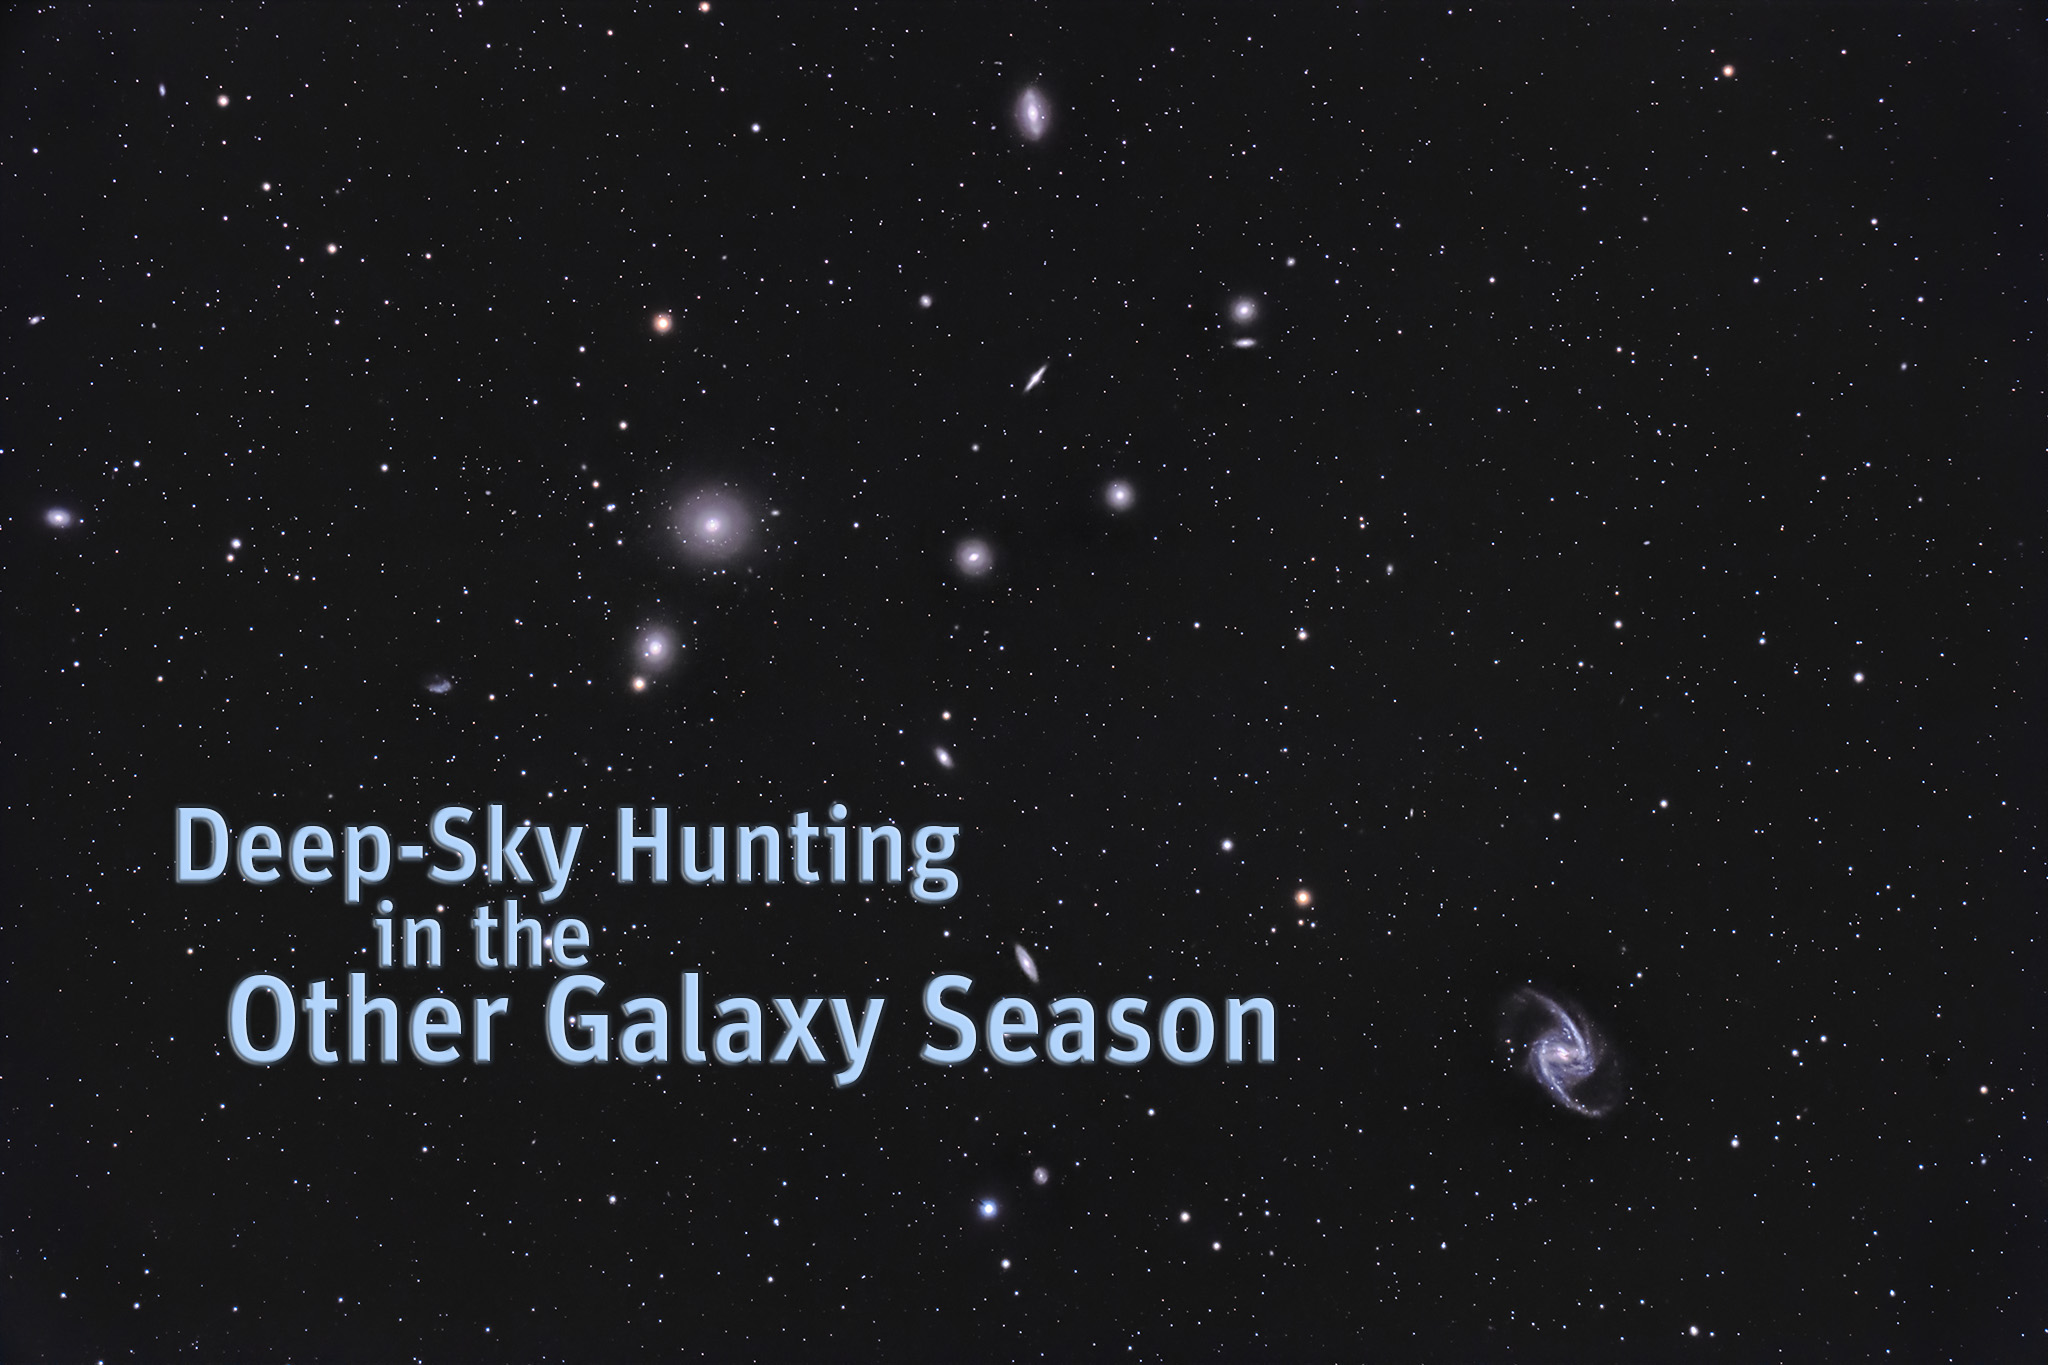
Amateur astronomers soon learn that spring is “galaxy season.” But so is autumn … if you know where to look.
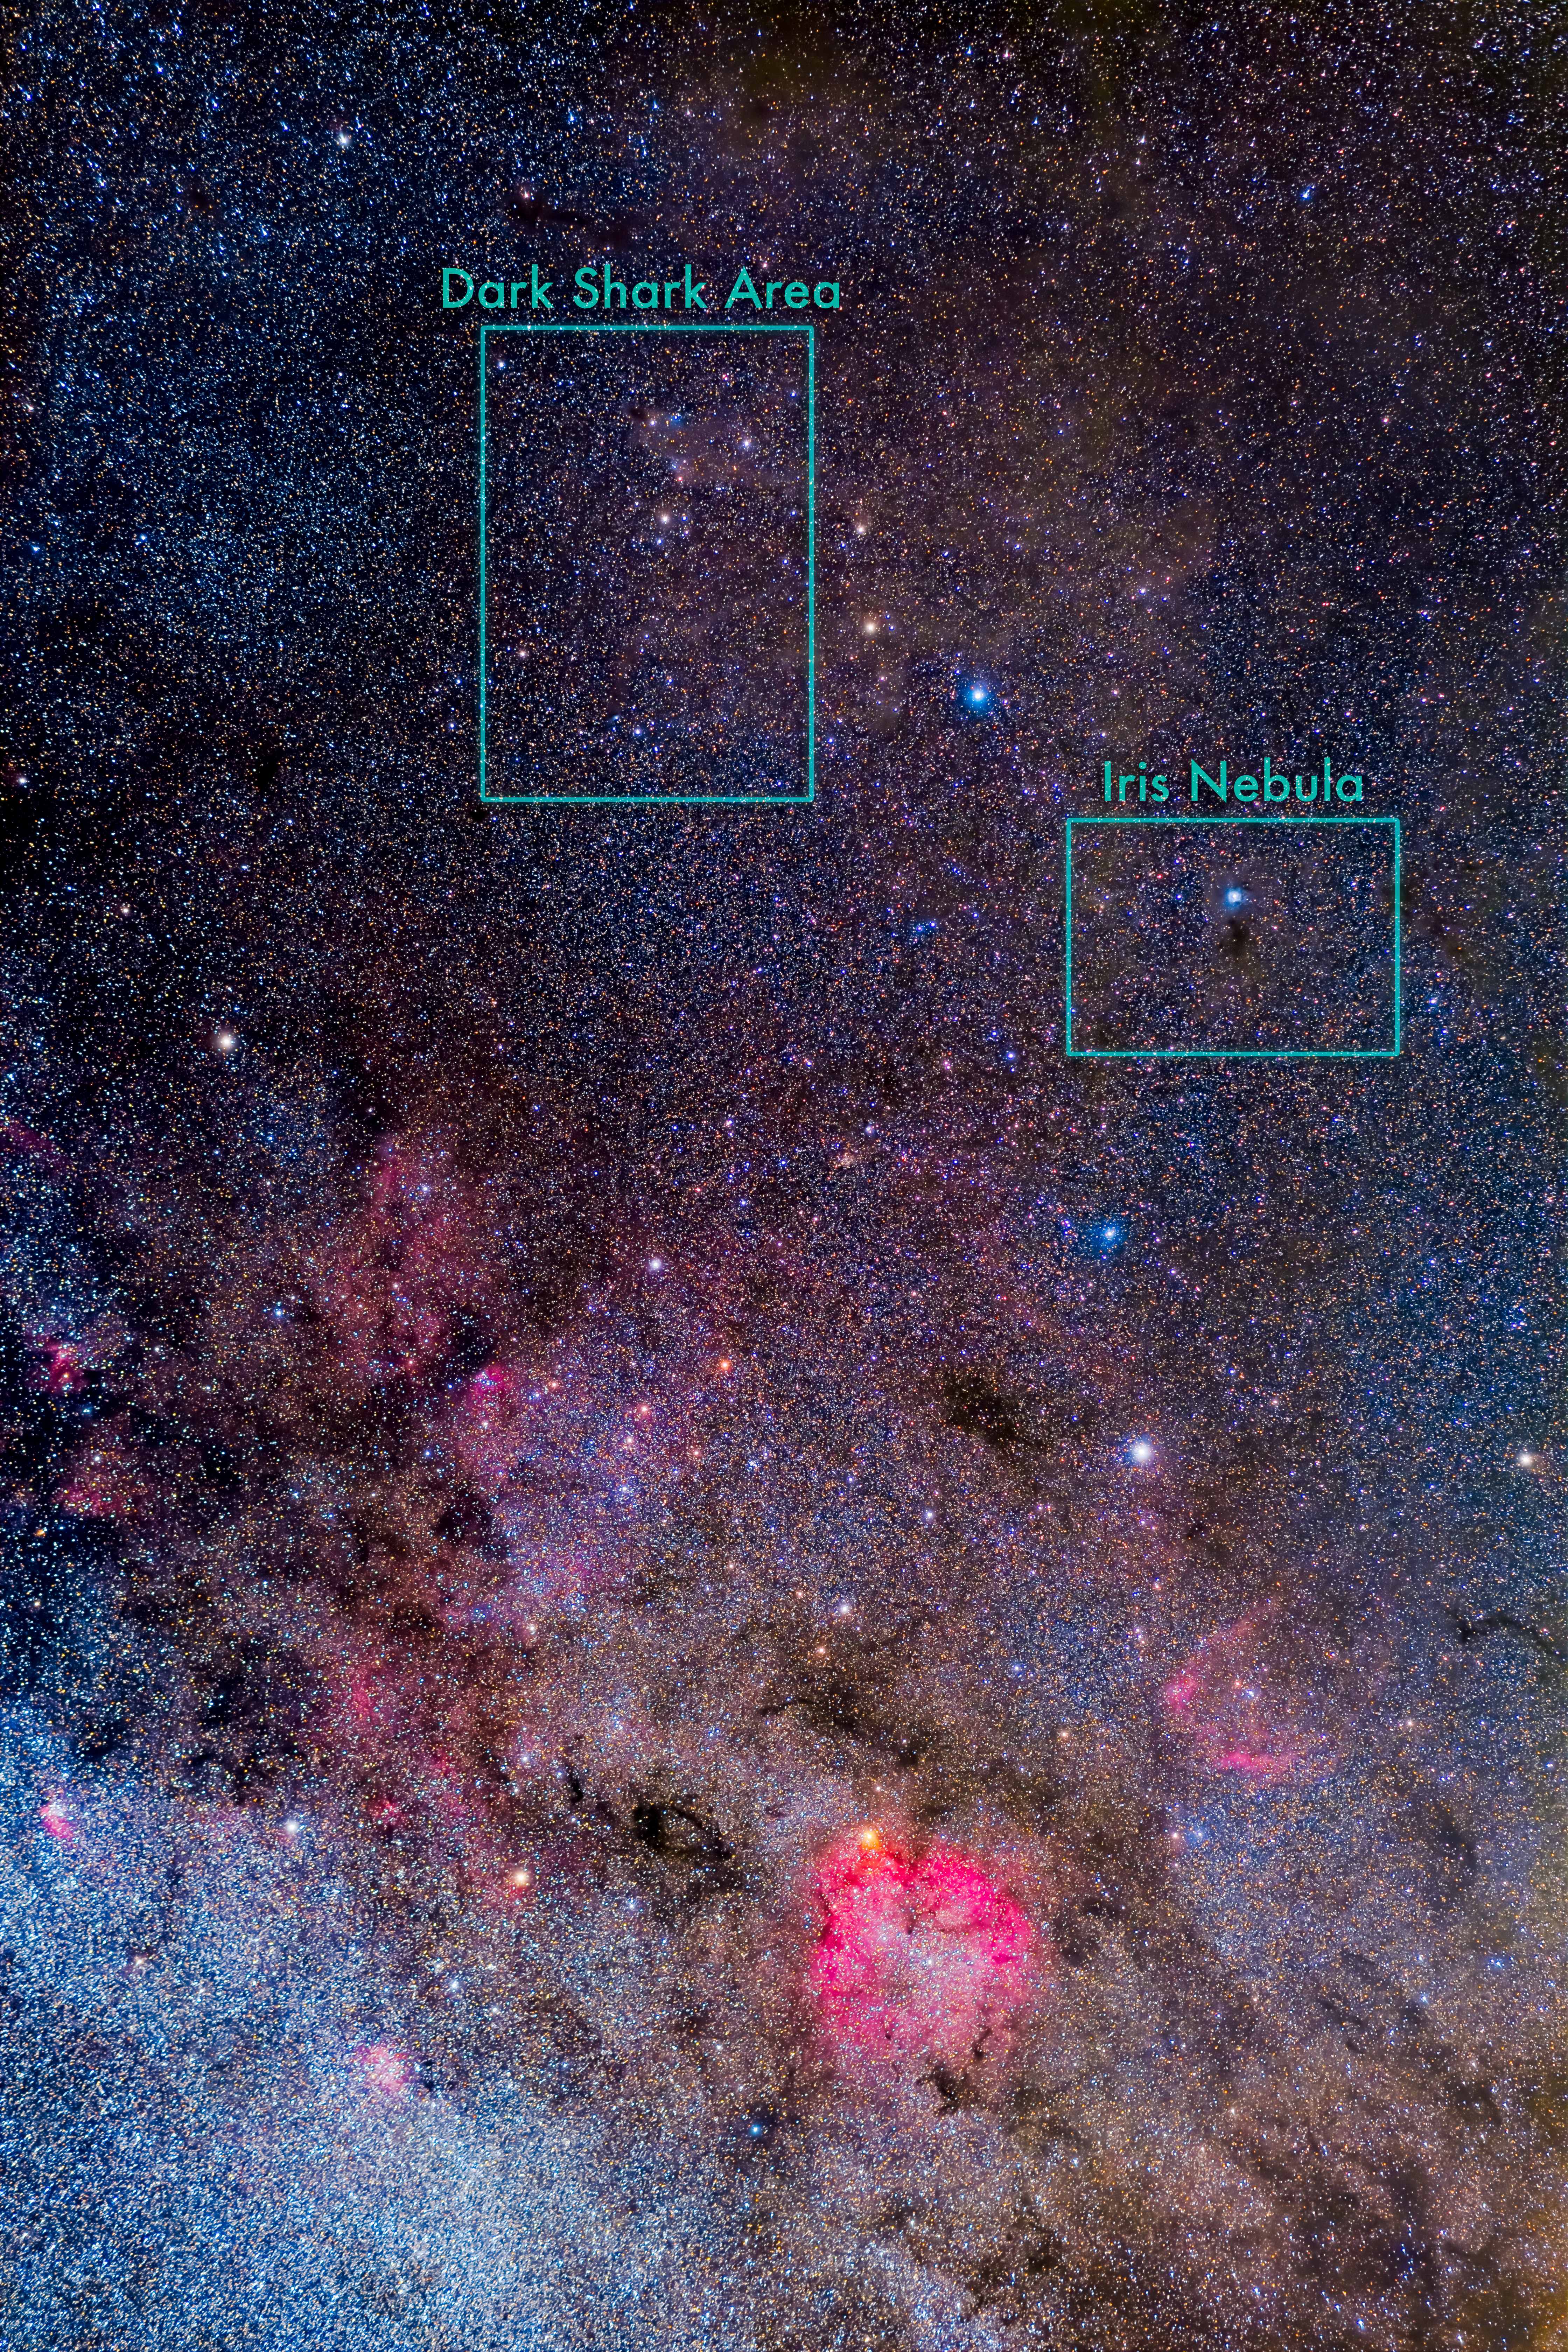
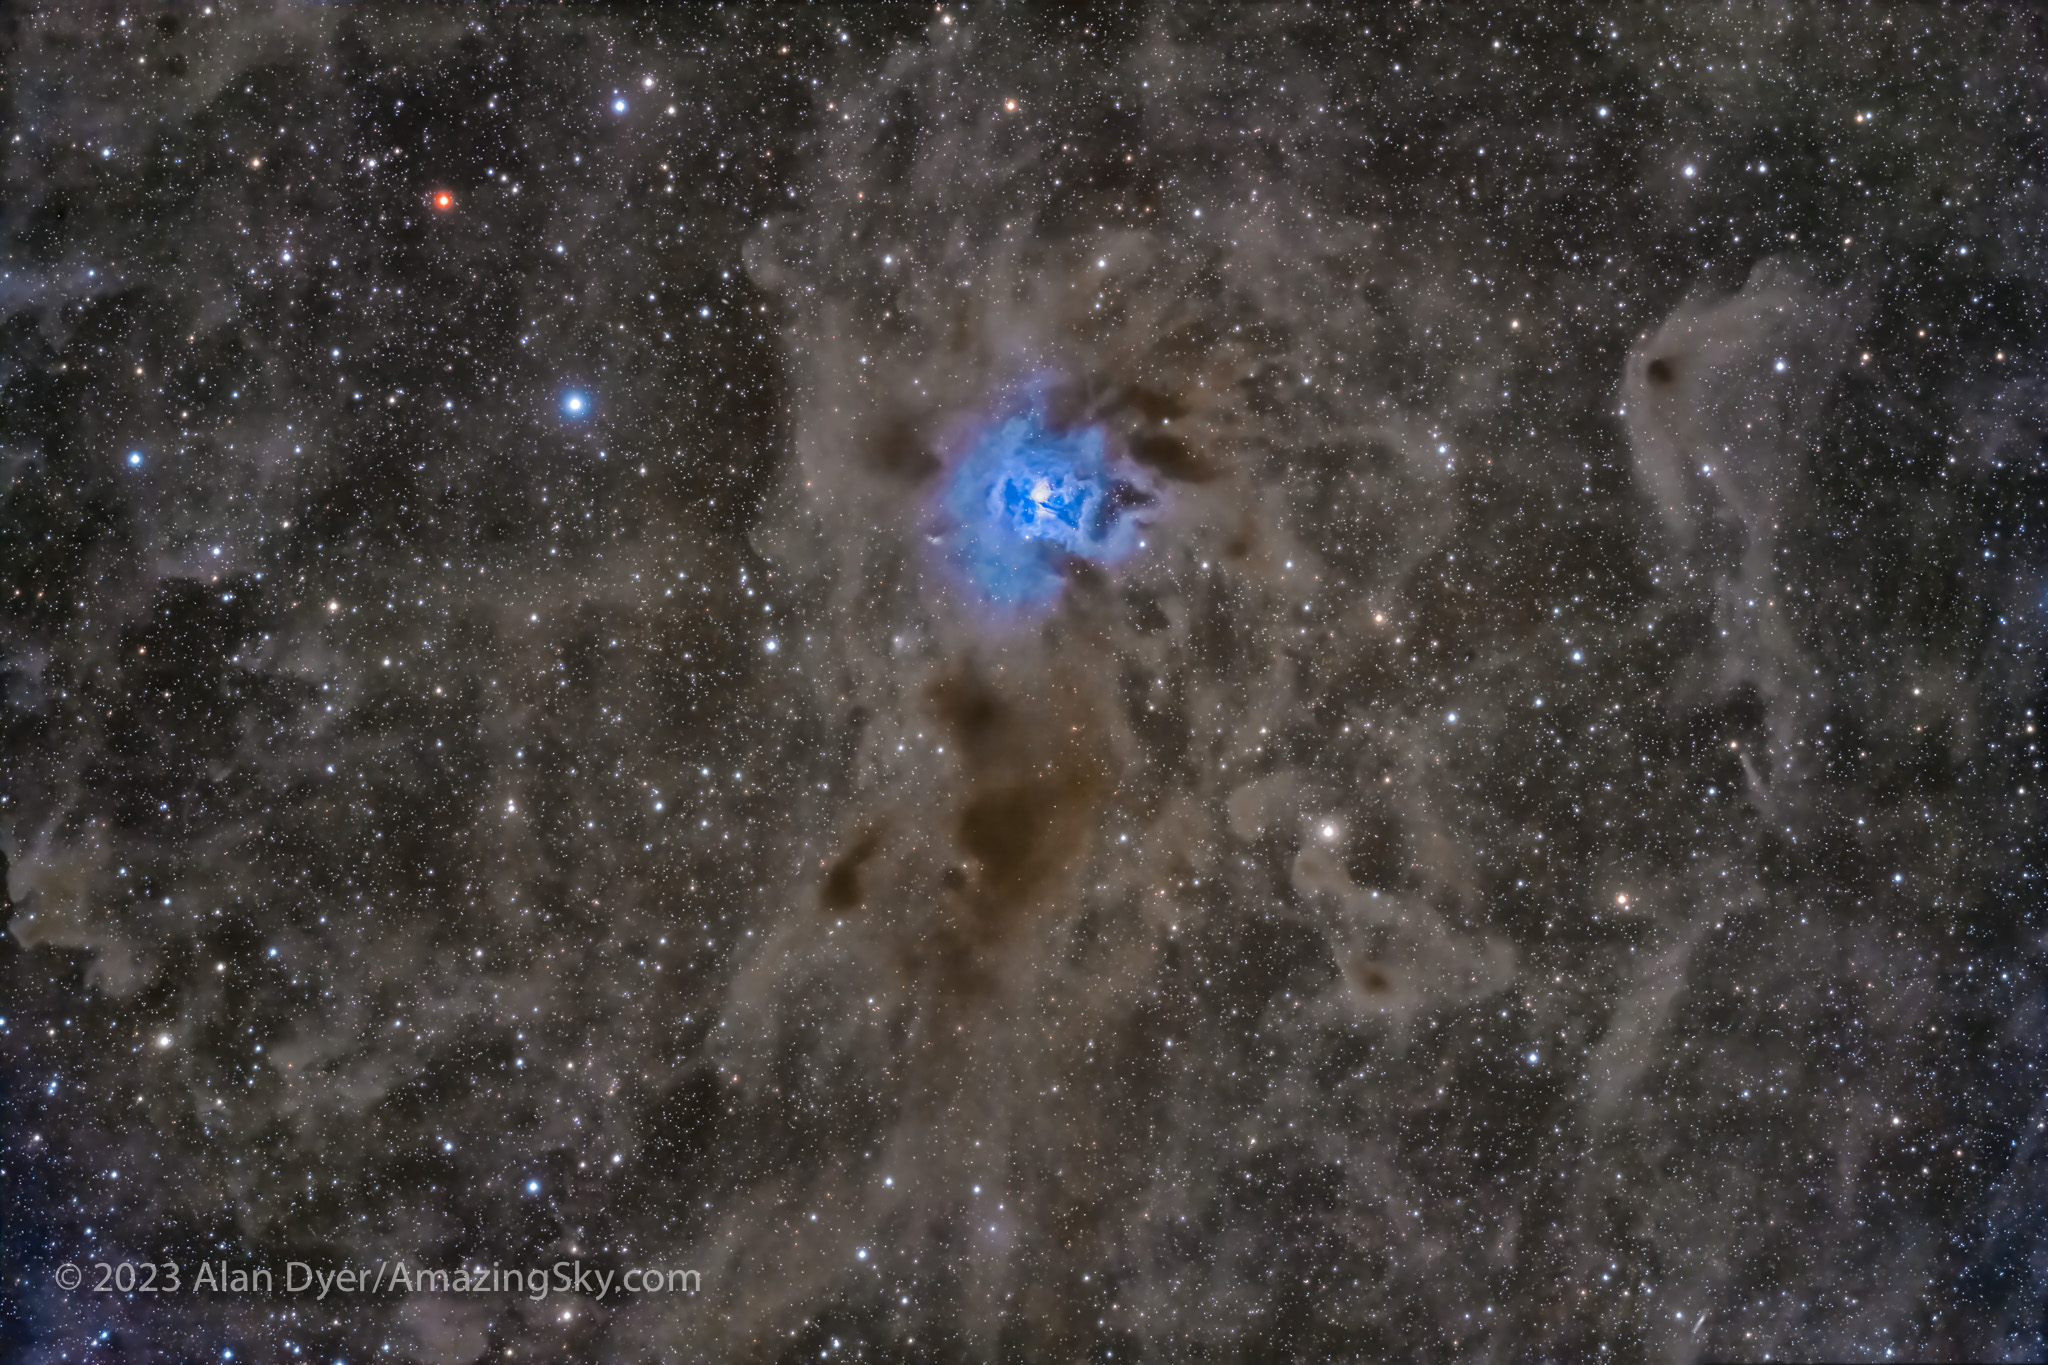
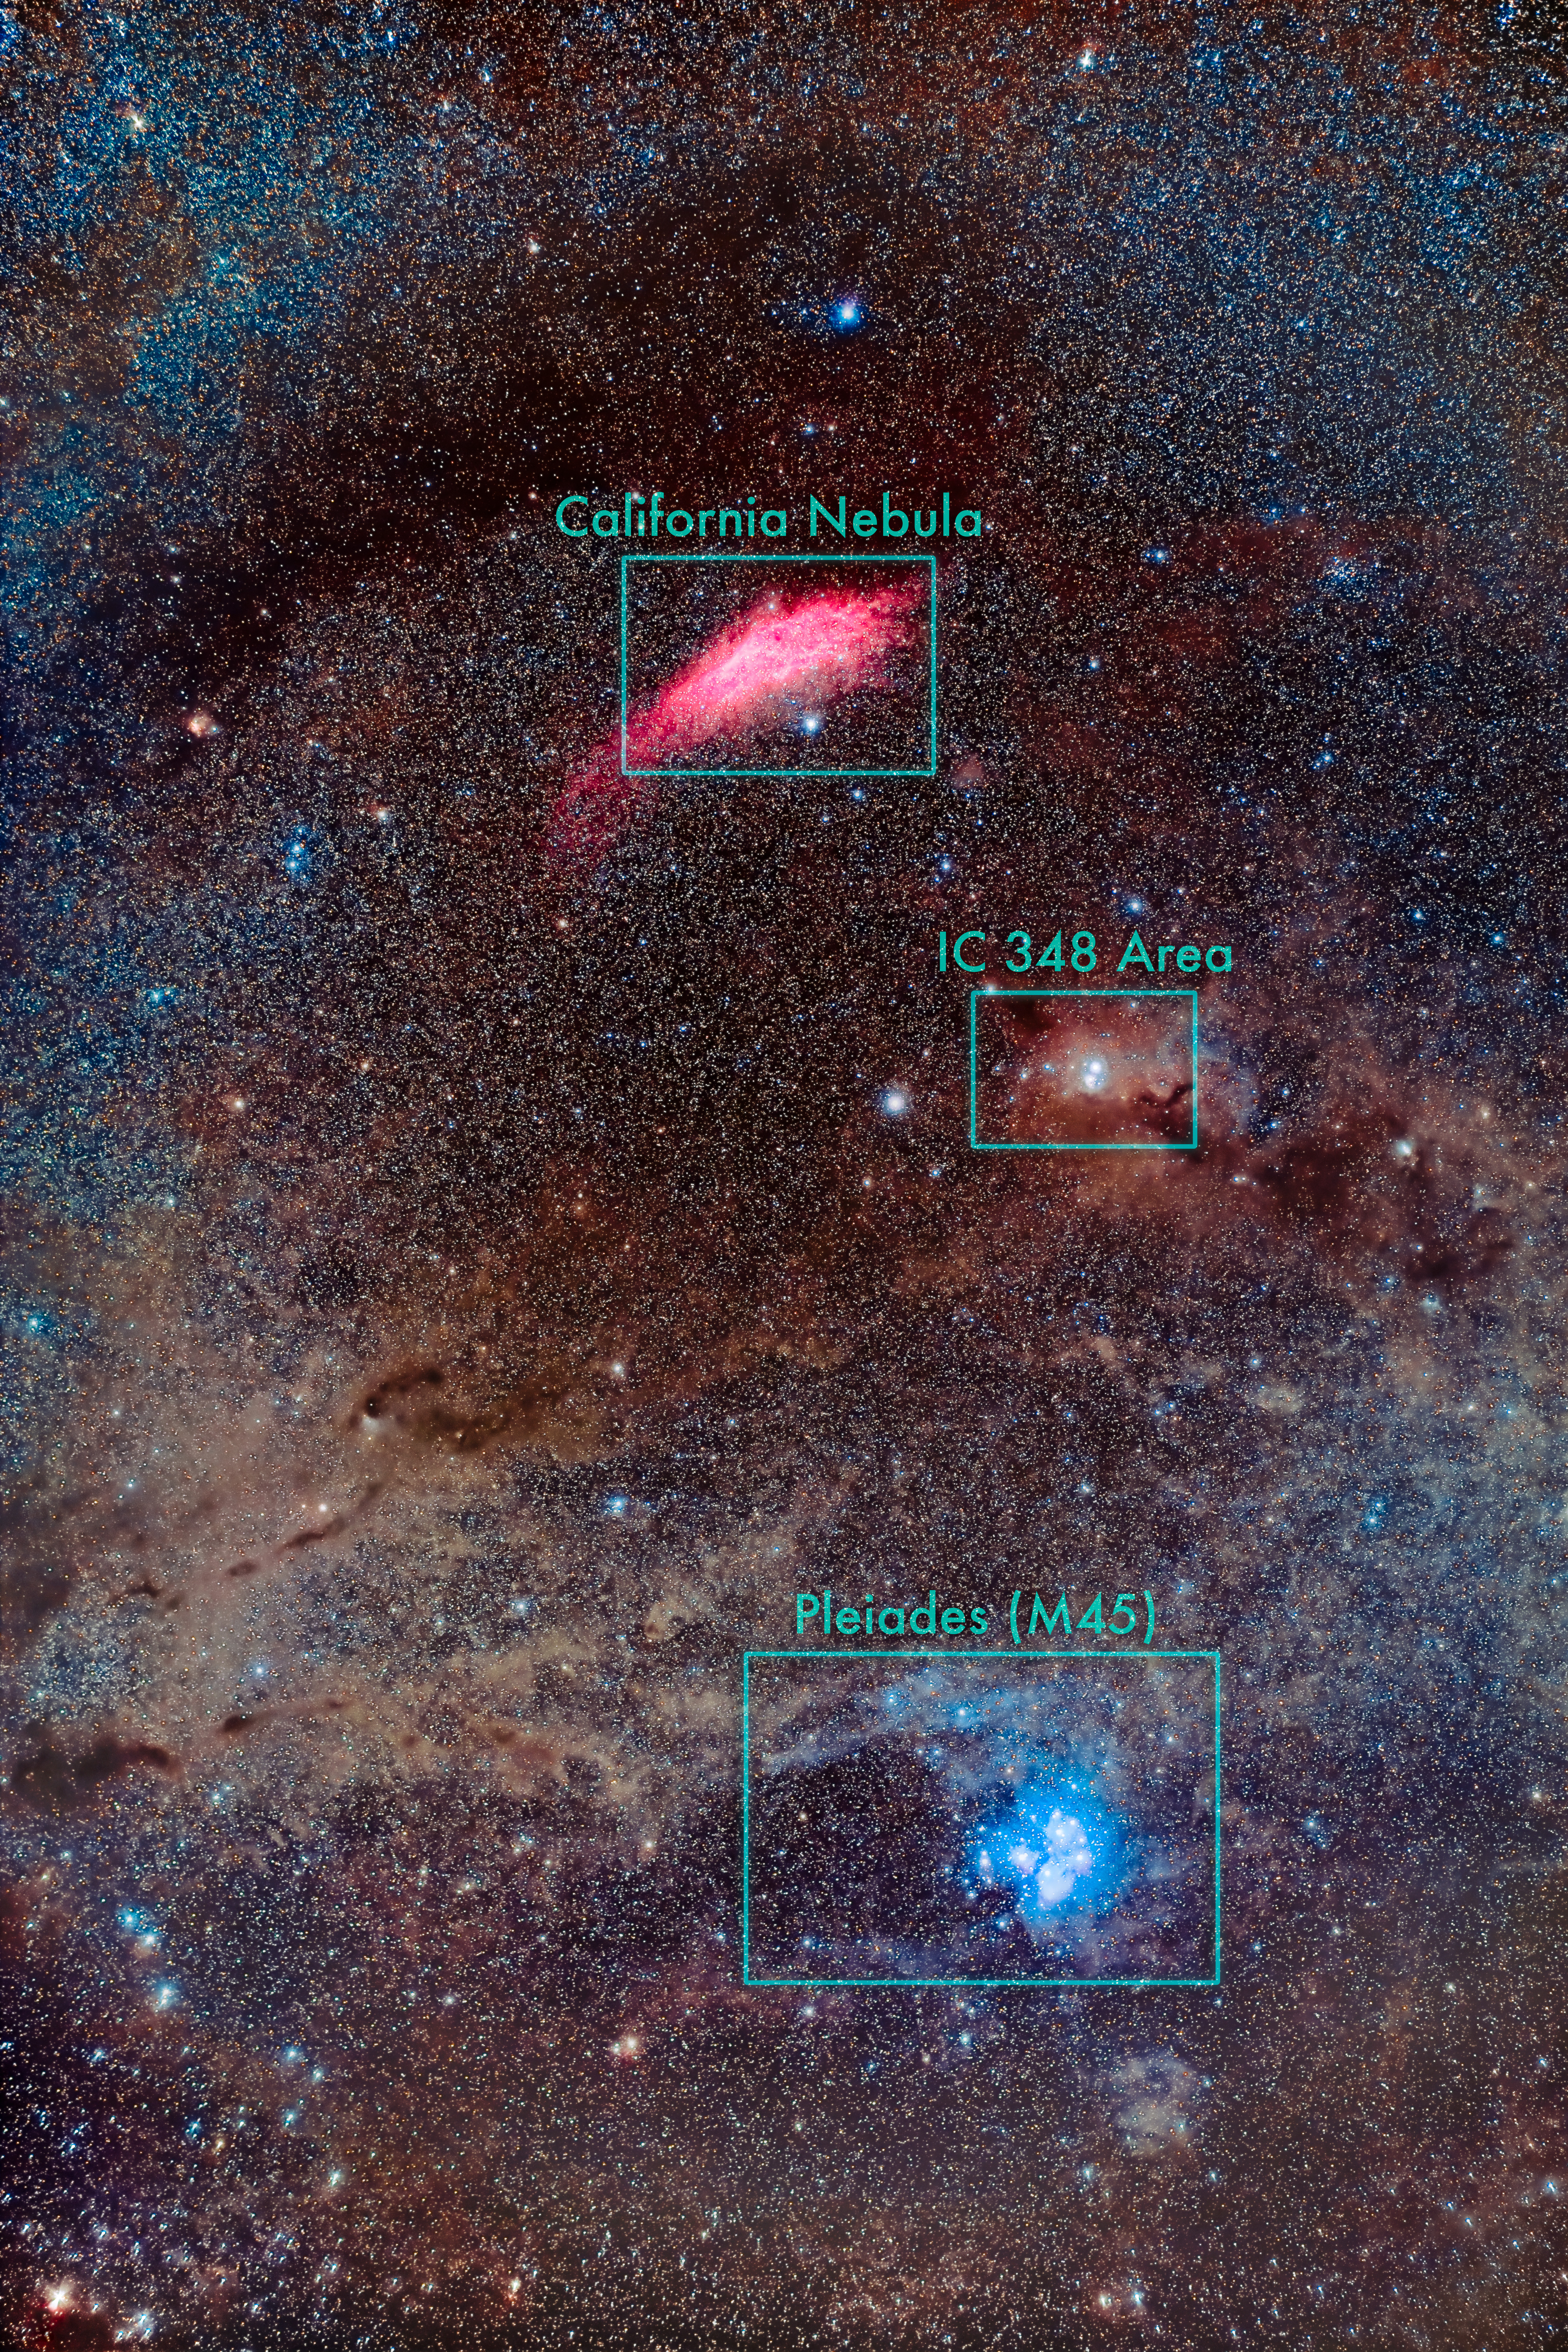
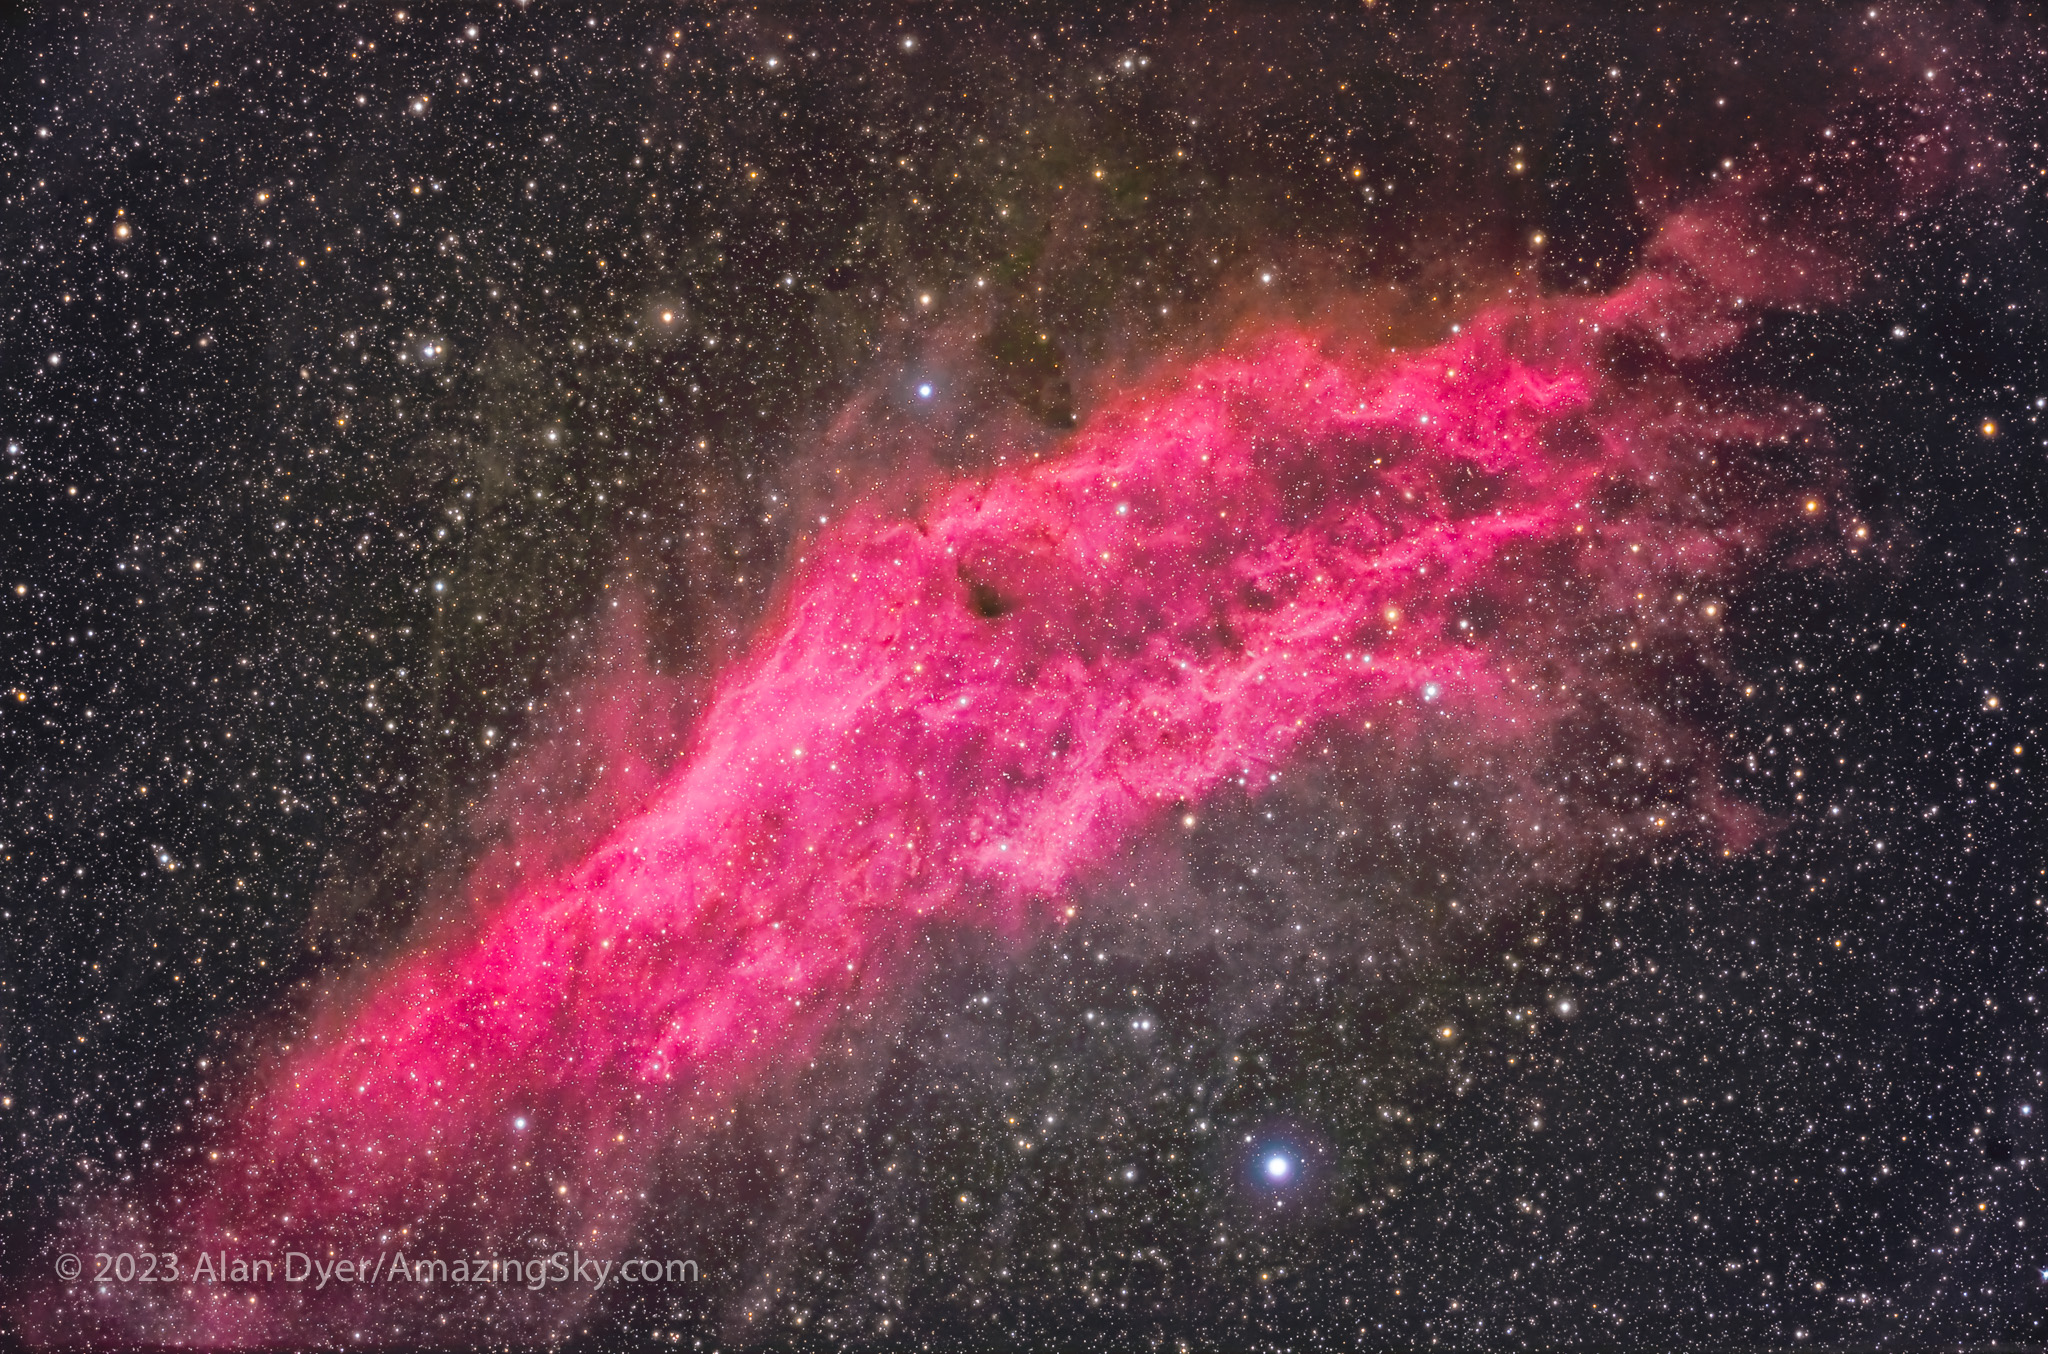
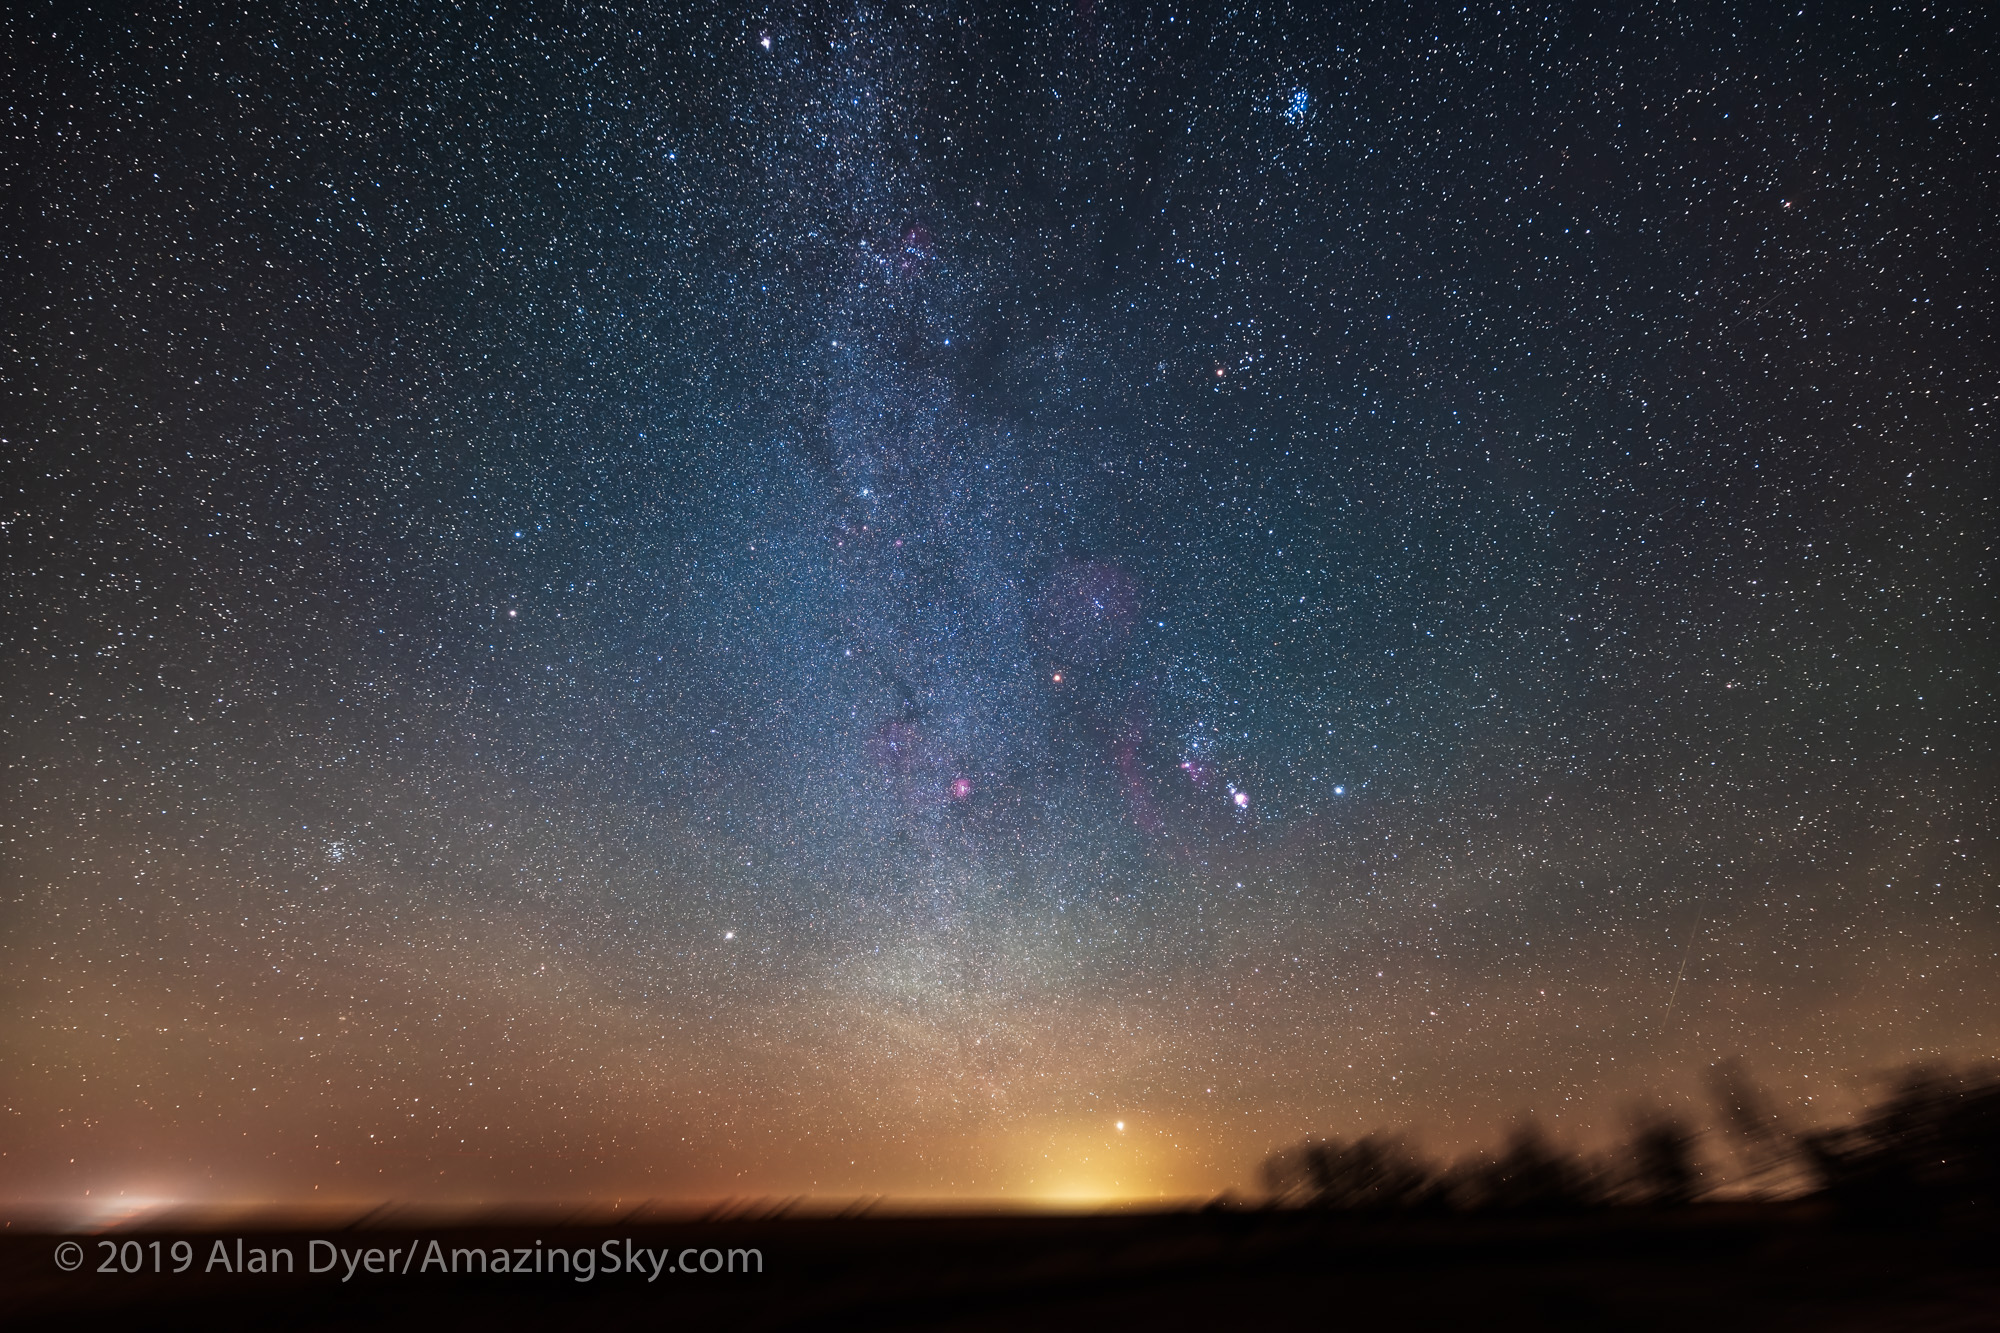
Each season brings a different and rich set of targets to view through telescopes. Summer and winter skies are dominated by the Milky Way and its assortment of glowing nebulas and sparkling star clusters, objects not far away within our Galaxy’s spiral arms.
We live in a galaxy that is a flattened disk — though, as shown in this artwork based on data from the European Space Agency’s recently concluded Gaia mission, that disk is warped.
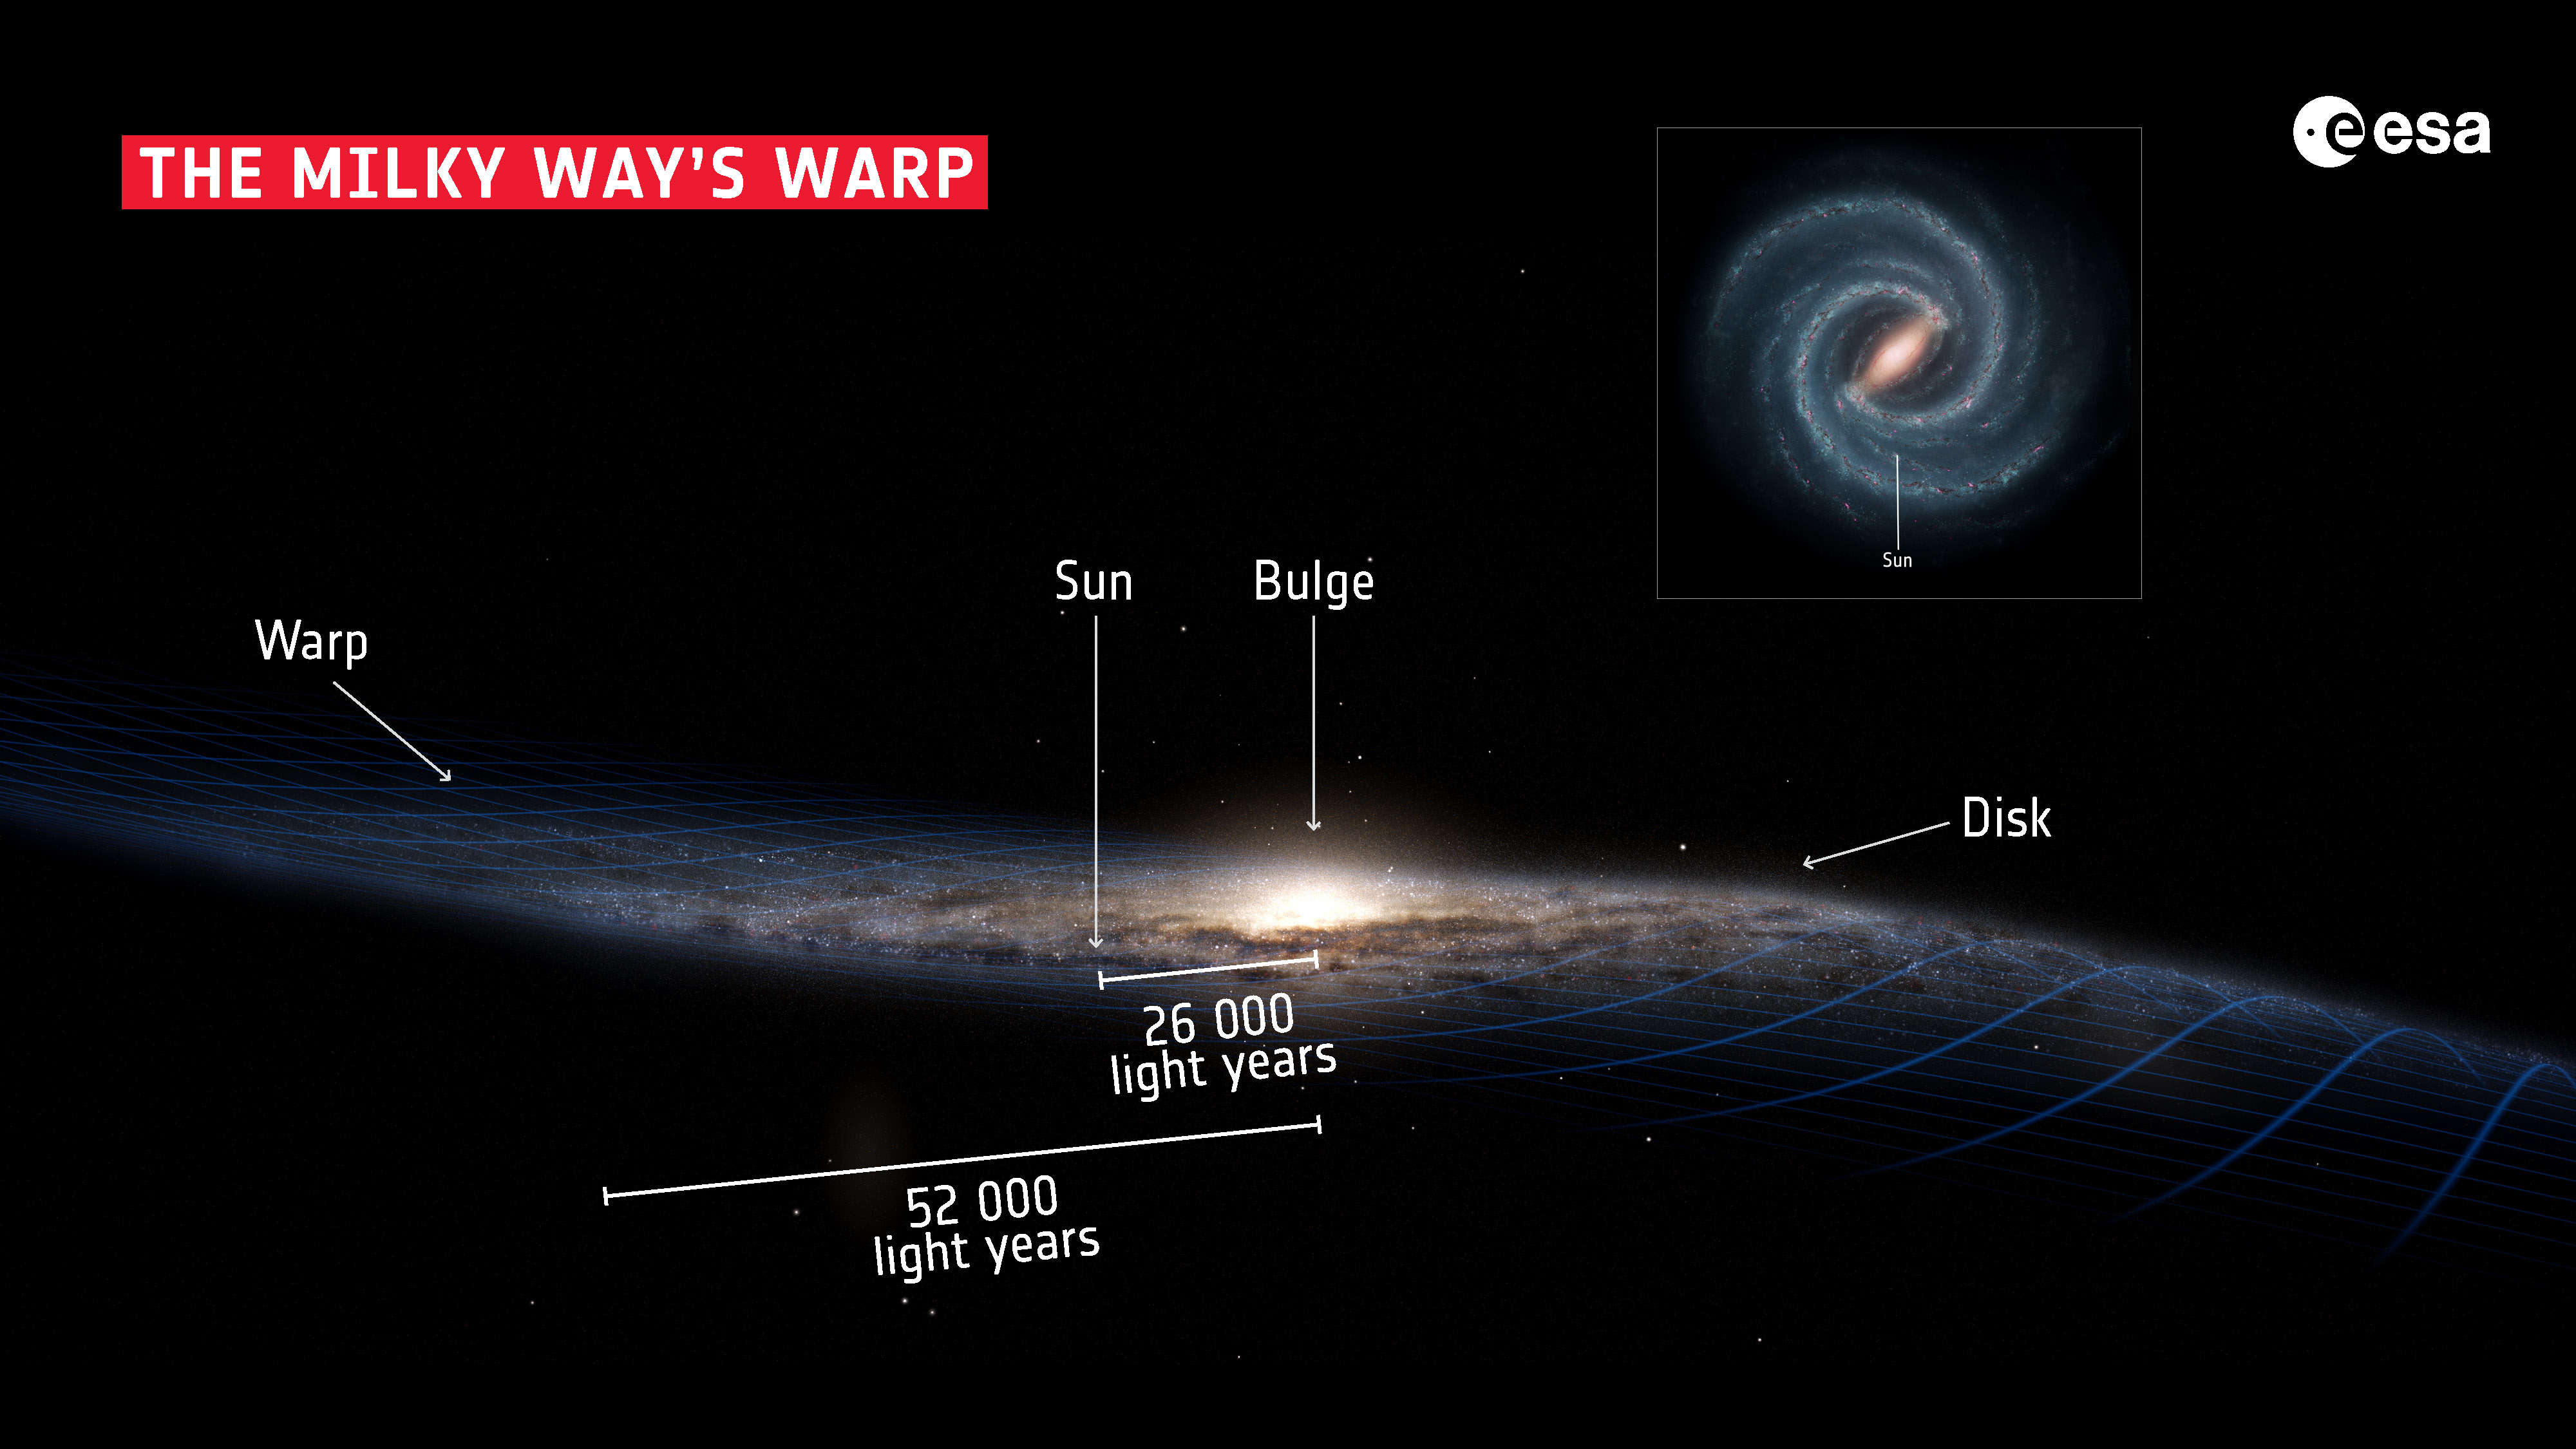
In summer and winter, as viewed from our location halfway from the centre to the edge of our Galaxy, we look into its disk, to see our Galaxy as the “Milky Way,” the misty band across the night sky.
But in spring we look straight out of the disk, into intergalactic space filled with other distant galaxies. In northern hemisphere spring we look “up” in this illustration, out of the disk toward the North Galactic Pole, and the rich collections of galaxies in Coma Berenices, Leo, and Virgo.
In southern hemisphere spring — and from the southern hemisphere — we look “down” in the diagram, toward the assortment of galaxies around the South Galactic Pole, in and around the lesser-known constellations of Eridanus, Fornax and Sculptor.
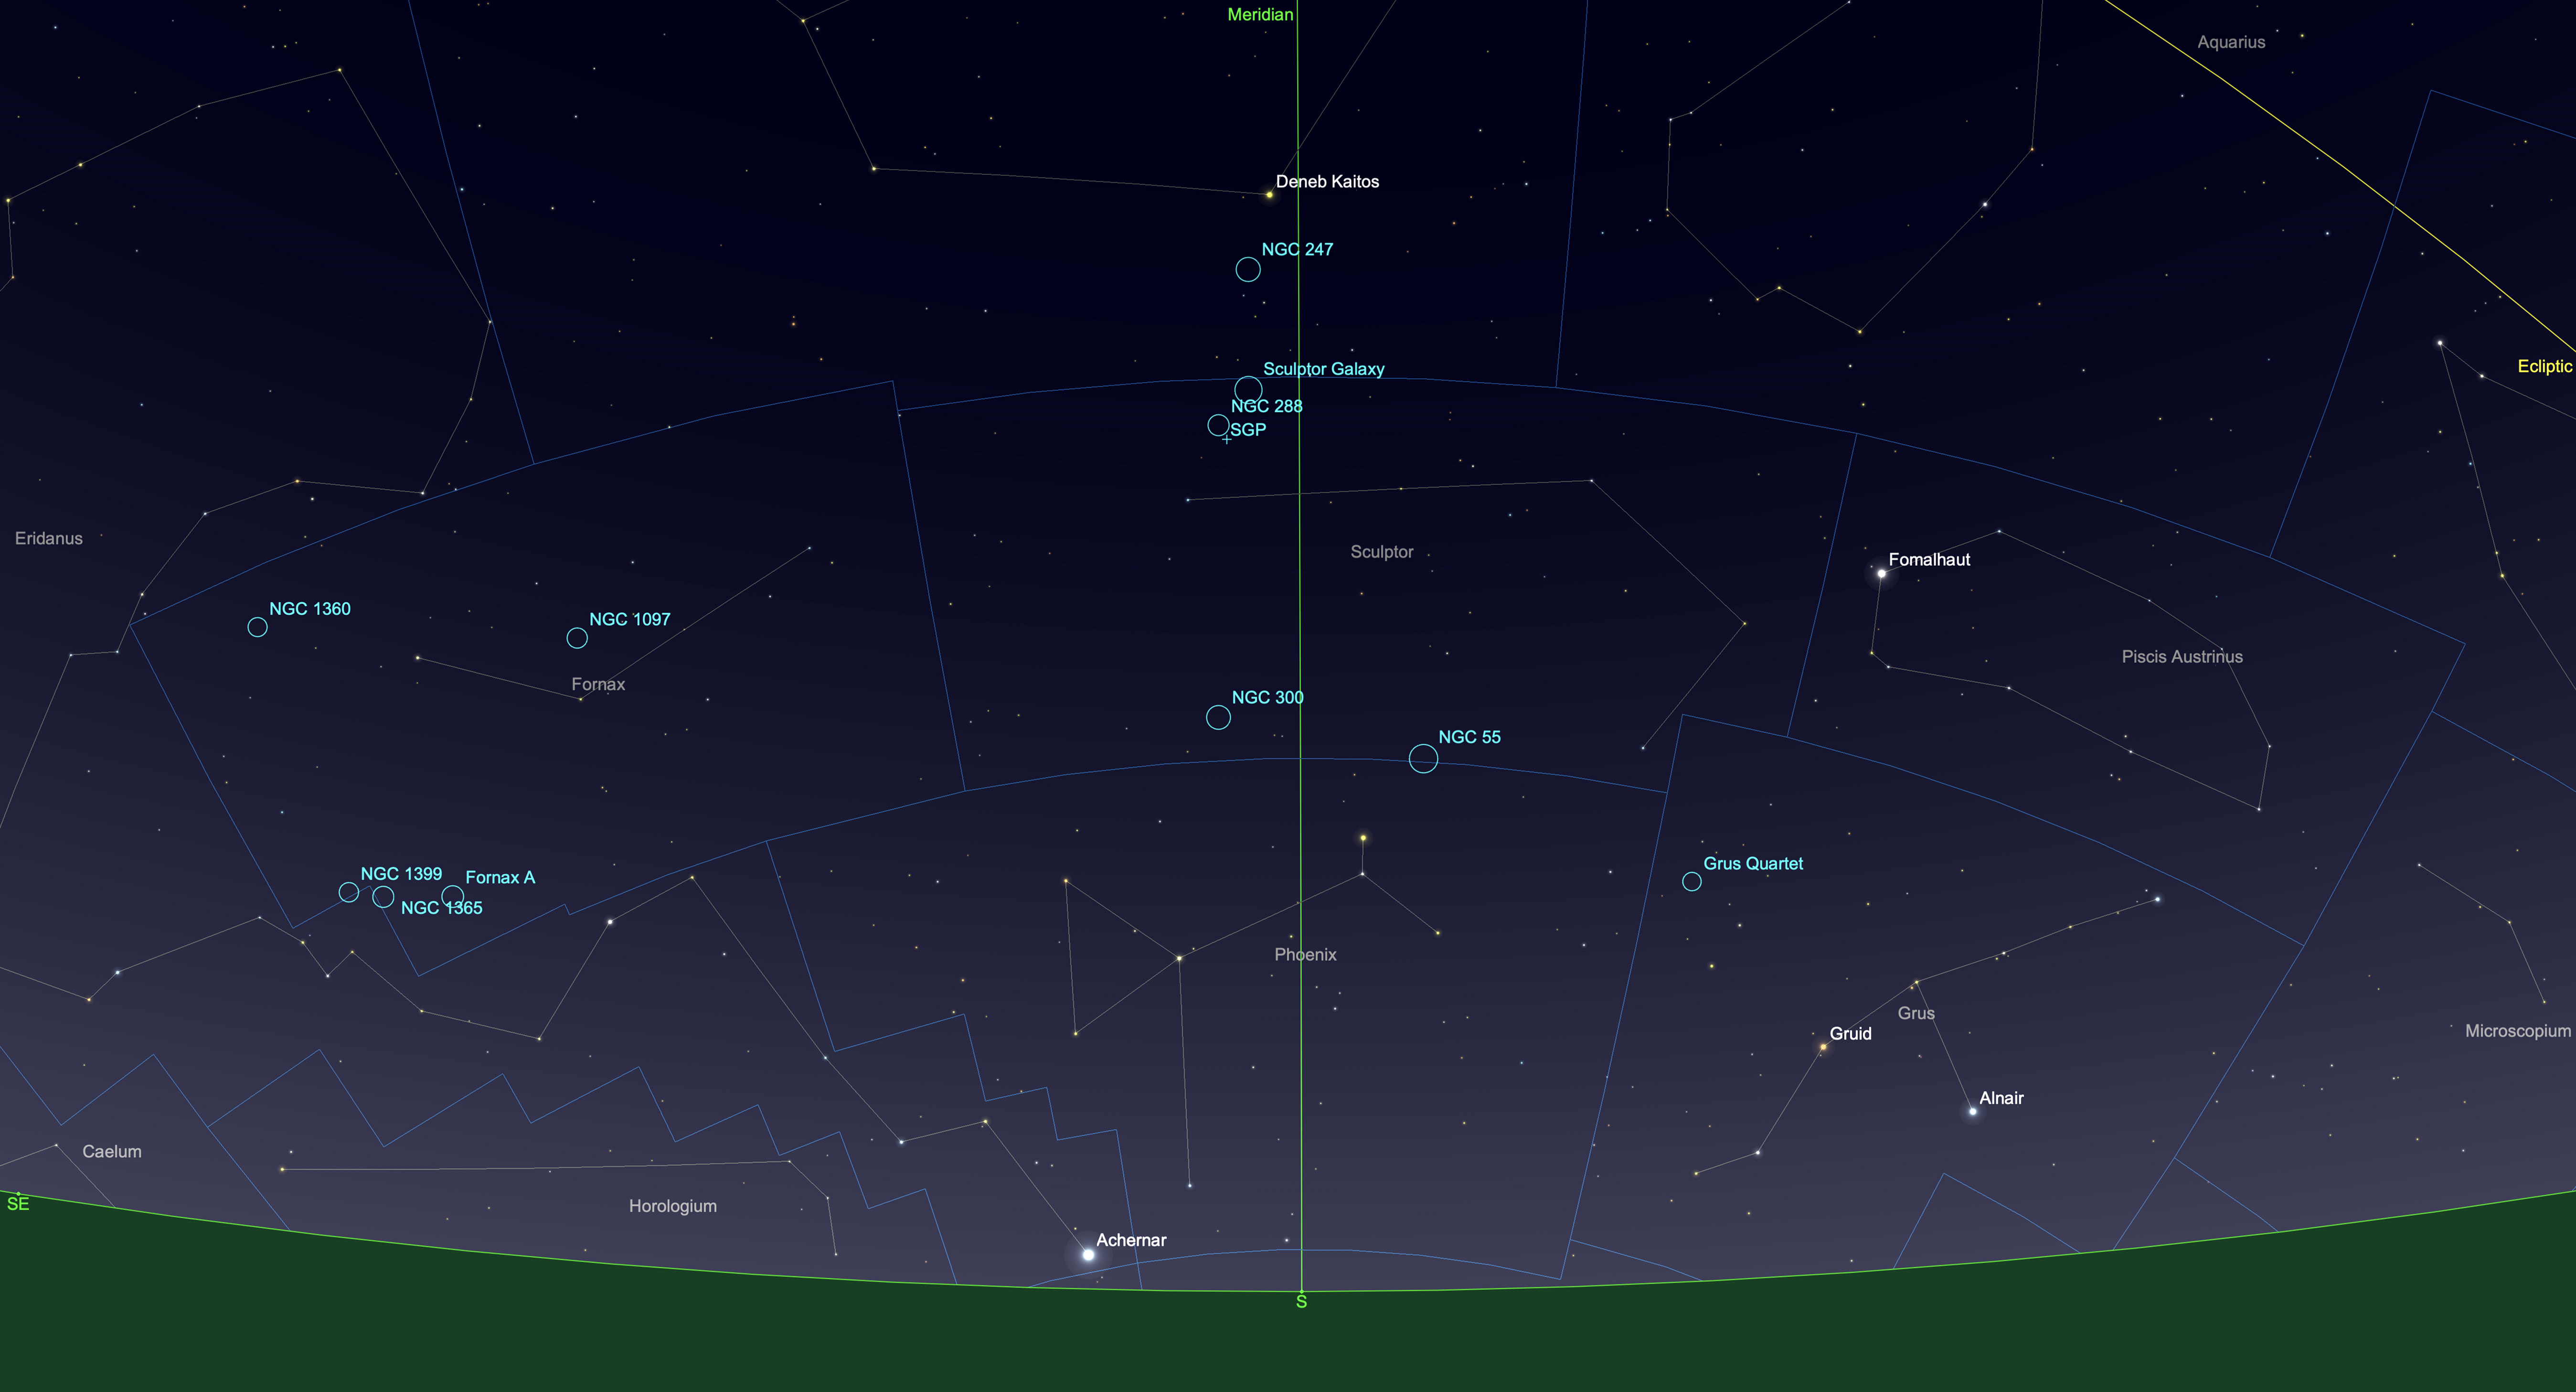
But, as I show above, that area of sky is accessible from sites in the northern hemisphere, when it is autumn. (The marker for SGP is the South Galactic Pole.) As you can see, the galaxy-filled constellations lie low in the southern sky. It takes travelling to a site as far south as possible to see them well.
That’s what I did in October 2024, to a favourite spot just north of the Mexican border near Portal, Arizona (latitude 32º N). I blogged about that trip earlier.
Here I provide a tour of some of the deep-sky delights I shot on that trip, during autumn “galaxy season,” the other galaxy hunting time. All these galaxies are bright, rivalling the better-known northern targets in the popular 18th-century Messier Catalogue. But French astronomer Charles Messier never observed from this far south to see them. And yet, some of these targets are large and bright enough to be visible in binoculars, ranking them as “showpiece” objects.
NOTE: You can tap or click on all images to bring them up full screen.
Galaxies Galore!
NGC 55 in Sculptor
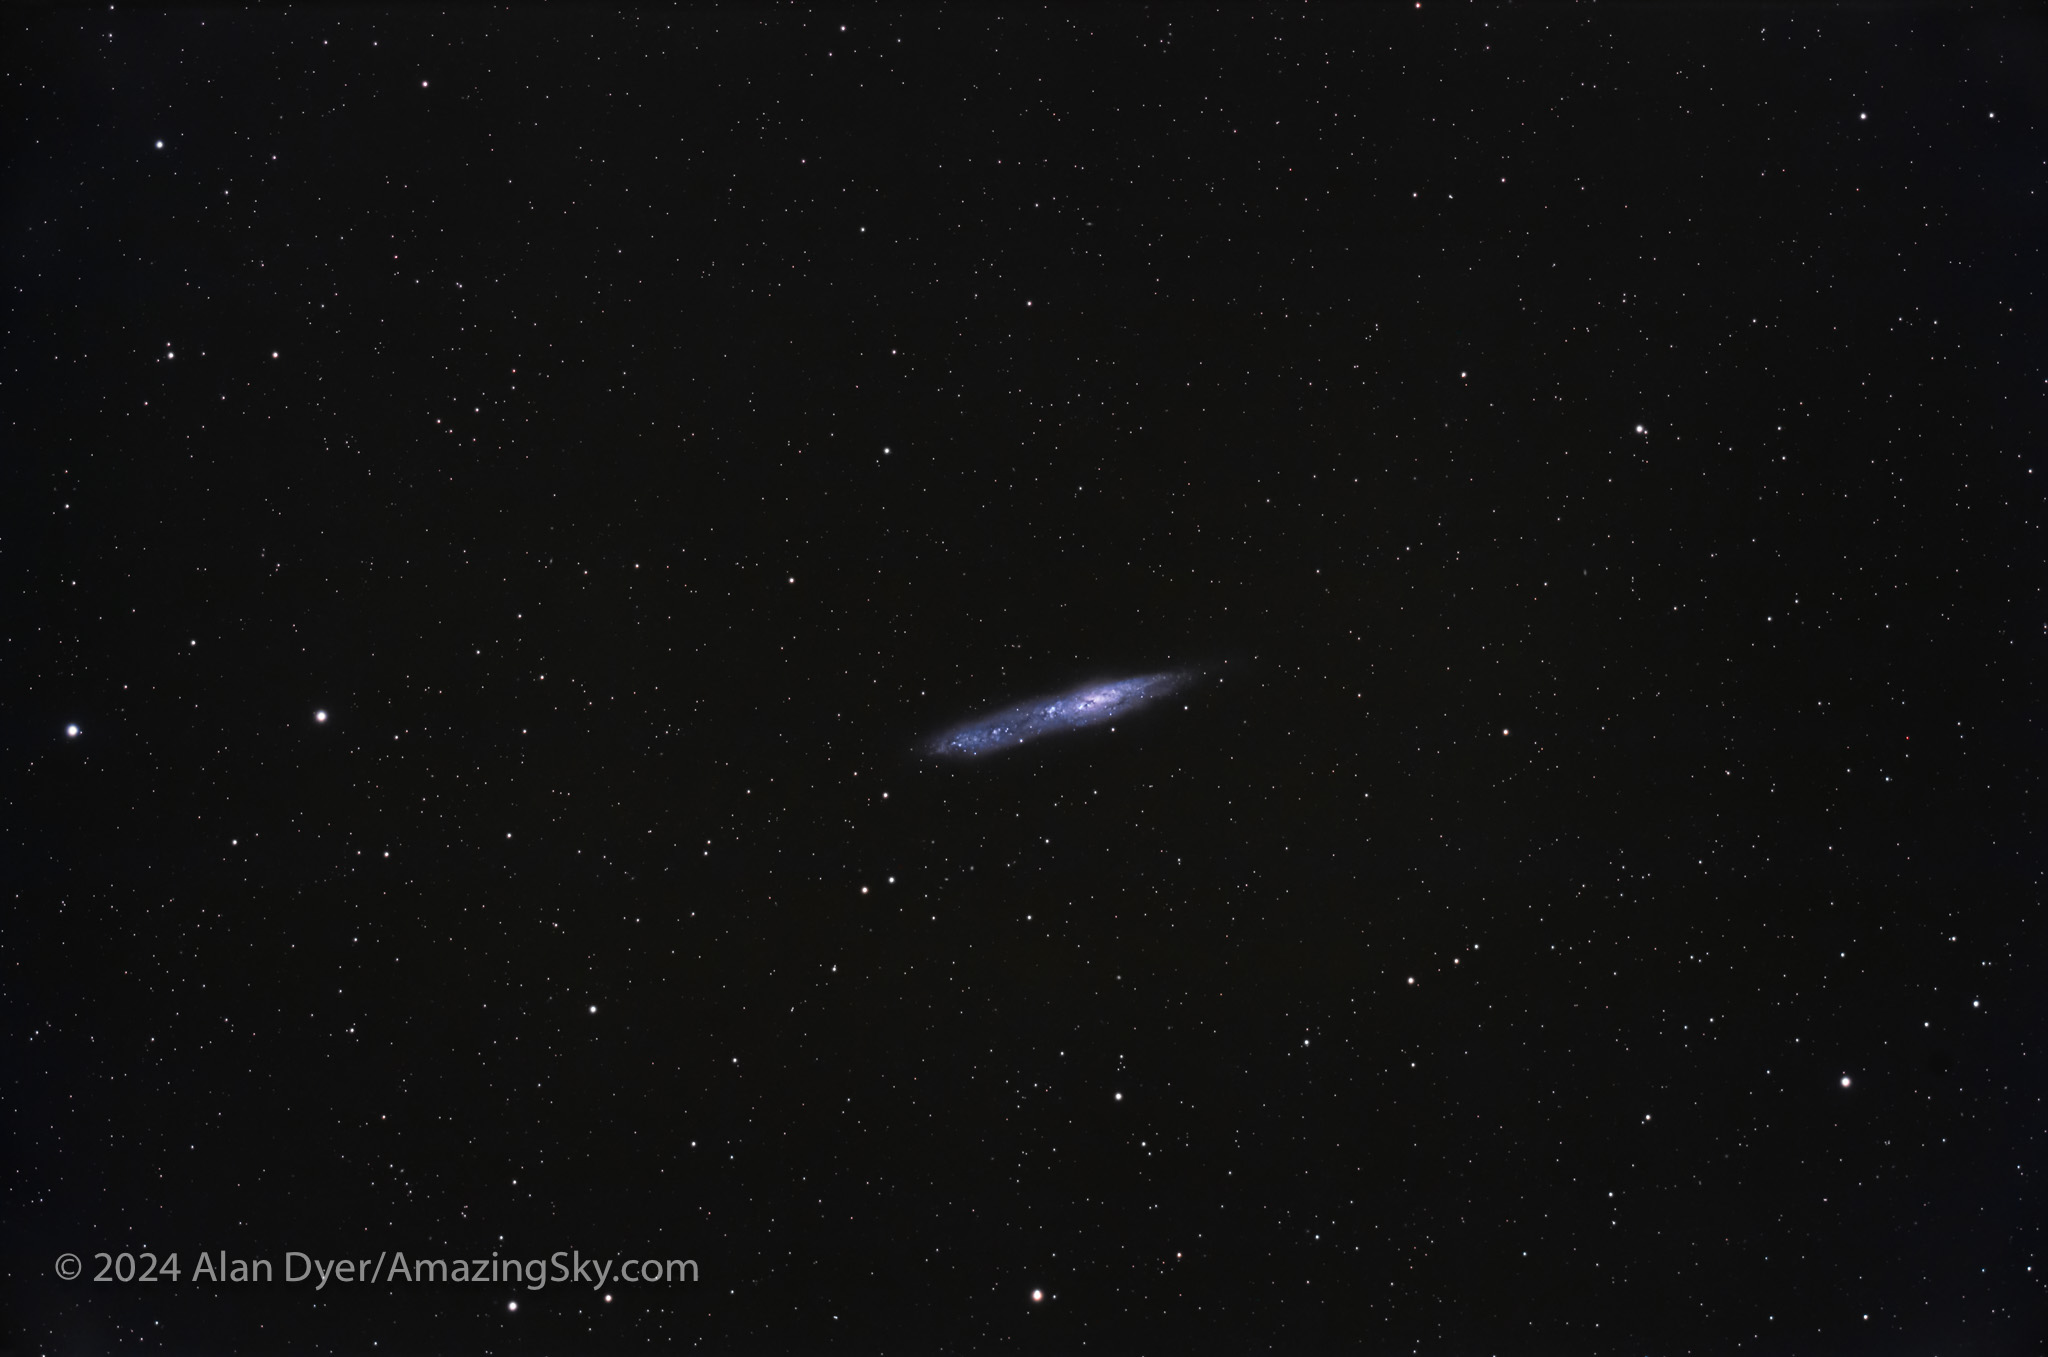
This bright (8th magnitude) edge-on galaxy is big, almost 1/2º across (as wide as a Full Moon diameter — the field here is 2º by 3º). NGC 55 lies on the border of the obscure southern constellations Sculptor and Phoenix.
The galaxy was discovered by James Dunlop from Australia in 1826. It is one of the brightest members of the Sculptor Group of galaxies near the South Galactic Pole, though some consider it a member of our own Local Group of neighbour galaxies. It has an asymmetrical shape and is crossed by dark dust lanes. It is classed as a barred spiral, though that shape is hard to discern; we’ll see better examples later in the tour.
NGC 247, the Dusty Spiral in Cetus

This is the bright (9th magnitude) and moderately large spiral galaxy NGC 247 in southern Cetus, the Whale. It is known as the Dusty Spiral and is #62 in Sir Patrick Moore’s Caldwell Catalogue of notable non-Messier objects.
It is also a member of the Sculptor Group of nearby galaxies close to our own Local Group that surrounds the Milky Way. A group of tiny and faint 14th to 16th magnitude “PGC” galaxies (from the Principal Galaxies Catalogue) called Burbidge’s Chain lies just above NGC 247.
NGC 253, the Silver Coin, with NGC 288, a Pairing in Sculptor
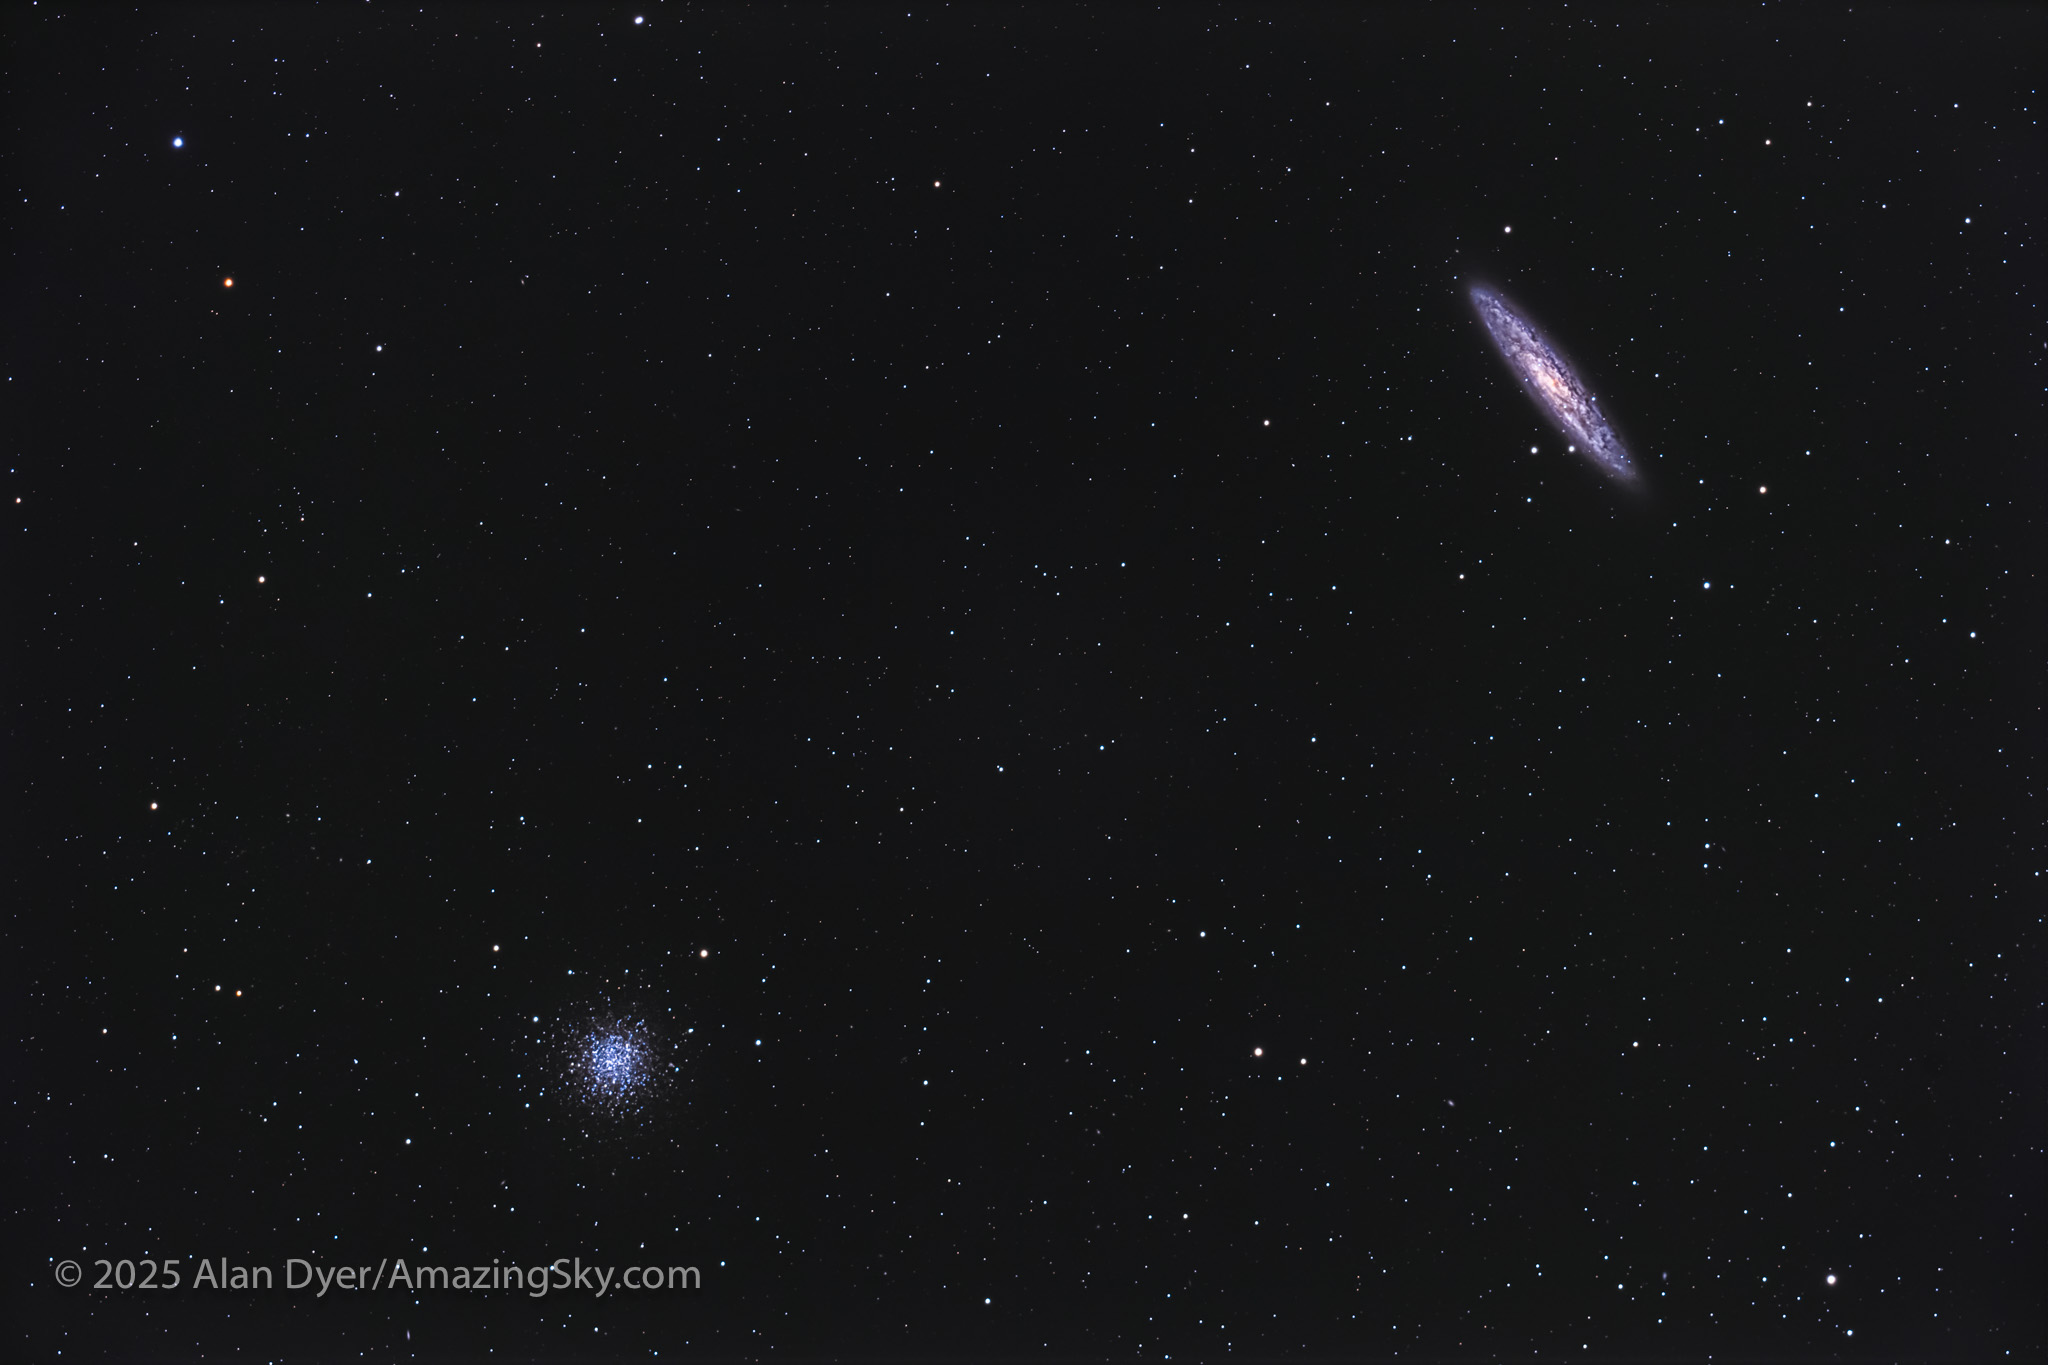
Here, sitting right next to the South Galactic Pole, we get a two-for-one field. This is the pairing of the bright and large edge-on spiral galaxy NGC 253 (upper right) with the large and loose globular star cluster NGC 288 (lower left). The latter is easily resolved into its constituent stars.
The two are just 1.75 degrees apart in Sculptor, but are actually 12 million light years apart in space, with NGC 288 belonging to our Milky Way, while NGC 253 is another galaxy altogether, one of the brightest in the sky (at magnitude 7) and a member of the Sculptor Group.
NGC 253 is also known as the Silver Coin Galaxy, and is Caldwell 65 on Sir Patrick Moore’s list. However, it was discovered by Caroline Herschel in 1783, from England! Her brother William discovered nearby NGC 288.
NGC 300, the Sculptor Pinwheel

This is the bright (8th magnitude) and moderately large (1/2º across) spiral galaxy NGC 300, aka the Sculptor Pinwheel. It’s the southern equivalent of the popular Messier 33 spiral in Triangulum. NGC 300 is also Caldwell 70.
It, too, was discovered in 1826 by James Dunlop. NGC 300 may be a member of the Sculptor Group. Or it might lie closer to us than the Sculptor Group, along with NGC 55, at “only” 6.5 million light years away.
NGC 1097, a Barred Spiral in Fornax
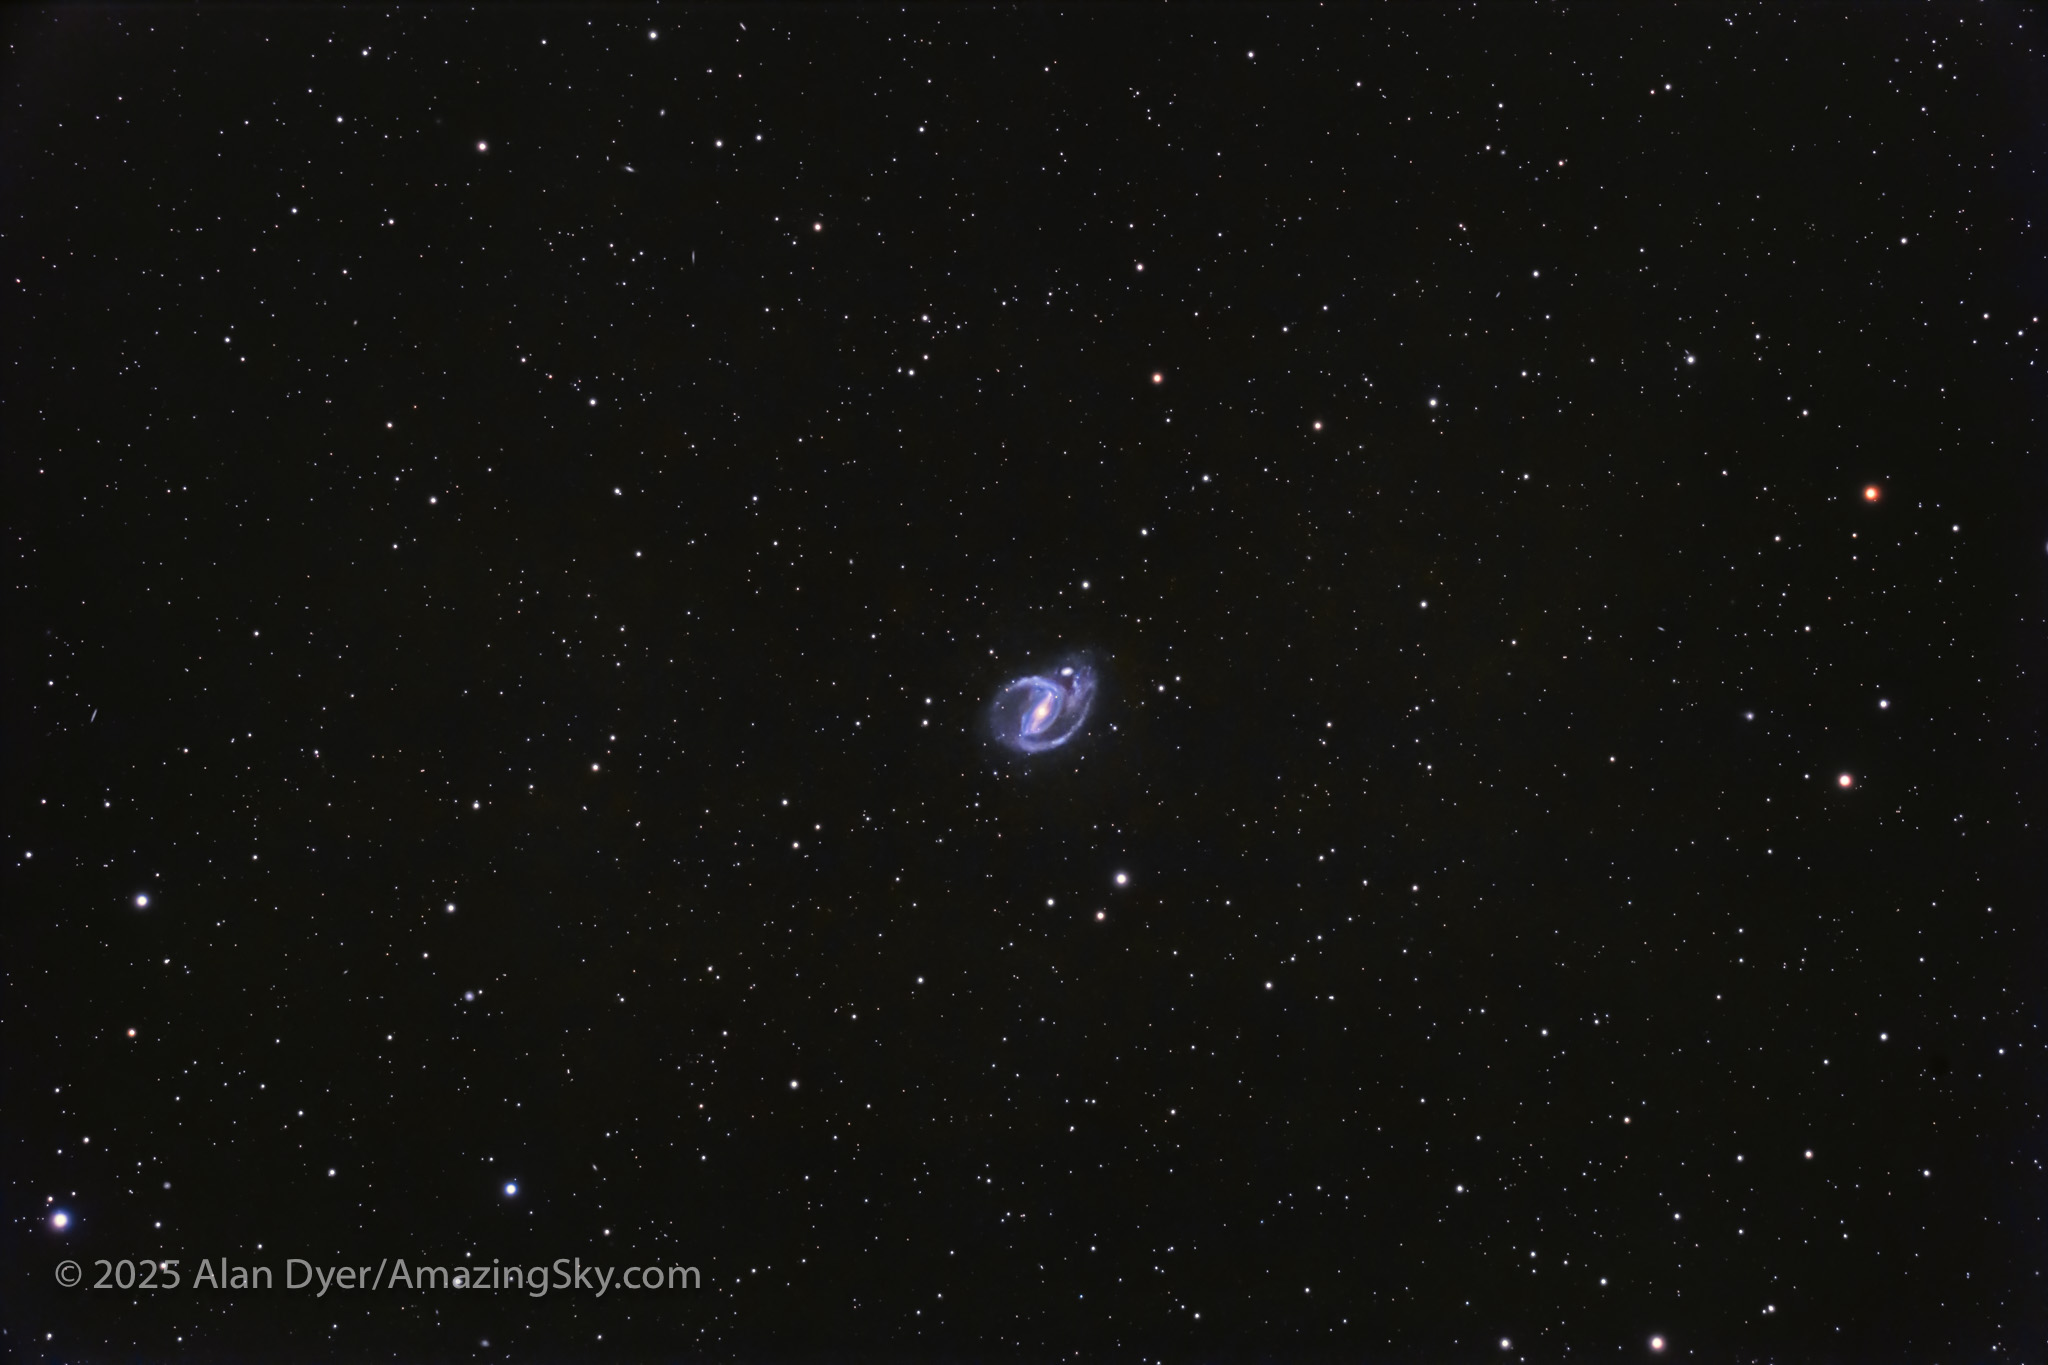
We trek farther east into the next constellation over from Sculptor, to Fornax the Furnace, to find NGC 1097. This is the realm of bright (magnitude 9.5 in this case) barred spiral galaxies. This class of galaxy has arms emanating from a long bar at the core. This area of sky is replete with bright barred spirals, far more so than any area we find “up north.”
NGC 1097 is also classified as a Seyfert galaxy, a type with an active quasar-like nucleus, housing a massive black hole. NGC 1097 is also Caldwell 67. Just on its northern edge sits the little companion galaxy NGC 1097A.
NGC 1316 in Fornax, also with a Black Hole
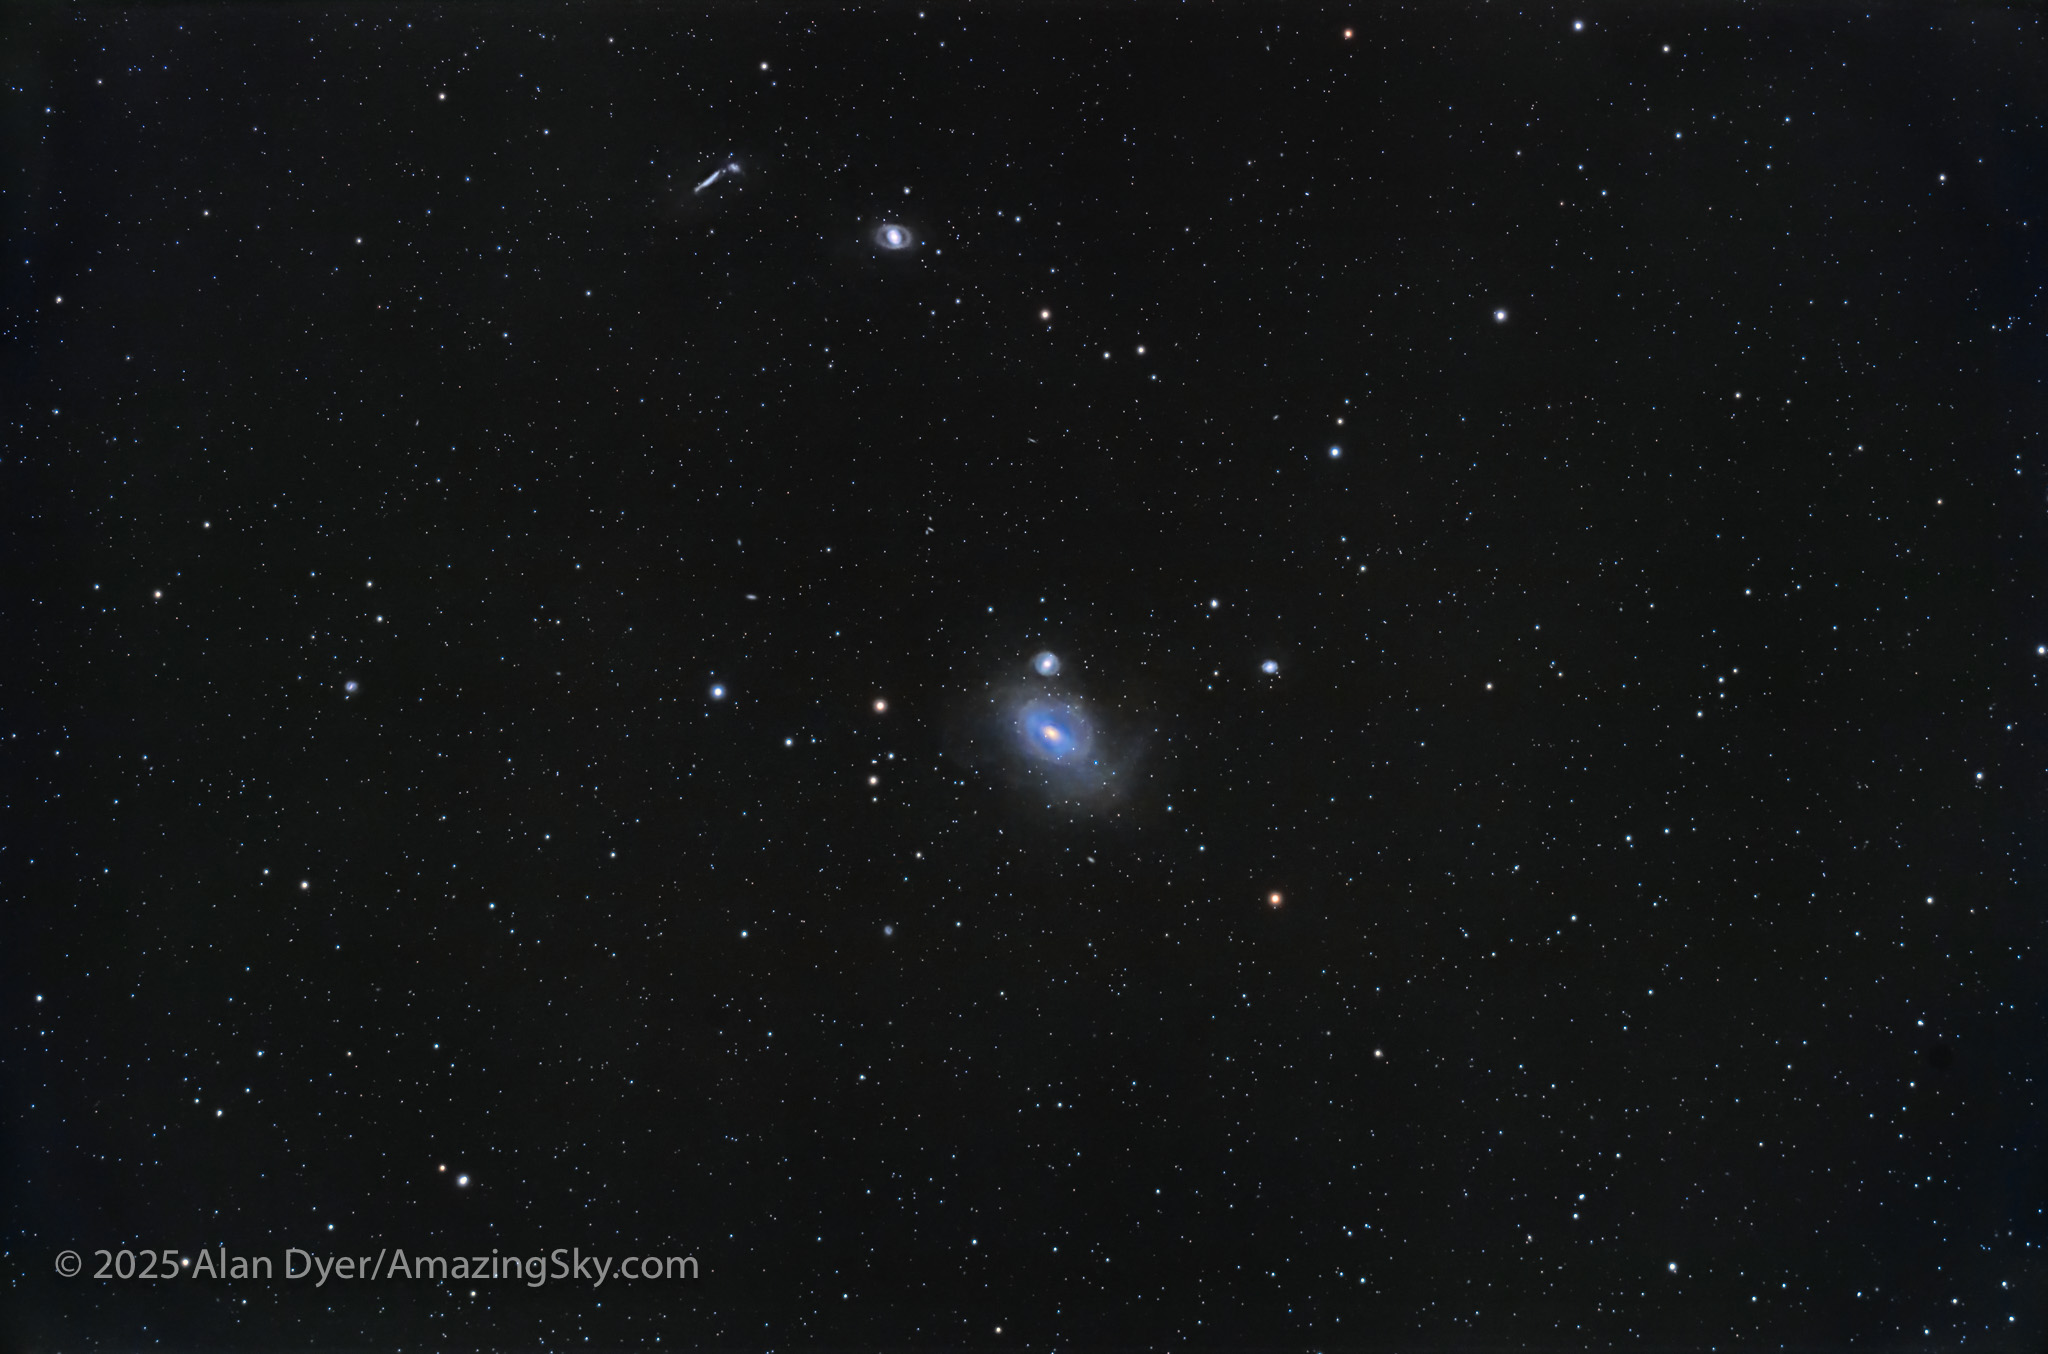
This bright (magnitude 8.5) elliptical galaxy is also catalogued by radio astronomers as Fornax A, because NGC 1316 is also a “bright” source of radio waves, thought to be generated by a supermassive black hole at its core.
Elliptical galaxies are notorious for being cannibal galaxies, eating others nearby. Sure enough, the galaxy is surrounded by faint tidal streams of stars, just recorded here, the result of collisions and mergers with unfortunate companions that wandered too close by. NGC 1316 is about 75 million light years away, and belongs to the Fornax 1 Galaxy Cluster. Despite its uniqueness and brightness, it is not in the Caldwell Catalogue.
Just above it is the smaller elliptical NGC 1318. At top is the trio of: the edge-on spiral NGC 1326A and companion NGC 1326B, and the barred spiral NGC 1326 with an odd ring shape.
NGC 1365 and NGC 1399, at the Heart of the Fornax Cluster
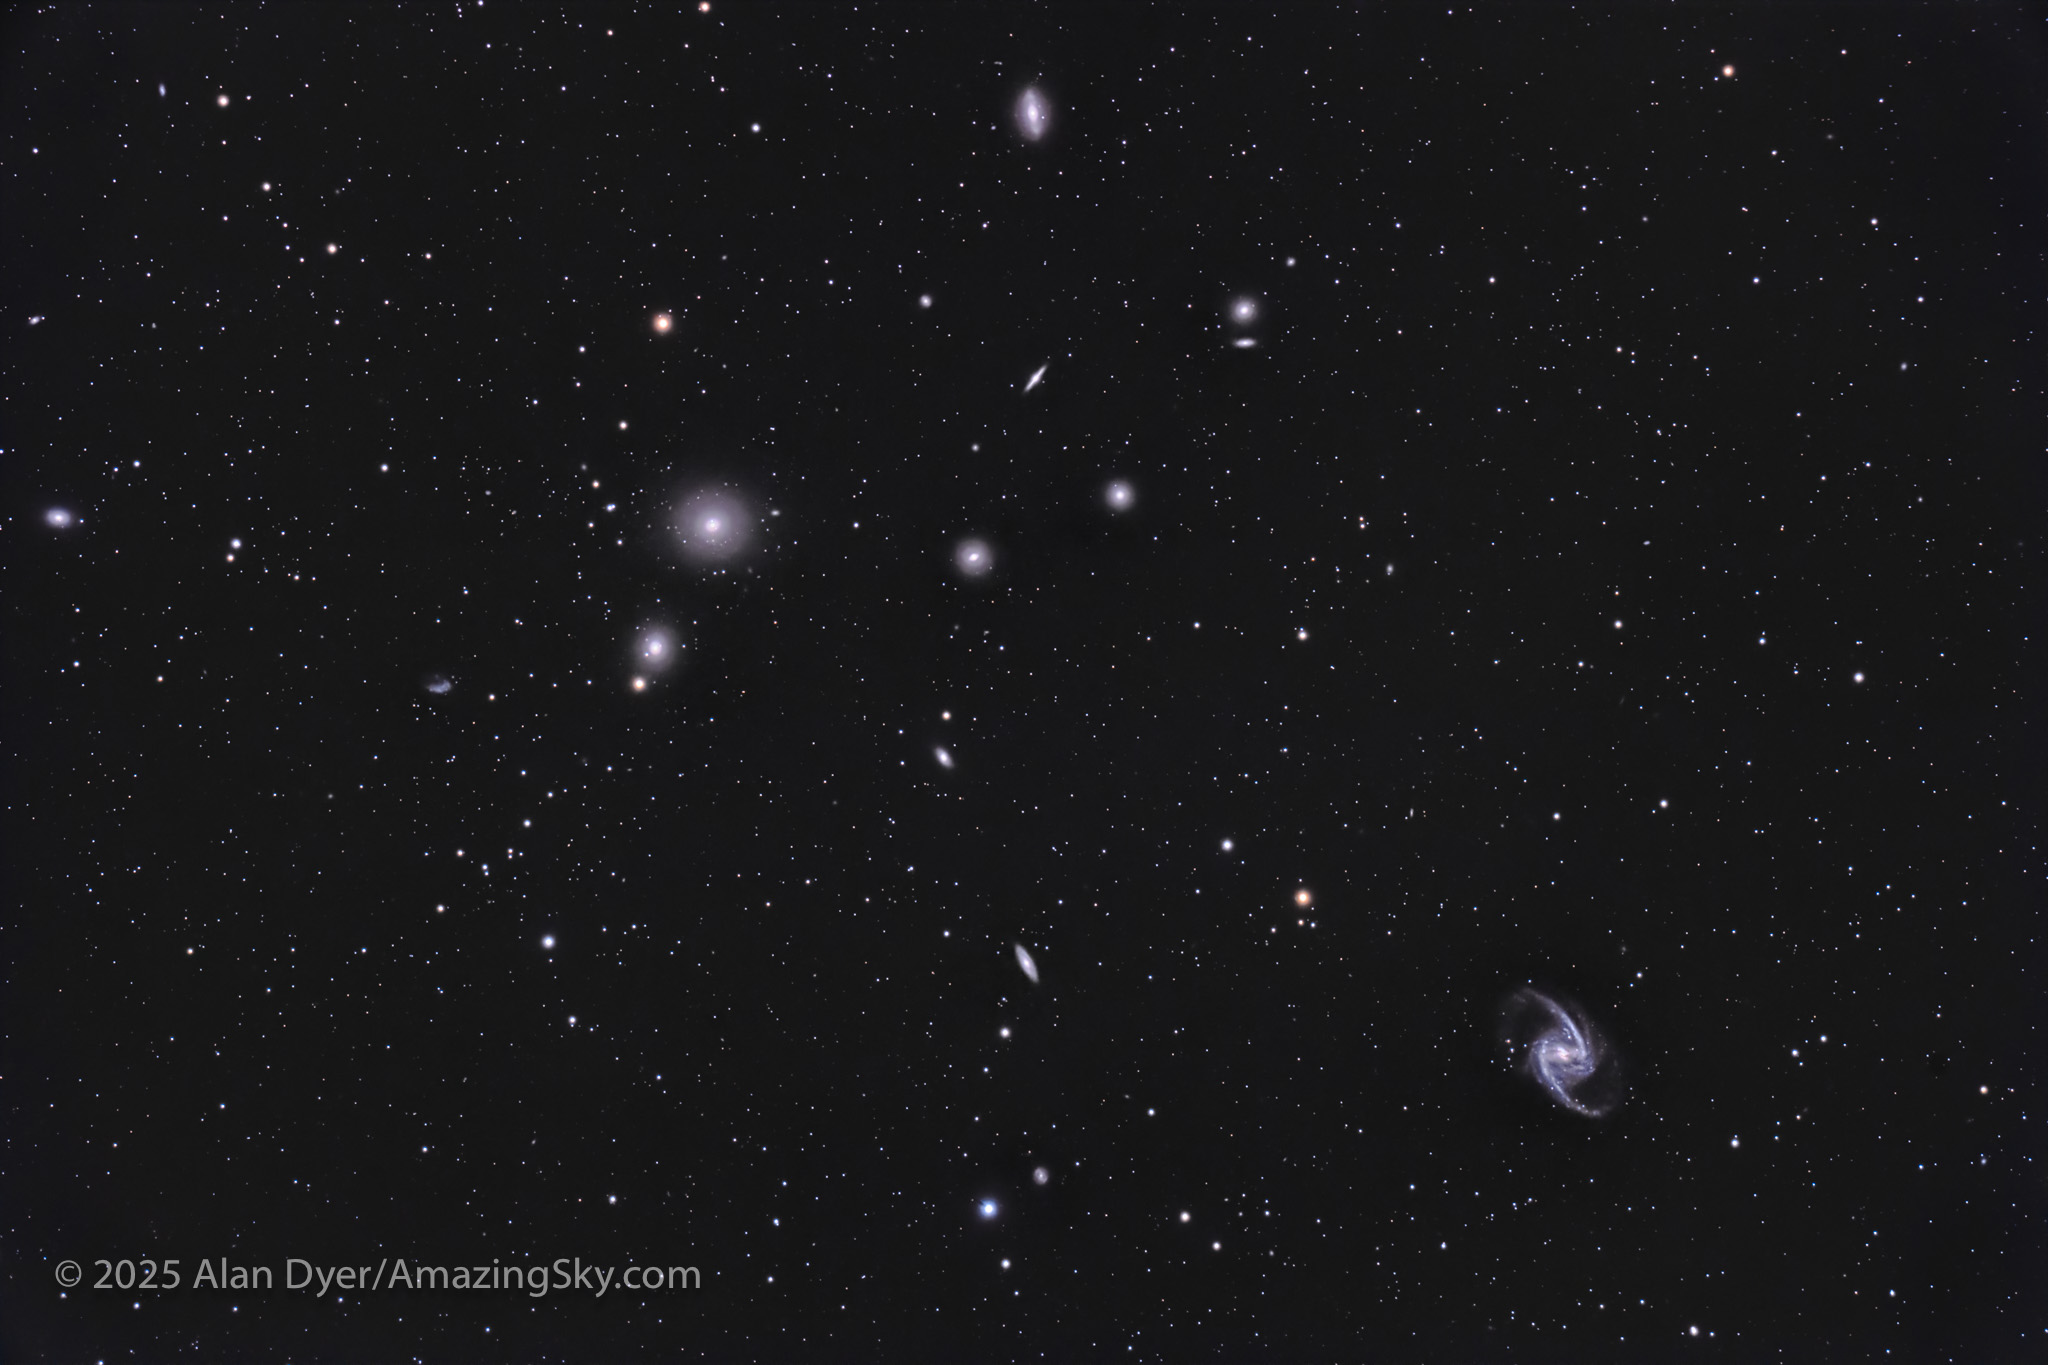
This frames the main members of the populous Fornax Galaxy Cluster, second only perhaps to the northern sky’s Coma-Virgo Galaxy Cluster, and its Markarian’s Chain area, for having the most bright galaxies in one low-power telescope field. (The field here is 1.6º by 2.4º.) It is a “must see” sight for galaxy fans.
The two brightest Fornax cluster members are:
– the giant elliptical galaxy NGC 1399 at upper left, paired with smaller NGC 1404,
– and the barred spiral galaxy NGC 1365 at lower right, considered one of the best barred spirals in the sky. There’s nothing quite like it up north. Like NGC 1399, it is 58 million light years away.
The odd shaped galaxy at left is the irregular galaxy NGC 1427A, with NGC 1427 itself at the far left edge. The elongated spiral galaxy at top is NGC 1380. Numerous other NGC and tiny, faint PGC galaxies populate the field, down to magnitude 15 or so.
Bonus Nebulas!
While autumn’s galaxy season has lots to offer the galaxy hunter, there are some wonderful nebulas down south as well. In my sampling, all are “planetaries.”
NGC 246, the Skull Nebula in Cetus
This is the nebula NGC 246, aka the Skull Nebula, in Cetus. It’s an example of a planetary nebula, so-called because this type of object with their small blue-green disks reminded William Herschel of the planet Uranus that he discovered in 1781. NGC 246 was discovered by Herschel four years later in 1785.
NGC 246 has a mottled disk, giving it its fanciful name, and a 12th magnitude central star that has ejected the nebula as part of its end-of-life eruptions, the origin of all planetaries. They have nothing to do with planet formation; they are the products of star death.
NGC 246 lies about 1,600 light years away. Just above it is the small galaxy NGC 255.
NGC 1360, the Robin’s Egg Nebula in Fornax
This, too, is a planetary nebula, but an odd one, in that it is a more uniform disk than is usual for planetaries, lacking the ring or bi-polar shape of most such objects. It was only recently classified as a planetary, one with an 11th magnitude central star responsible for expelling the nebula.
NGC 1360 is bright (at 9th magnitude), large, and blue-green, giving it the nickname the Robin’s Egg Nebula. The barred spiral galaxy (there are lot of them down here!) NGC 1398 is at lower left.
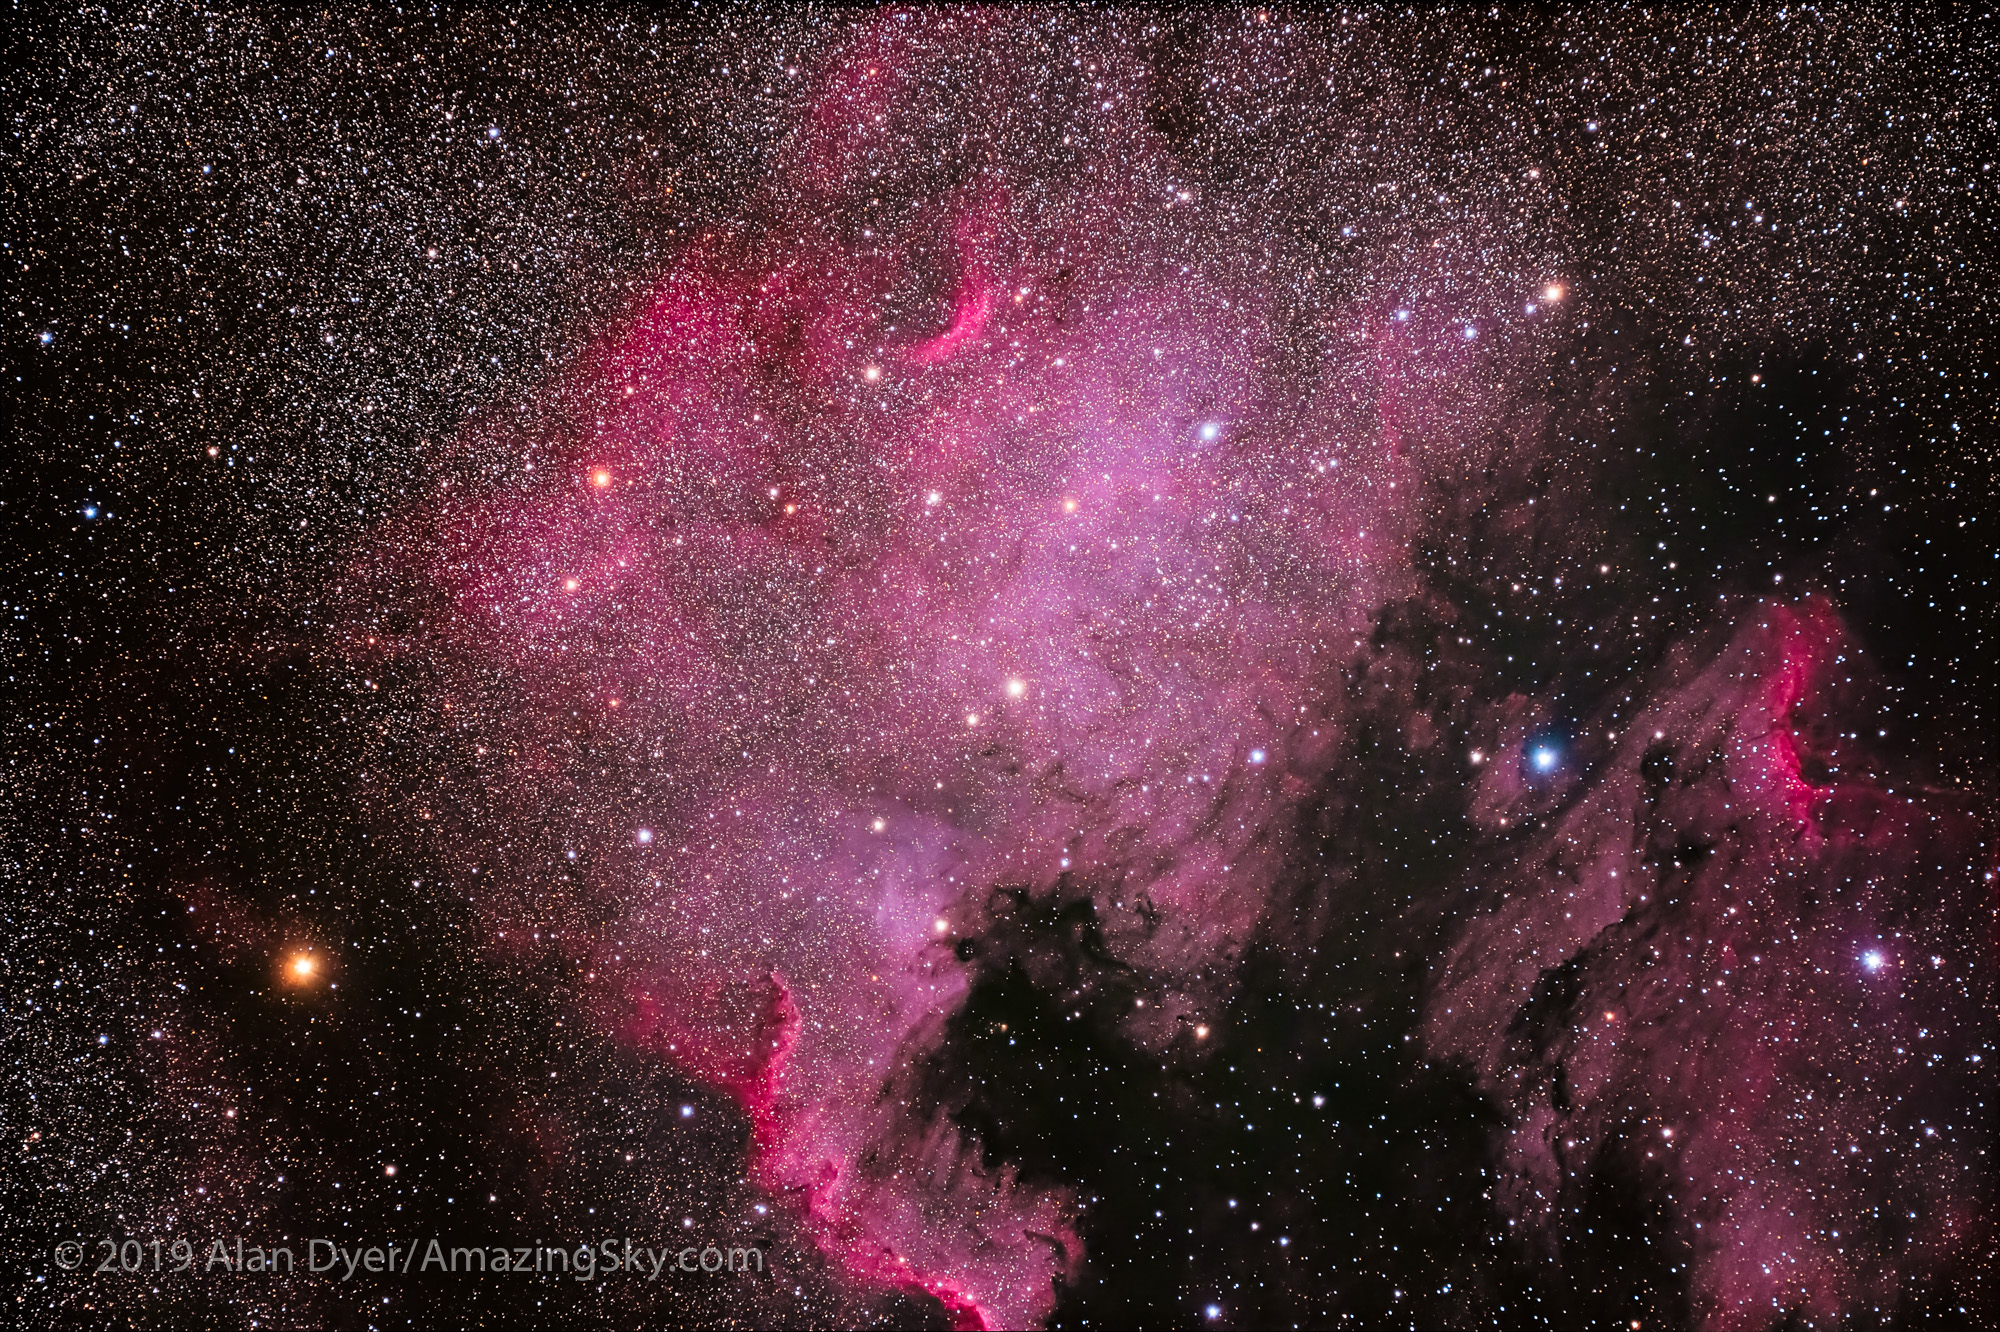
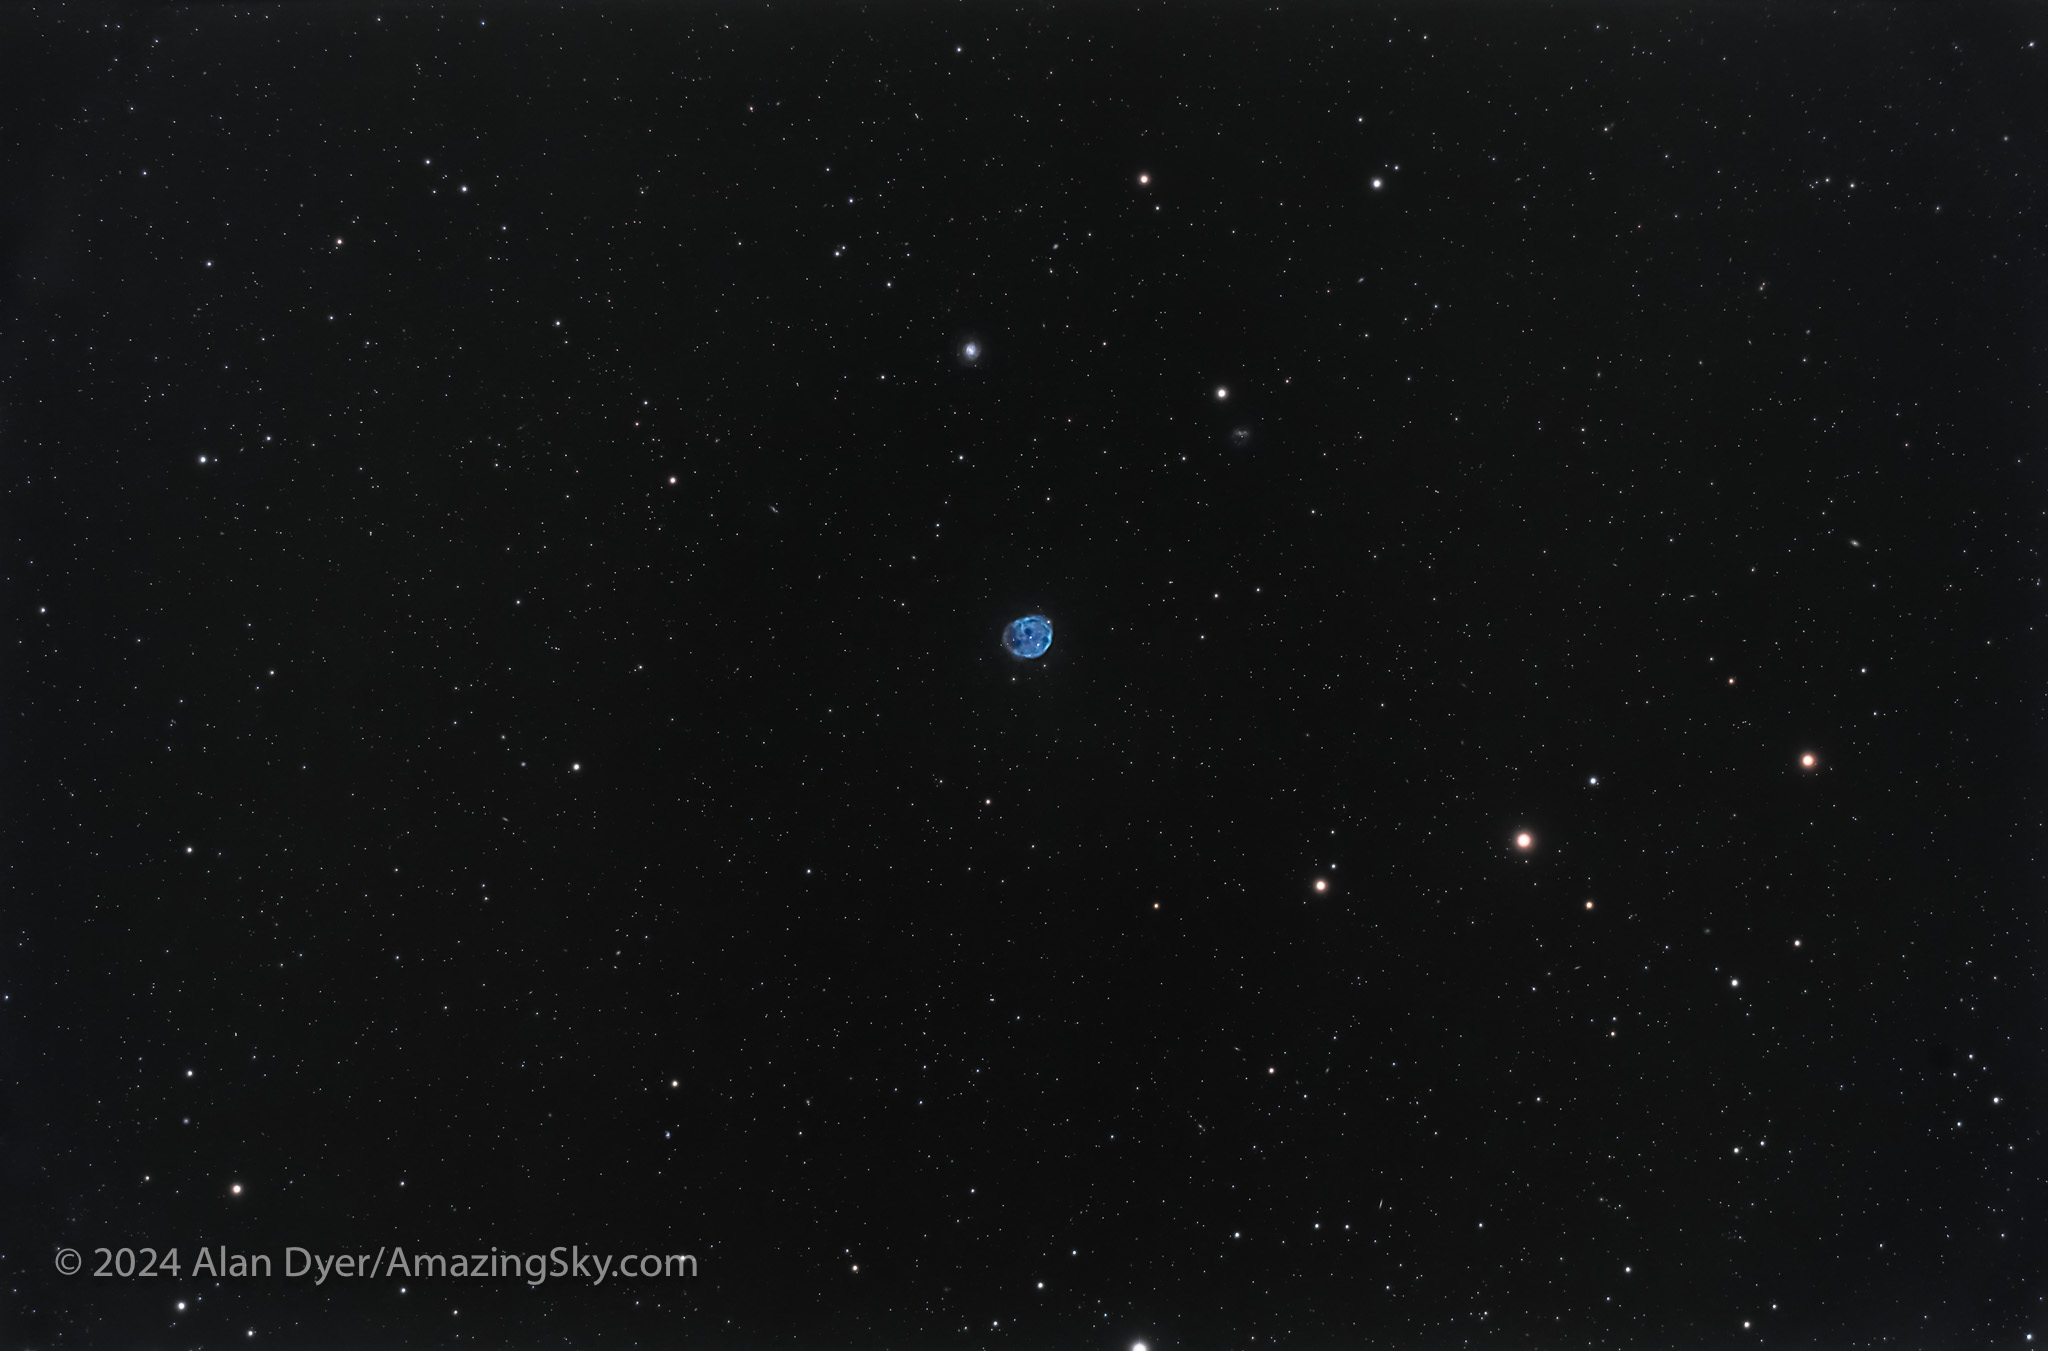
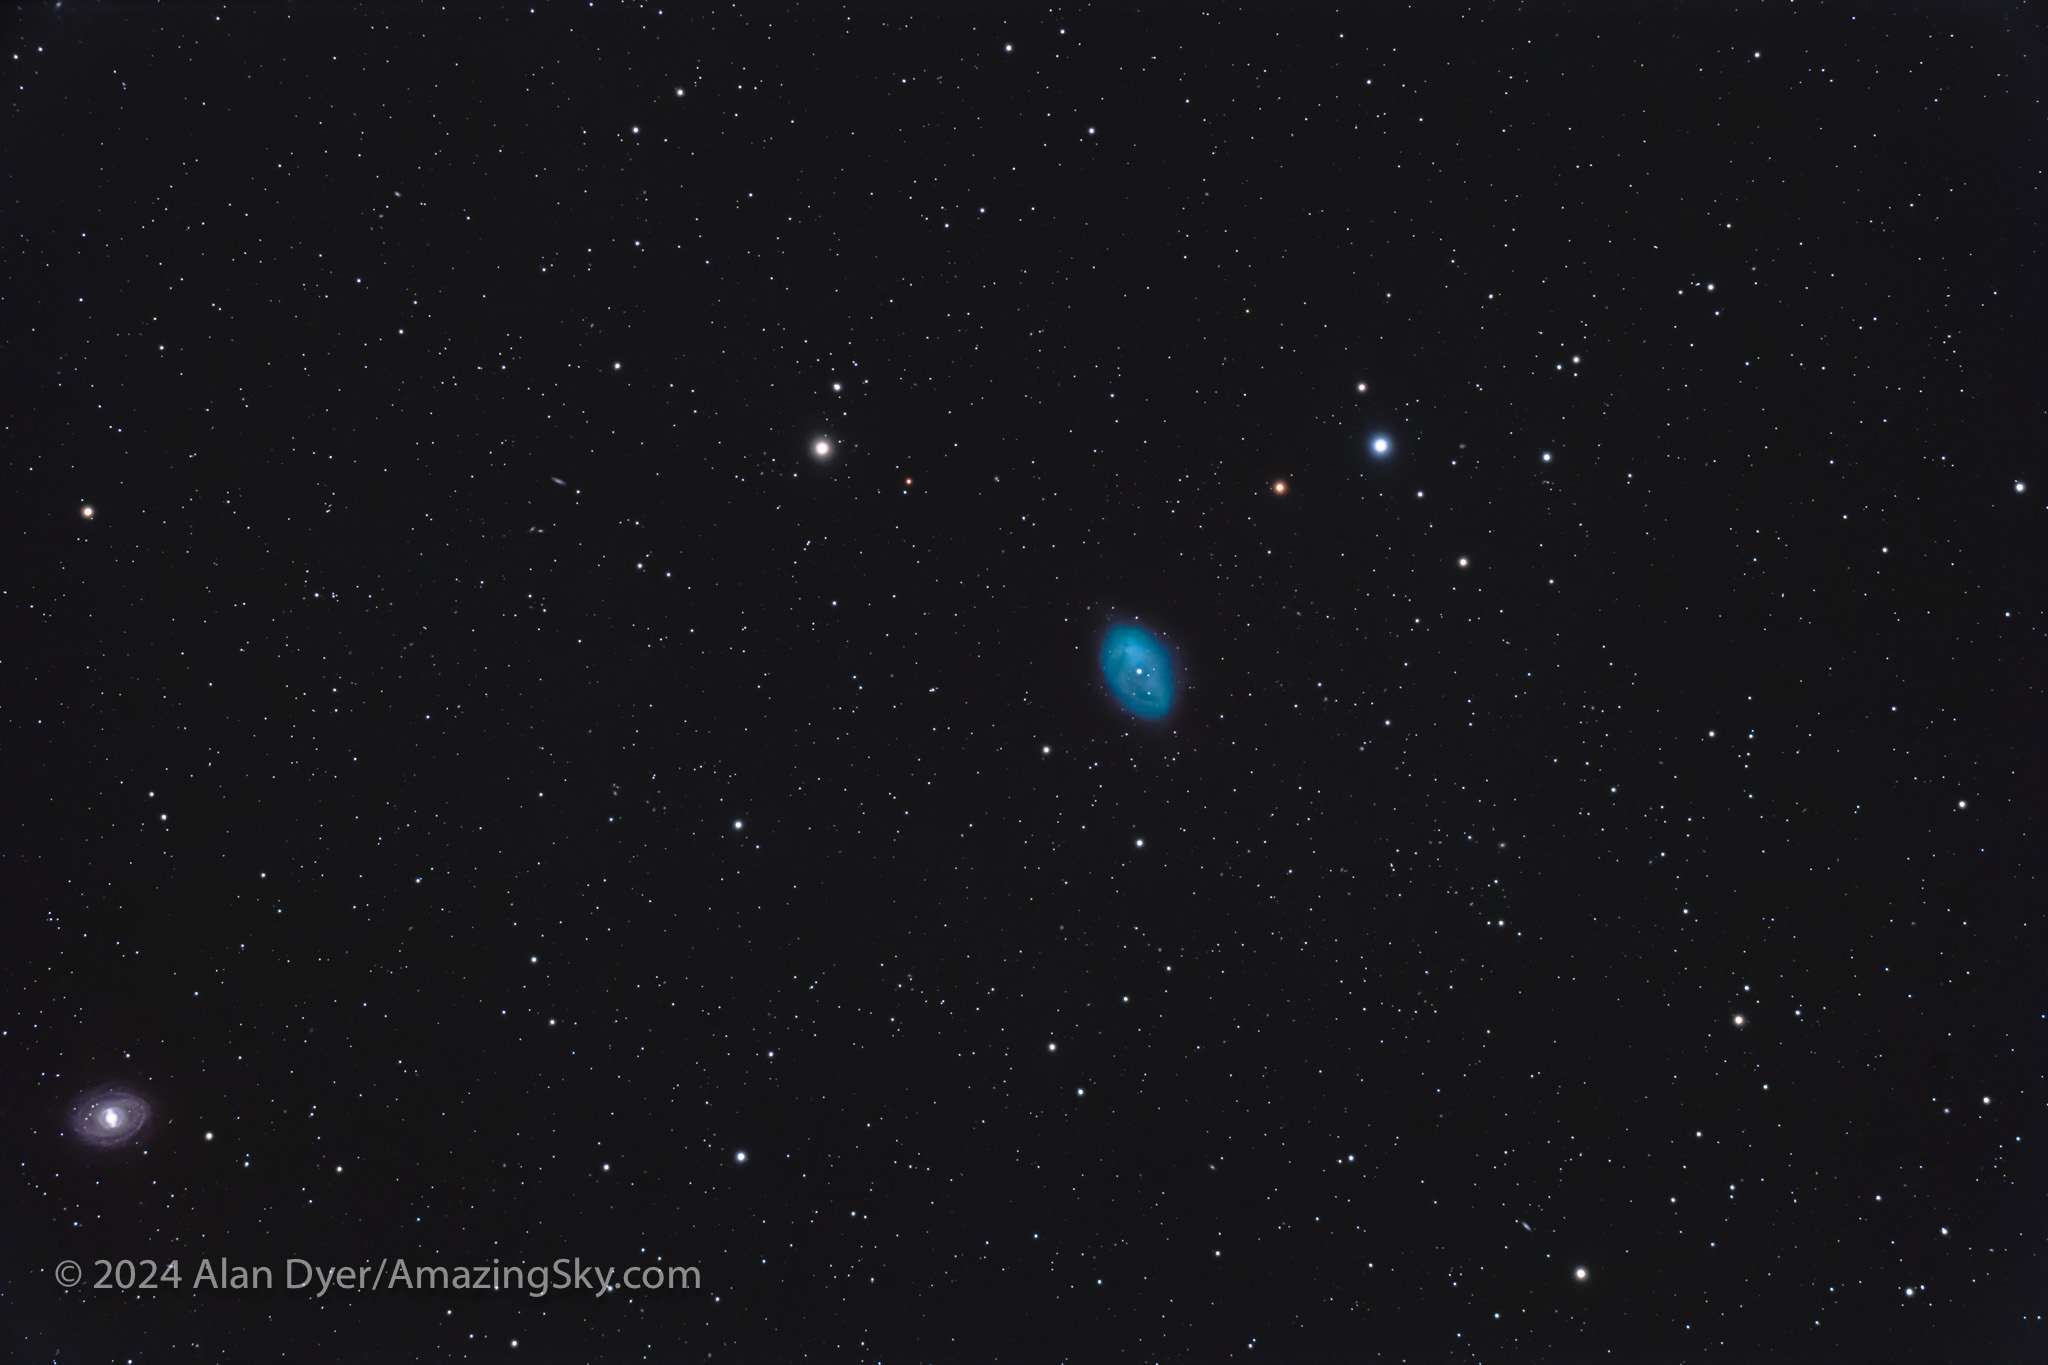
NGC 7293, the Helix Nebula in Aquarius

This is the large and bright (magnitude 7.6) planetary nebula catalogued as NGC 7293, but better known as the Helix Nebula, in Aquarius. But the internet has also dubbed in “The Eye of God.”
While this target lies farther north than most of the objects here, making it easy to see from northern latitudes, William Herschel working in England missed it. His telescopes were too powerful! It wasn’t discovered until 1824 (or thereabouts) by Karl Ludwig Harding in Germany. It is #63 in the Caldwell Catalogue.
NGC 7293 is thought to be one of the closest planetary nebulas to us, at only 650 light years away, thus its large size, nearly 1/4º across, half the size of the Moon’s disk. There’s an outer halo that is twice that size, but only the brightest portion of it is recorded here as a partial arc. It takes exposures of many hours, and more patience than I have, to pick up this nebula’s full extent.
The bright star at left is 5th magnitude star Upsilon Aquarii, which I composed to be in the frame and not on the edge if the Helix had been centered.
About the Images

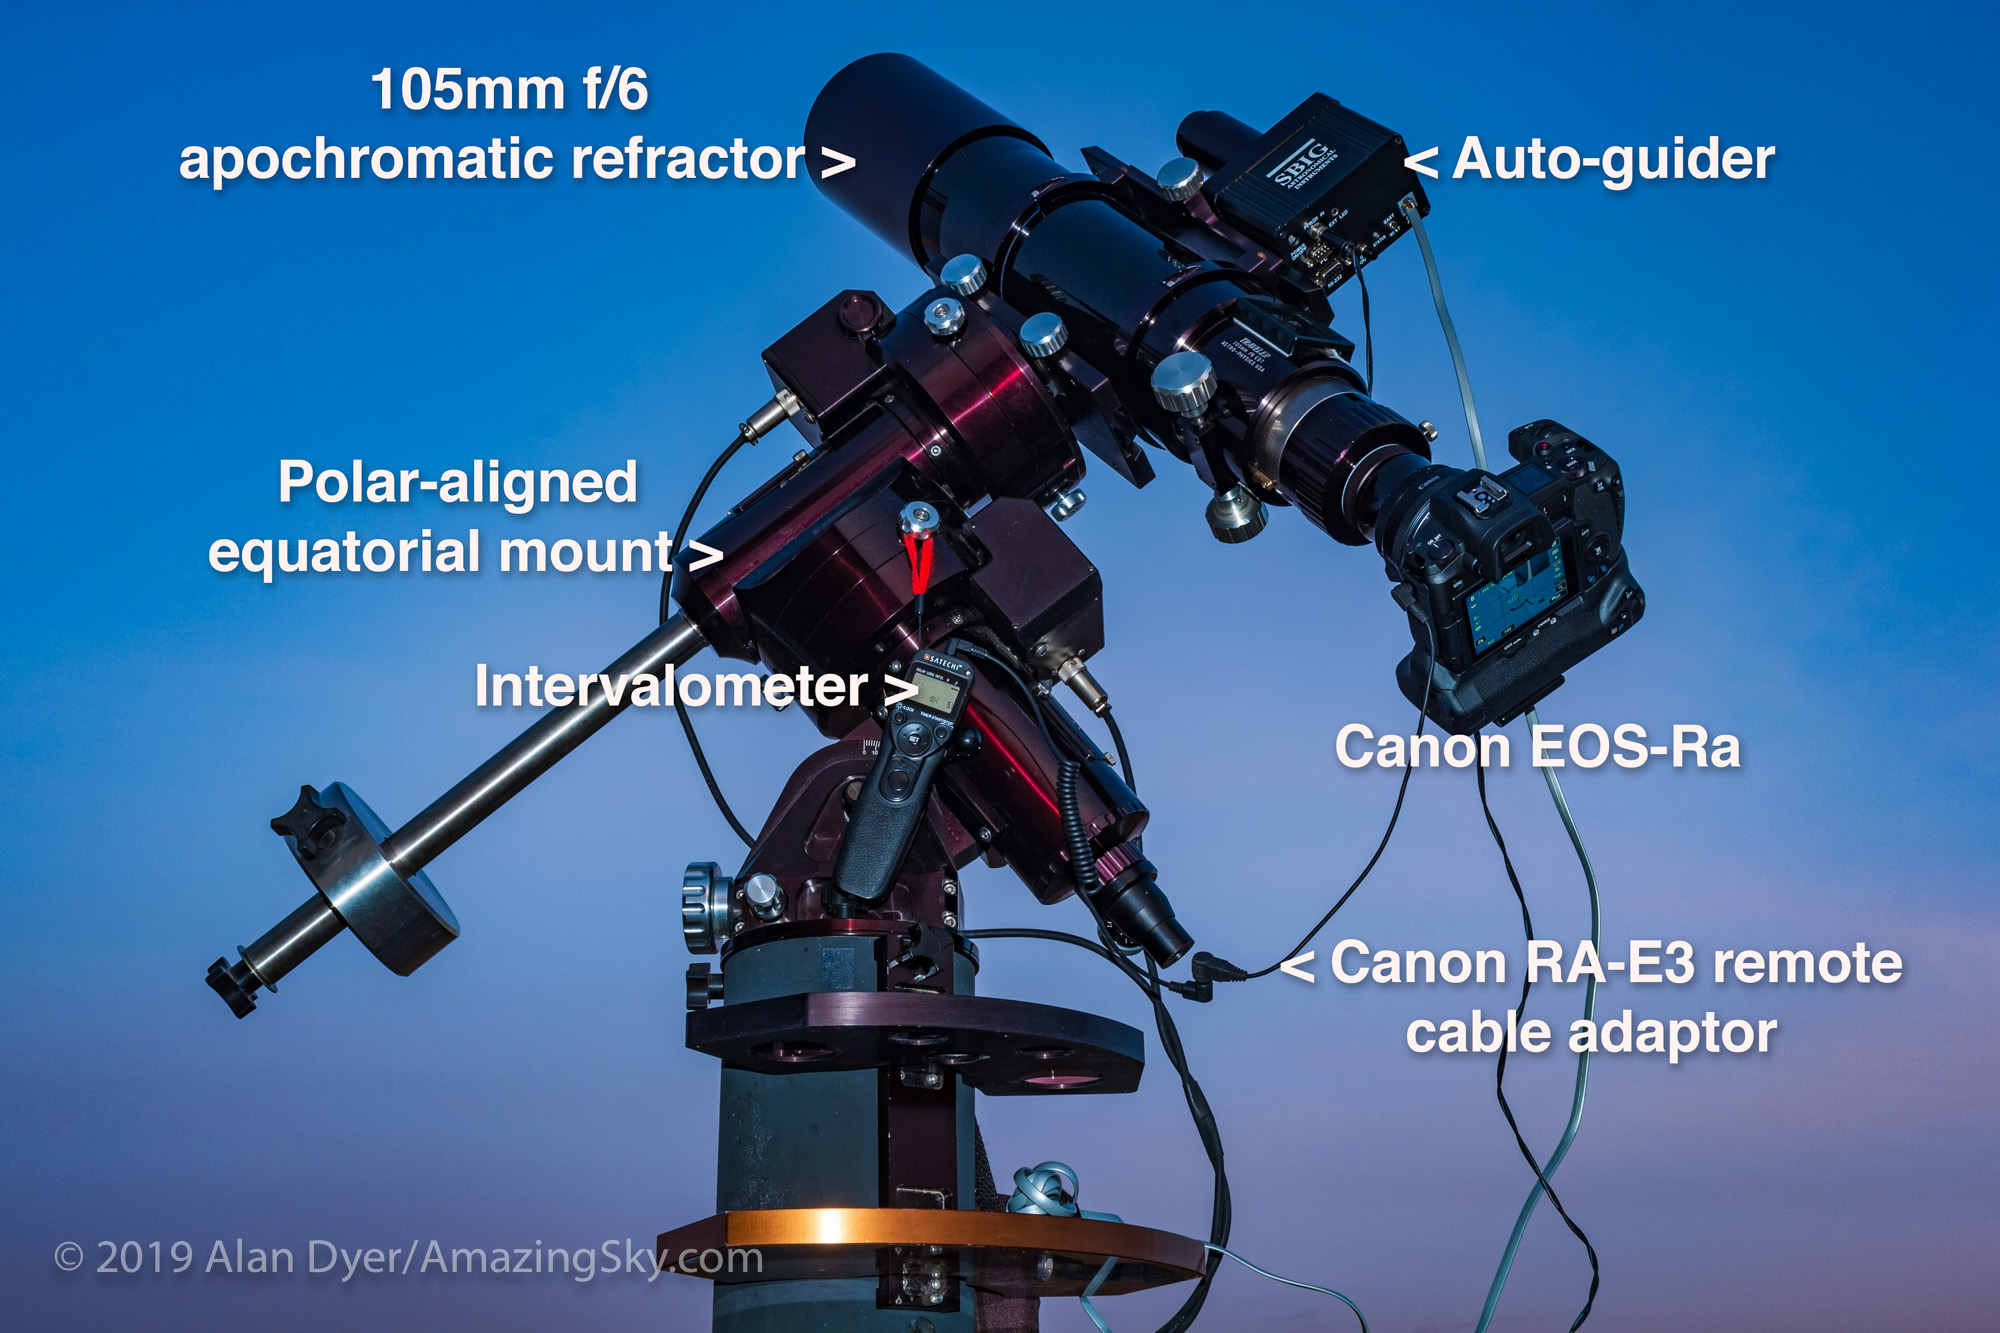
As per the tech details in the captions, I shot all the images from southern Arizona during a wonderful marathon of astrophotography in October 2024, at the Quailway Cottage, a favorite spot of mine for an astronomy retreat.
I used an Askar APO120 refractor, at either its native f/7 for a focal length of 840mm, or with its 0.8x Reducer lens for a faster f/5.6 focal ratio and shorter 670mm focal length, yielding a wider field and shorter exposure times for each “sub-frame.” Most images have a similar “plate scale,” so the difference in object size is due to their actual size on the sky.
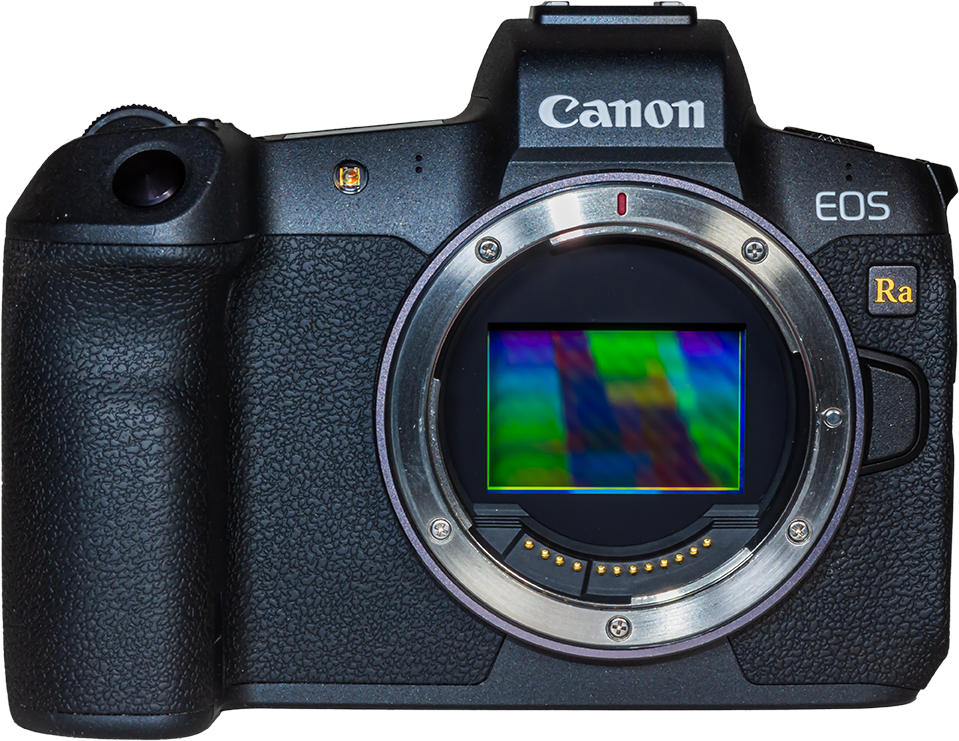
The camera was the astro-modified 30-megapixel Canon Ra. The mount was the venerable Astro-Physics AP400, which returned earlier in 2024 from its 20-year stay in Australia. I used the Lacerta MGEN3 stand-alone auto-guider, for app- and computer-free guiding which I prefer. The MGEN3 performs “dithering,” shifting the framing by a few pixels between each exposure, to aid elimination of thermal noise when stacking images.
While it looks impressive, the telescope is still not the best for small, detailed targets like the galaxies and planetaries here. They demand even more focal length (= bigger and heavier telescopes) than I prefer to shoot with.
Even so, I plan to take the same rig to New Mexico this year in May to shoot targets in the “other half of the sky,” during spring galaxy season.
— Alan, January 24, 2025 / AmazingSky.com