
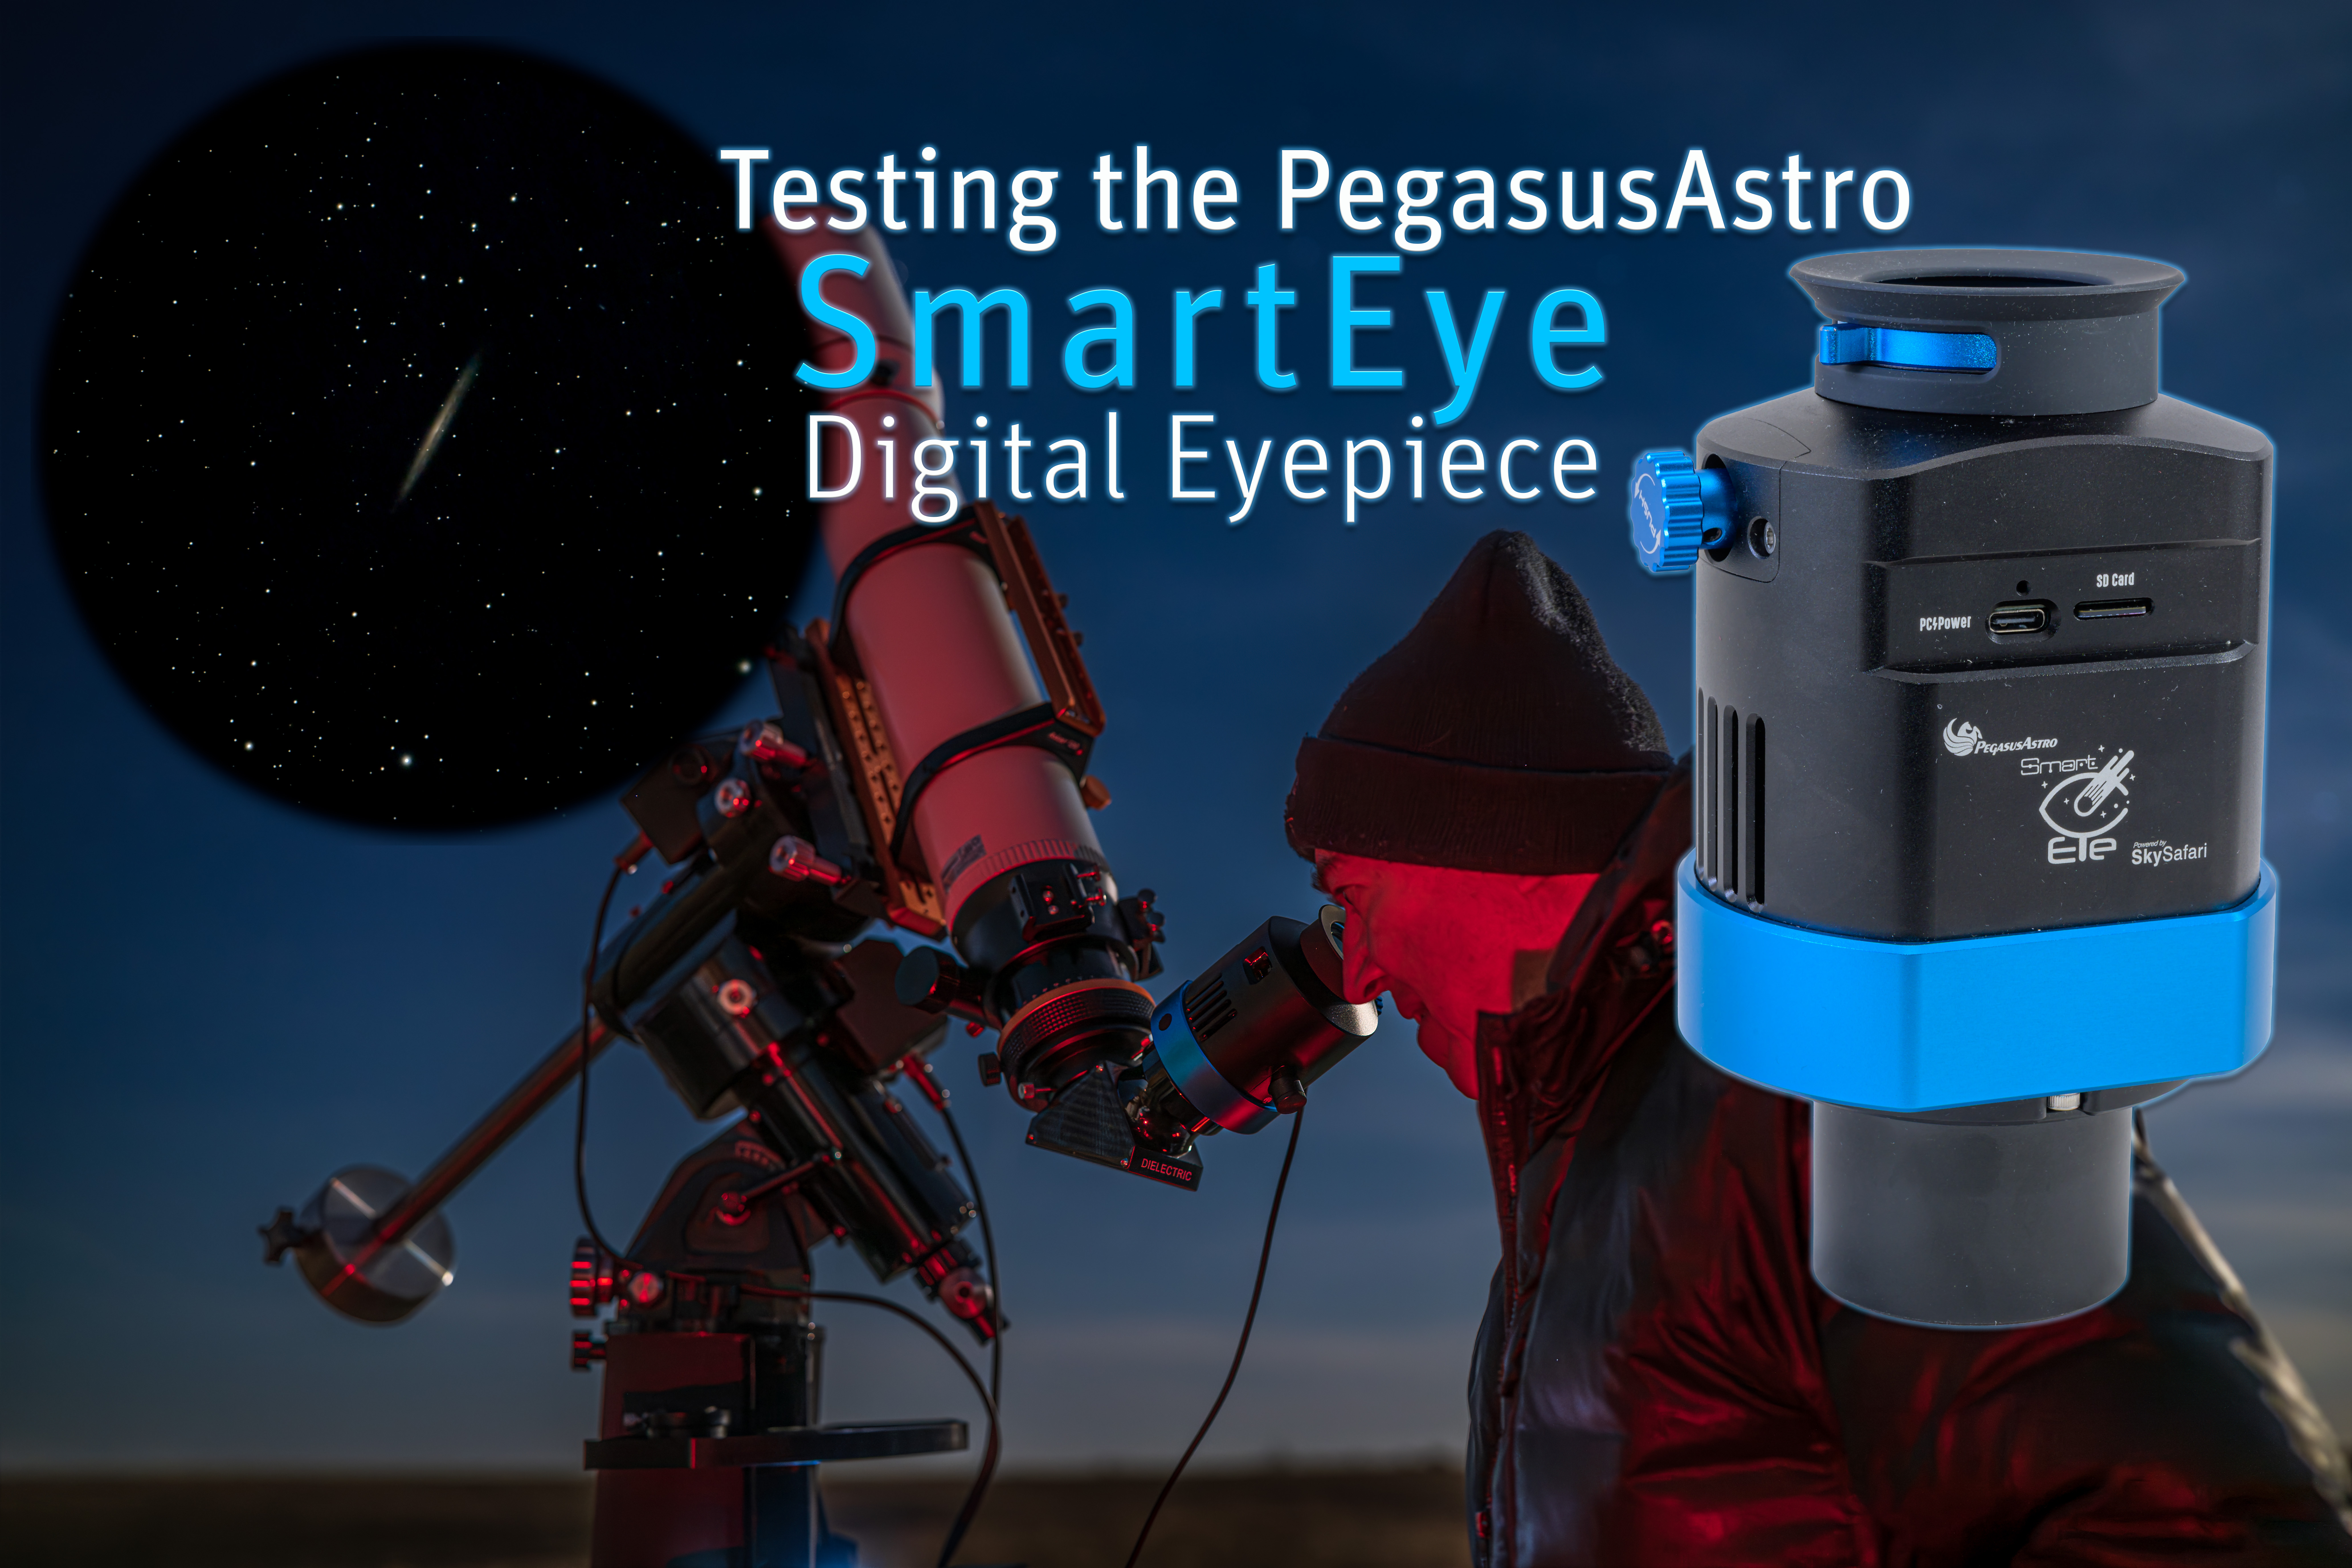
This electronic eyepiece brings back the joy of actually looking through a telescope, for a greater sense of personal discovery than when viewing a remote screen.
We now have “smart telescopes” that can find and capture celestial targets with the push of a button. But you do all your observing by looking at the screen of your phone or tablet. It’s the way many amateur astronomers now (vicariously!) enjoy the sky. Here’s a device that combines digital imaging with the “old-fashioned” practice of actually looking through a telescope! It works very well, though with some caveats.
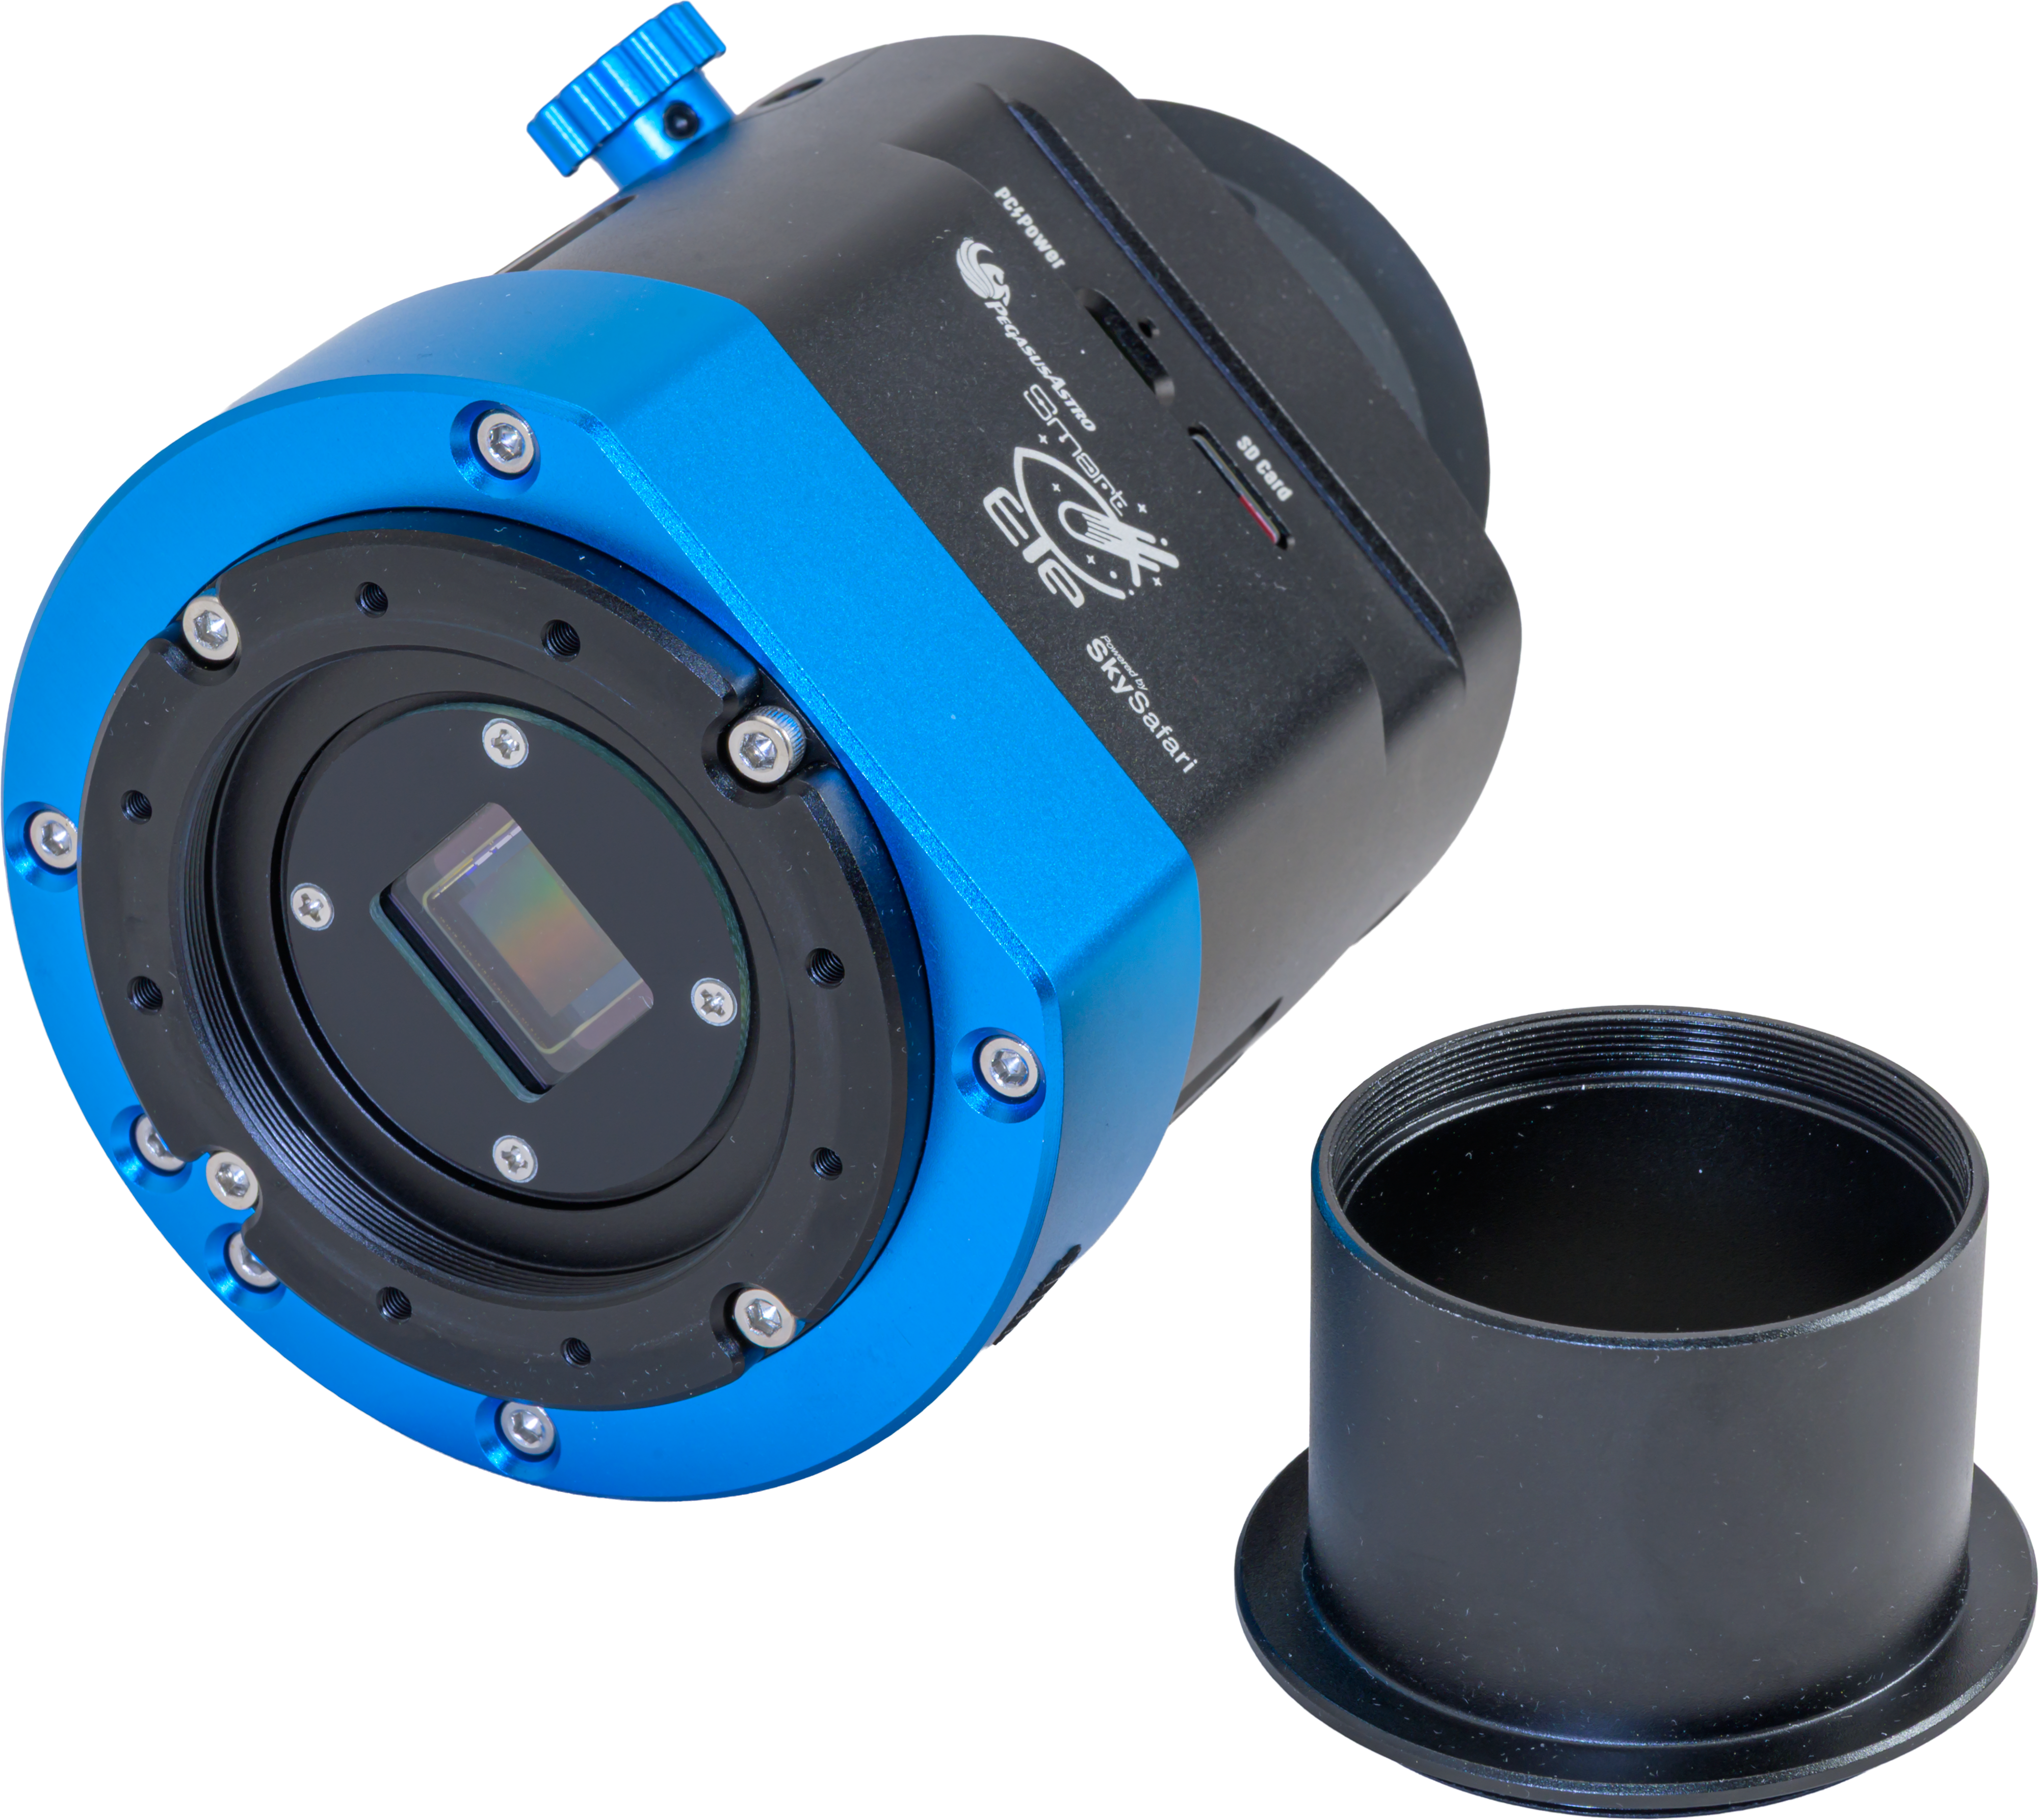
TL;DR SUMMARY The SmartEye digital eyepiece from PegasusAstro performed very well for its main purpose of providing enhanced views of deep-sky objects in more detail and colour than is possible in an optical eyepiece, making it ideal for public outreach. It works best on a smaller telescope and on an equatorial mount. SmartEye’s advanced features, which enable it to control a GoTo mount, proved a challenge to get working.
Website: https://smarteyepiece.com/
Vendor: PegasusAstro.com
Cost: $1998.00 US
Pros
– Shows deep-sky objects in full colour
– Self-contained operation
– Can serve as an imaging camera
– Easy operation with on-screen menus
Cons
– Eye position critical for the sharpest view
– Relatively high power (best used on smaller scopes)
– Not suitable for the Moon or planets
– Connecting to GoTo mounts complex
- SmartEye Specifications
- Apparent Field of View: ~90º
- Effective Focal Length: ~7mm (measured)
- Eye Relief: ~12mm
- Sensor: Sony IMX533 (11mm x 11mm) 3008 x 3008 pixels
- Display Screen: 2560 x 2560 pixels
- WiFi: Dual band 2.4 and 5 GHz
- Weight: 815 grams
- Maximum Diameter: 85mm
- Nosepiece Size: 2-inch (48mm)
- Filter Thread: 48mm
- Firmware Tested: v1.2, then upgraded to v1.3
- Unit supplied on loan from Simulation Curriculum
As its name implies, SmartEye from PegasusAstro (based in Greece) is a “smart eyepiece” you actually look through. What you see, however, is a digital screen displaying a live image built-up in real-time by SmartEye’s internal camera. At last, you see the colour and detail in nebulas and galaxies that most people expect to see through a telescope. As such, SmartEye is great for public outreach. For the individual observer, it provides a unique “hybrid” viewing experience combining classic visual astronomy and modern digital imaging.
I know, purists will complain “this isn’t real observing!” I can say as an avid visual observer I still found the views very exciting. It was amazing to see colours and details in familiar objects “live.” It was like getting a big telescope and re-discovering the sky with it.
But, I found SmartEye has to be used on the right telescope and mount to work at its best. While it can be used as a capable imaging camera (it uses Sony’s popular 9-megapixel IMX533 sensor), I tested SmartEye for its main purpose – to look through for enhanced live views.
SmartEye Operation
With a weight of 815 grams SmartEye is hefty but similar in mass, and size, to the large, low-power eyepieces many amateur astronomers own. It also focuses at a similar focal point as other large eyepieces, making it compatible with any telescope that accepts 2-inch accessories.
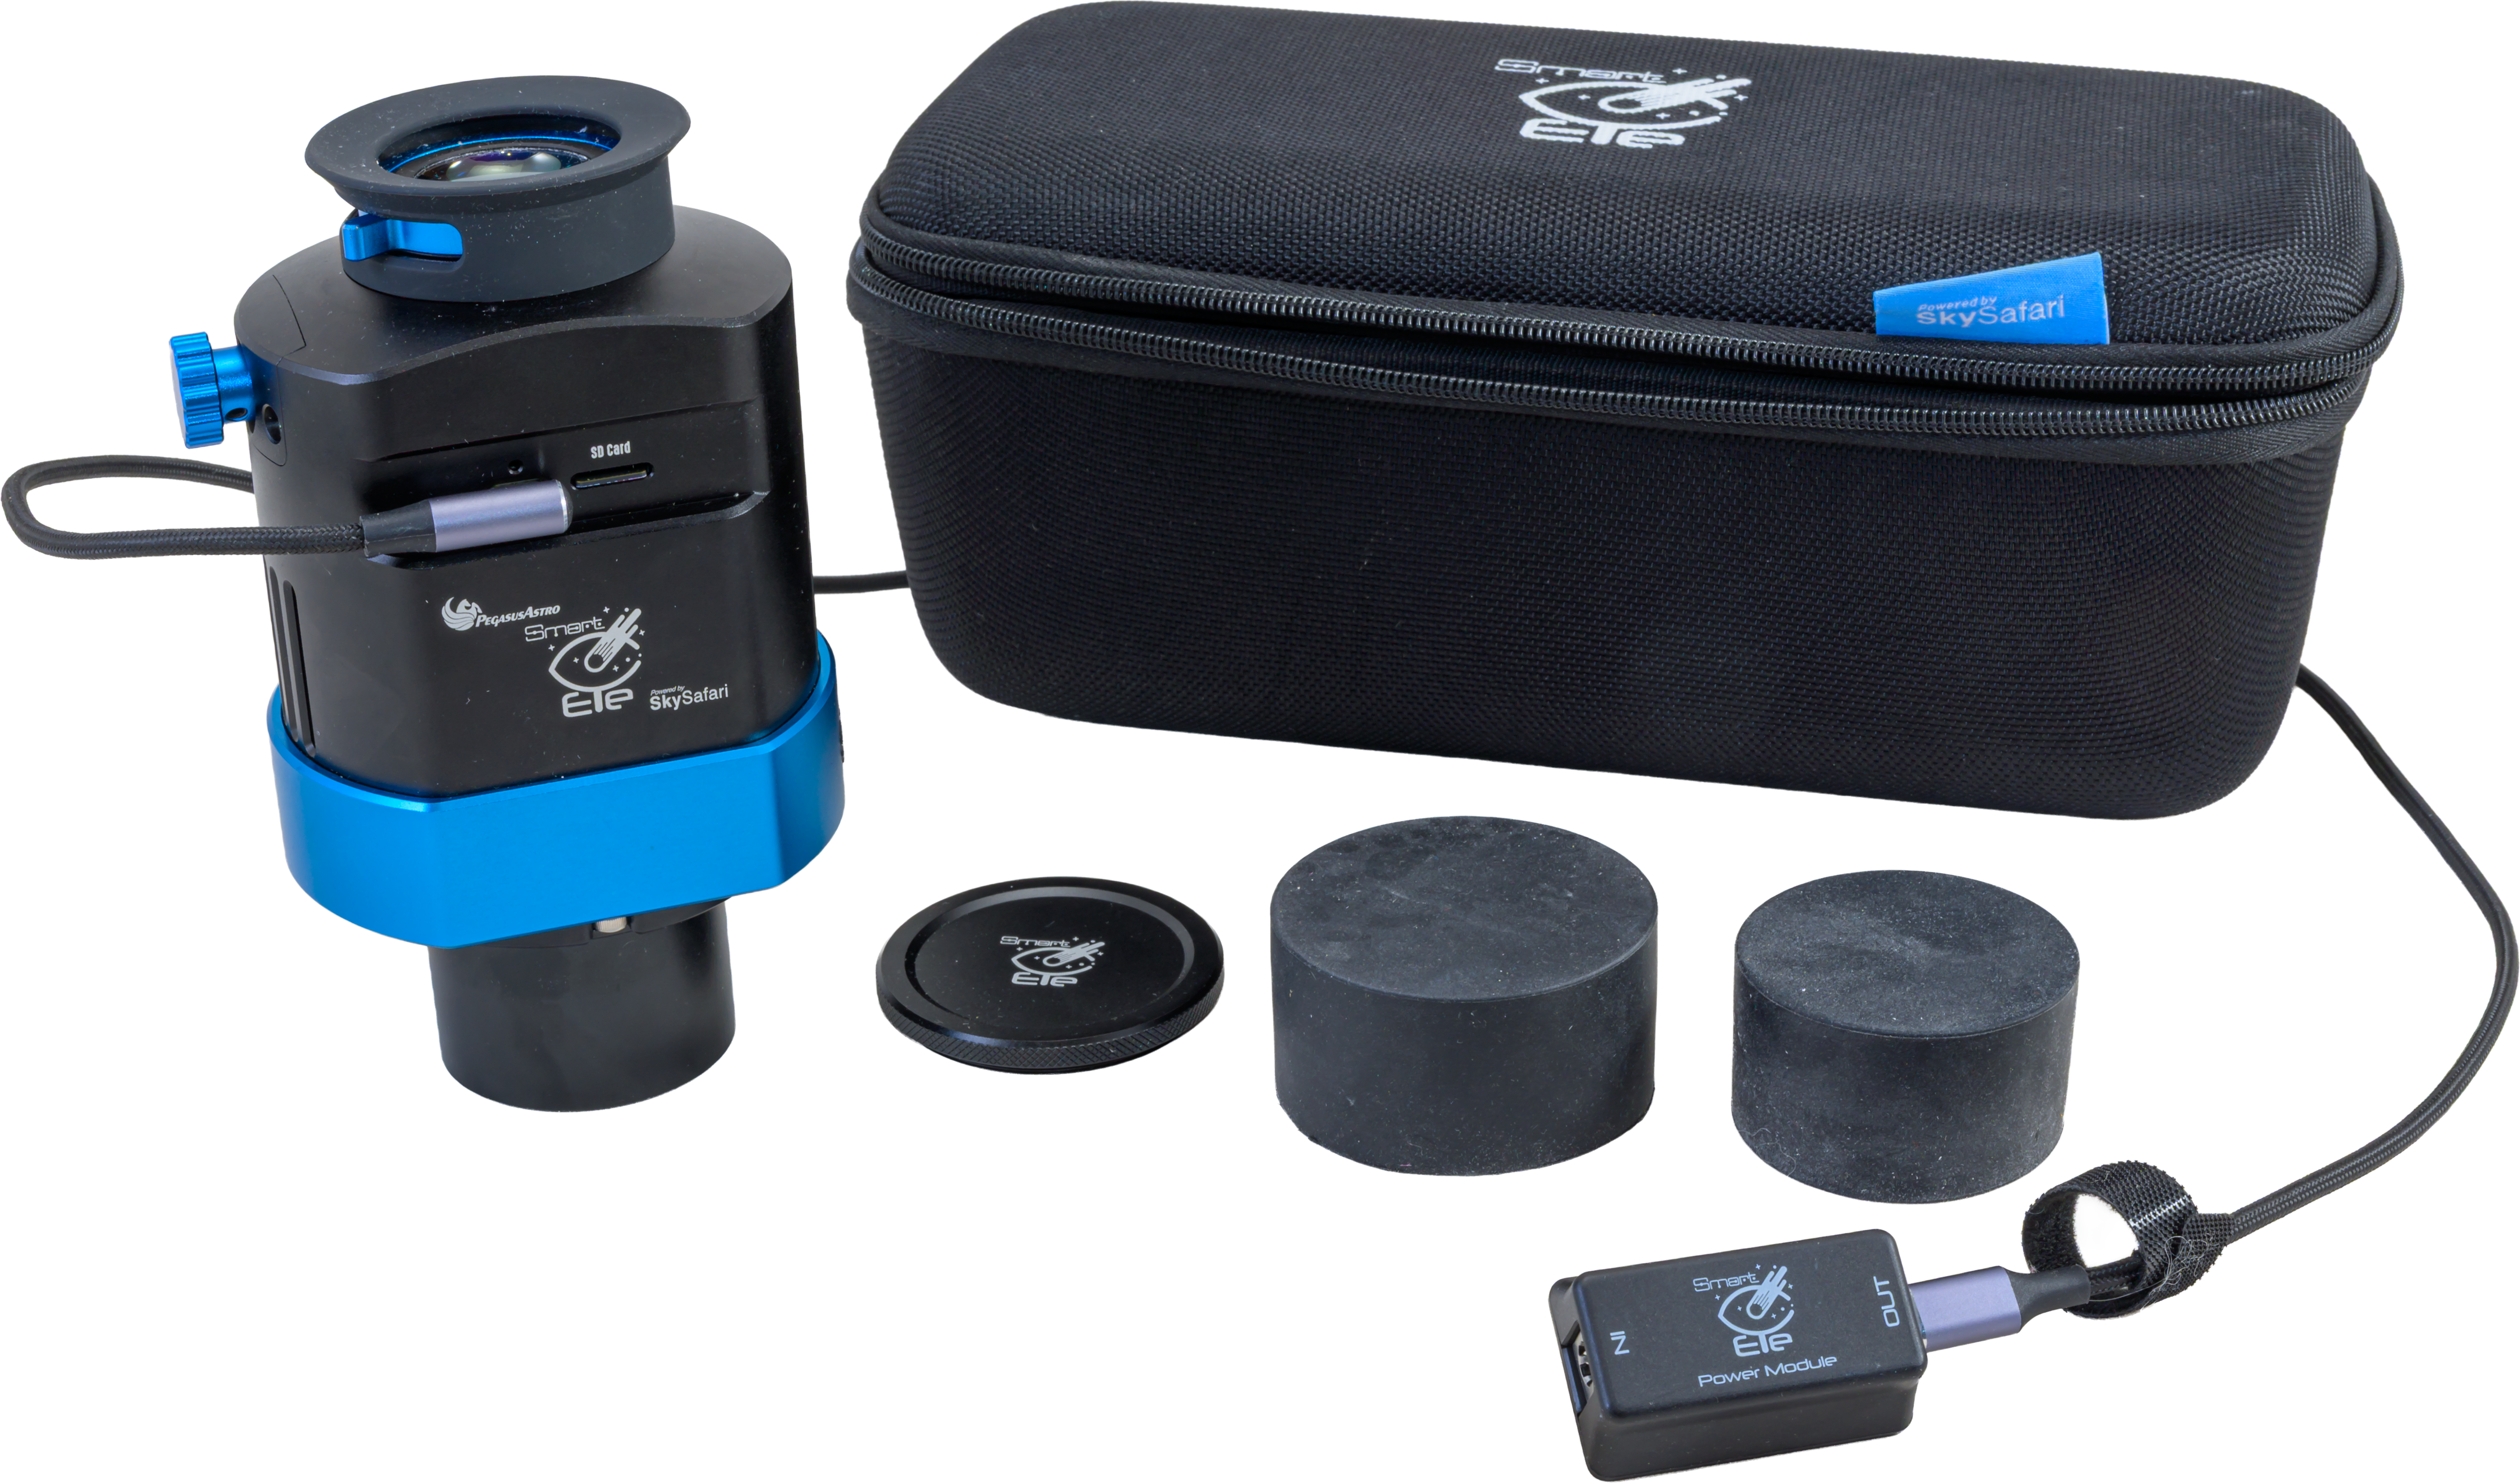
SmartEye requires external power. It can run from any 5-volt USB power bank connected to its USB-C port. But with the included adapter shown above it can run from a 12-volt battery like many of us use to power our mounts and astro-gear.
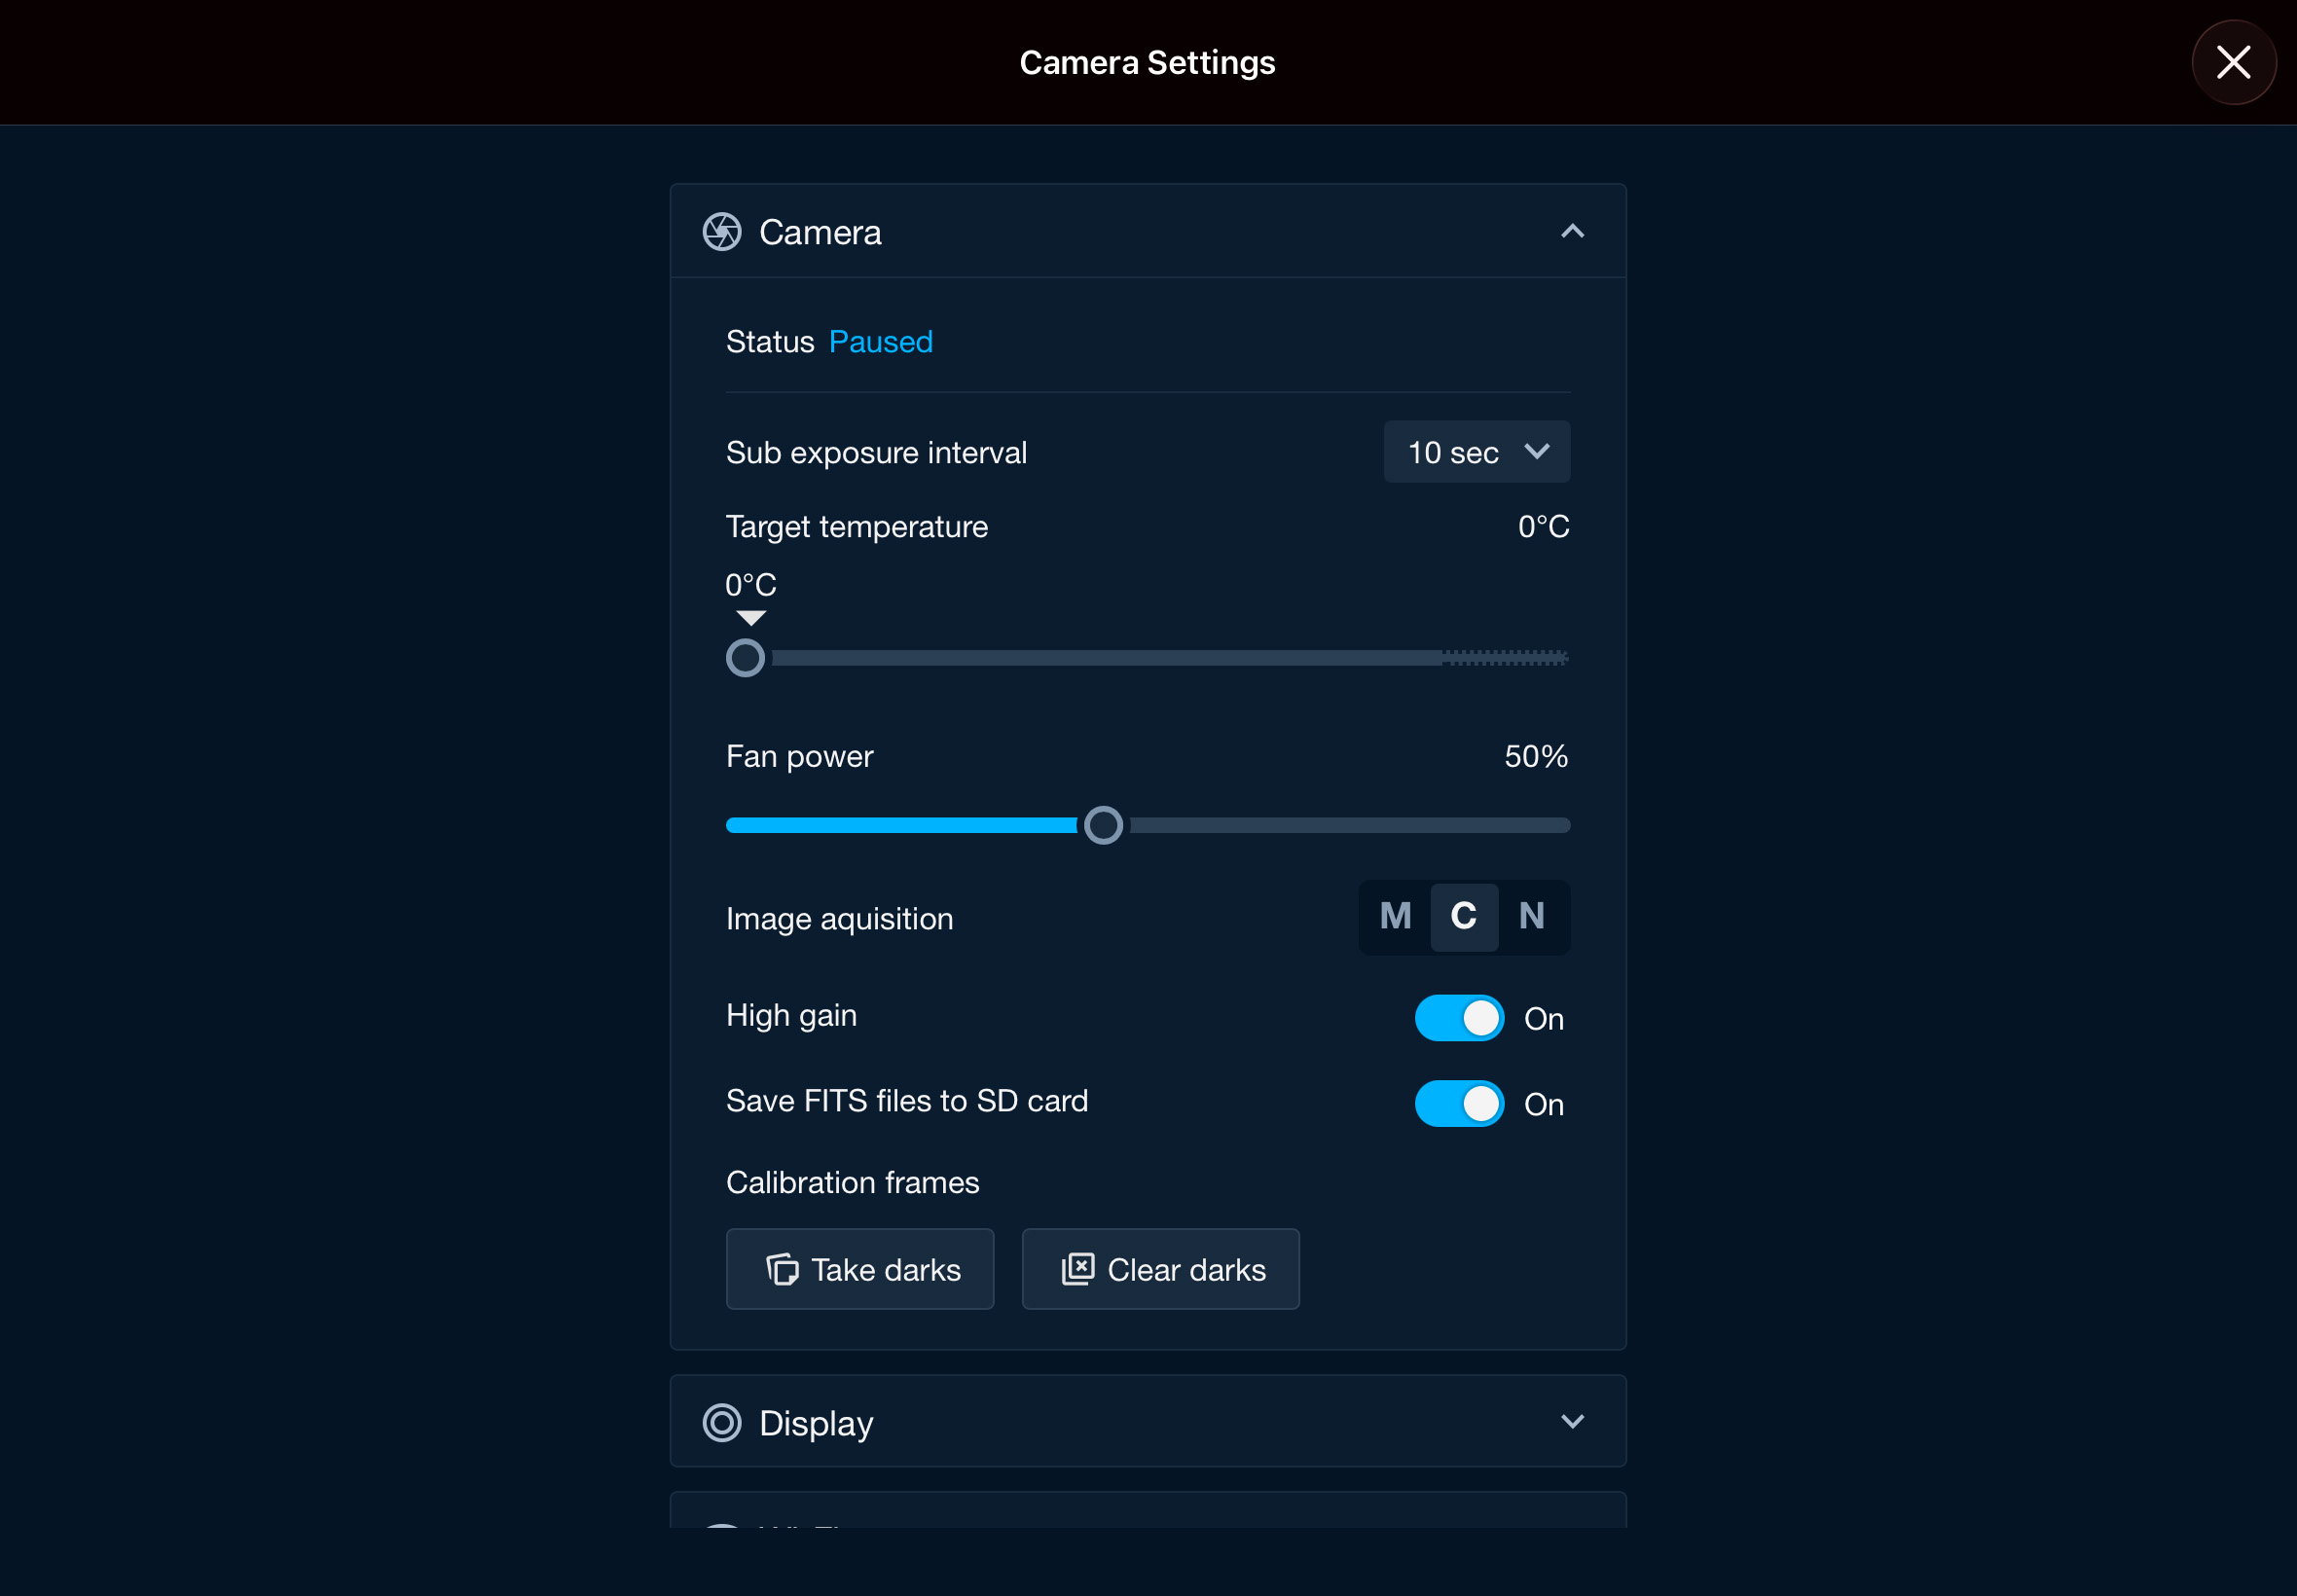
Unlike smart scopes, SmartEye’s sensor is actively cooled, typically to about 0° C, to reduce thermal noise. But as it is just inches away from your ear, you do hear the fan.
I found the instruction’s estimate of battery life accurate – a 10-amp-hour power bank lasted about 2 hours; a 20-amp-hour bank lasted double that. If the power drops too low, SmartEye shuts off without harm, but also without warning.
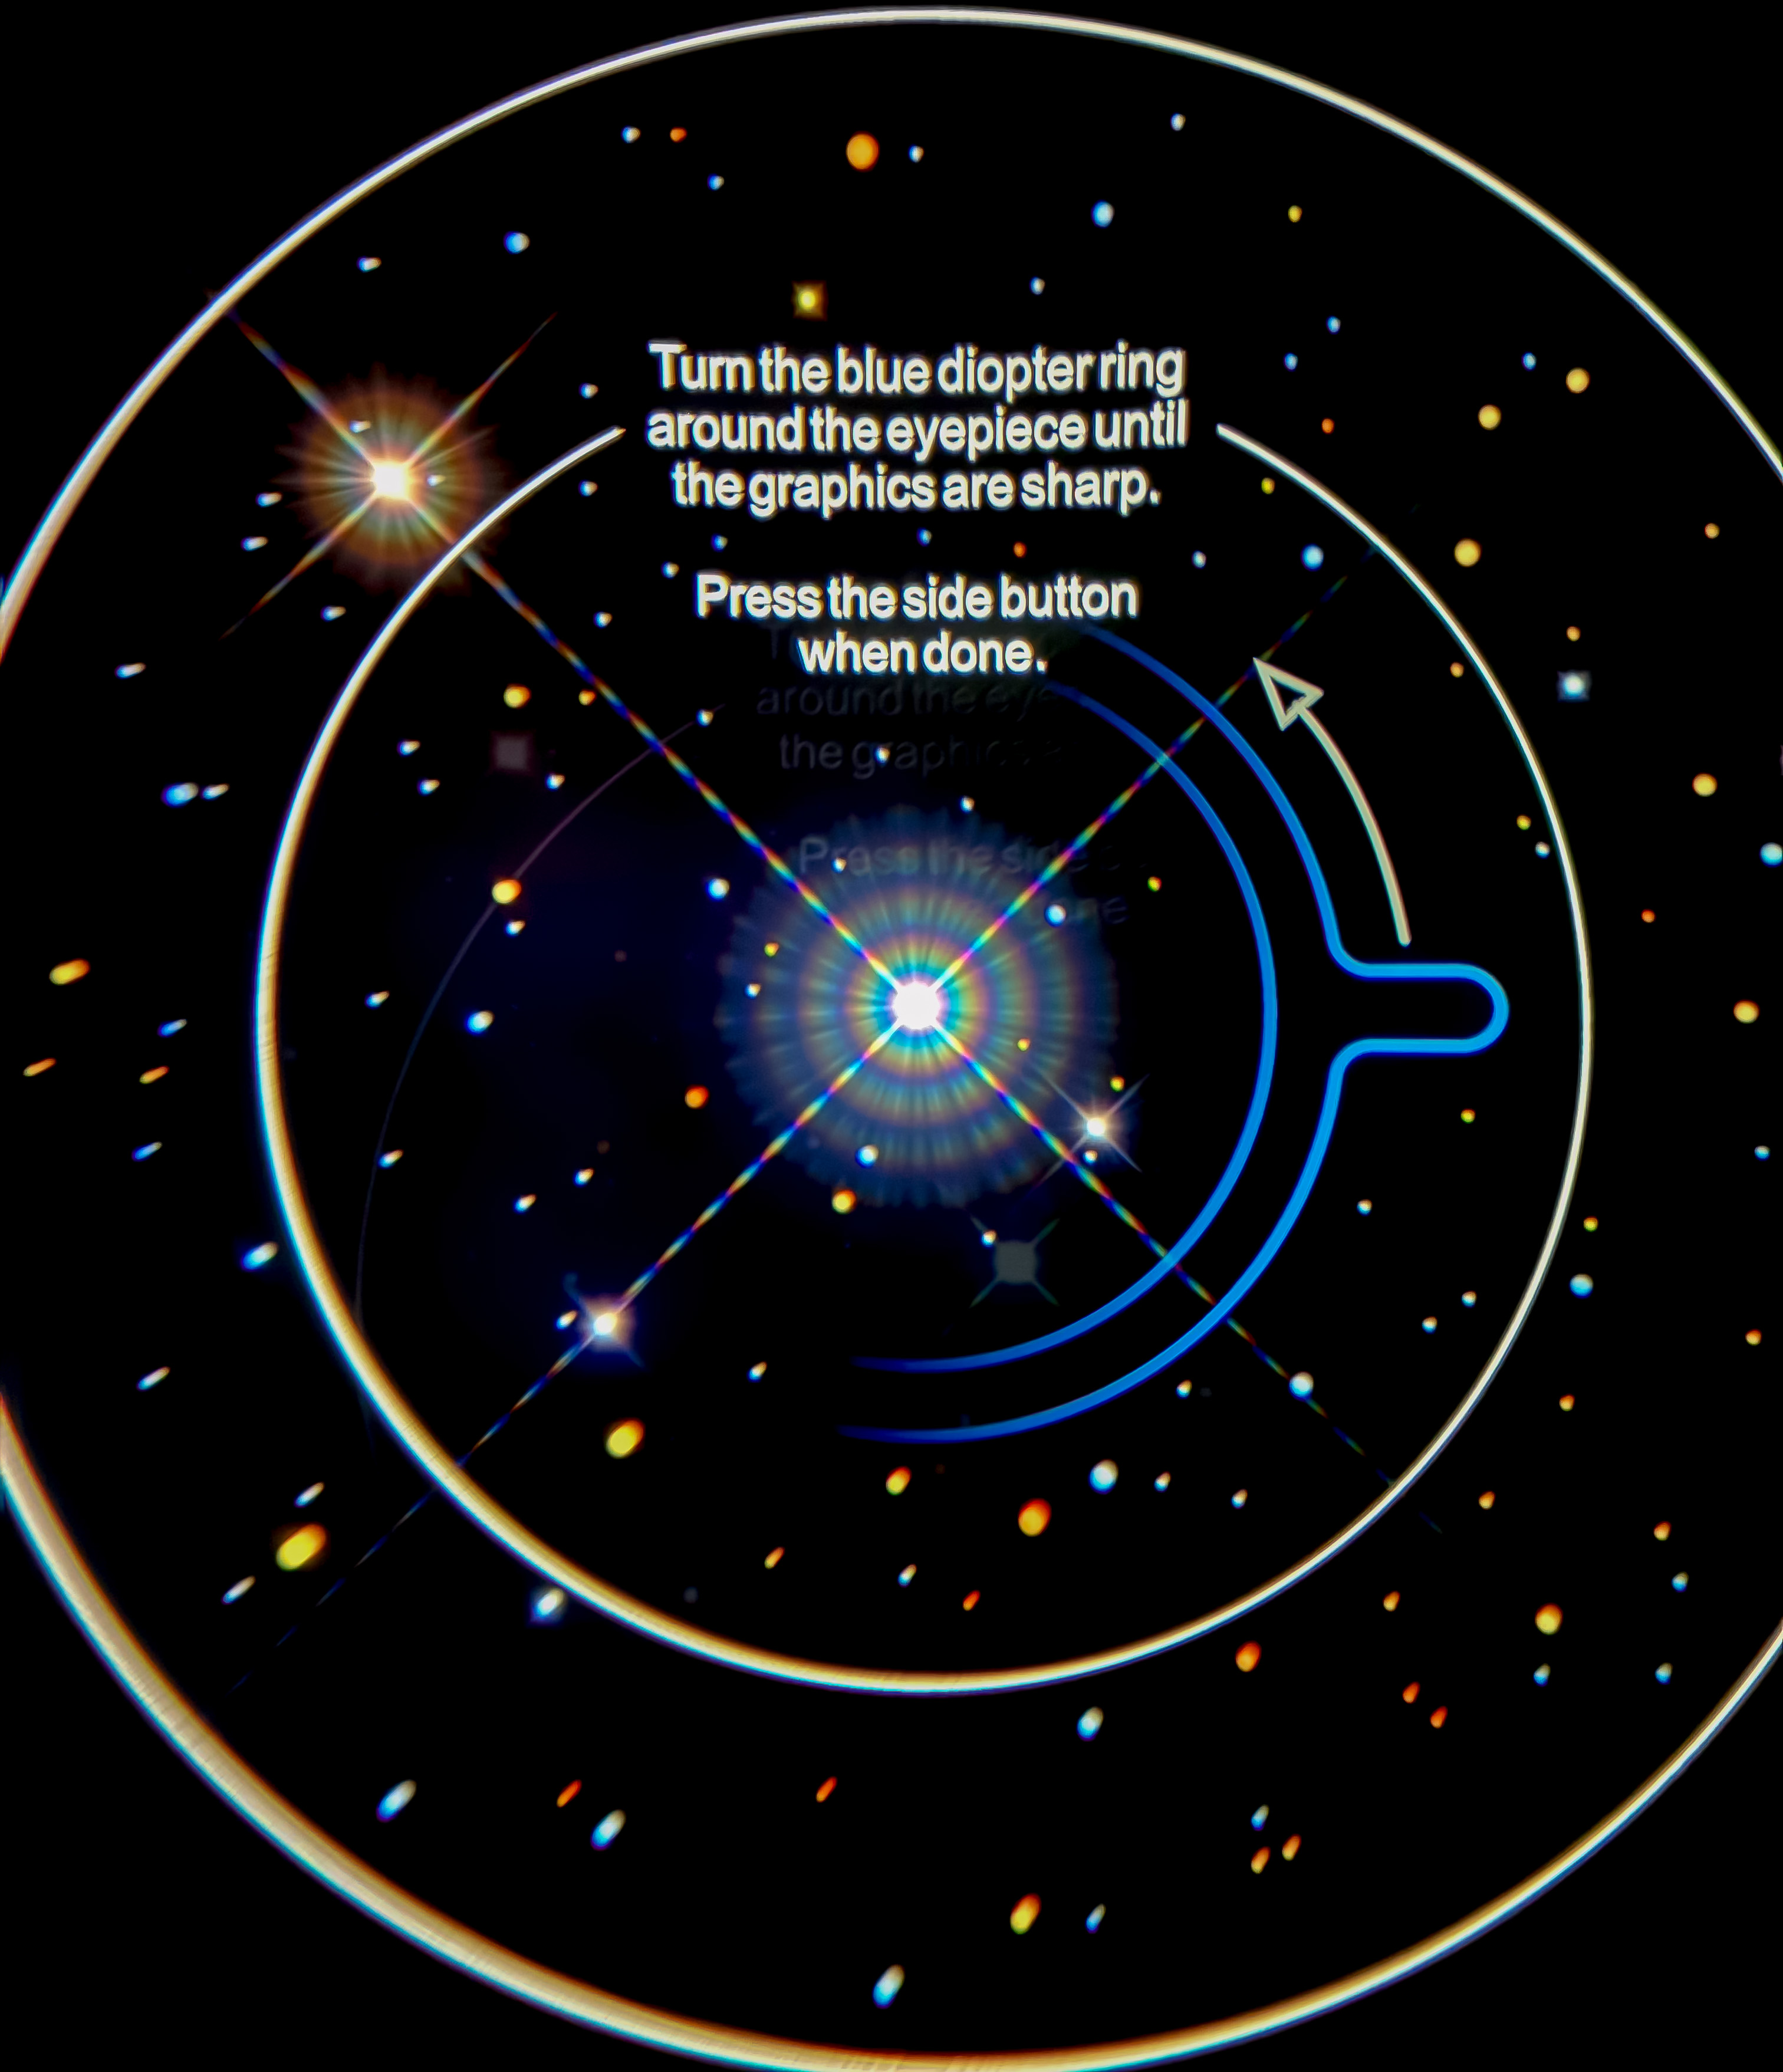
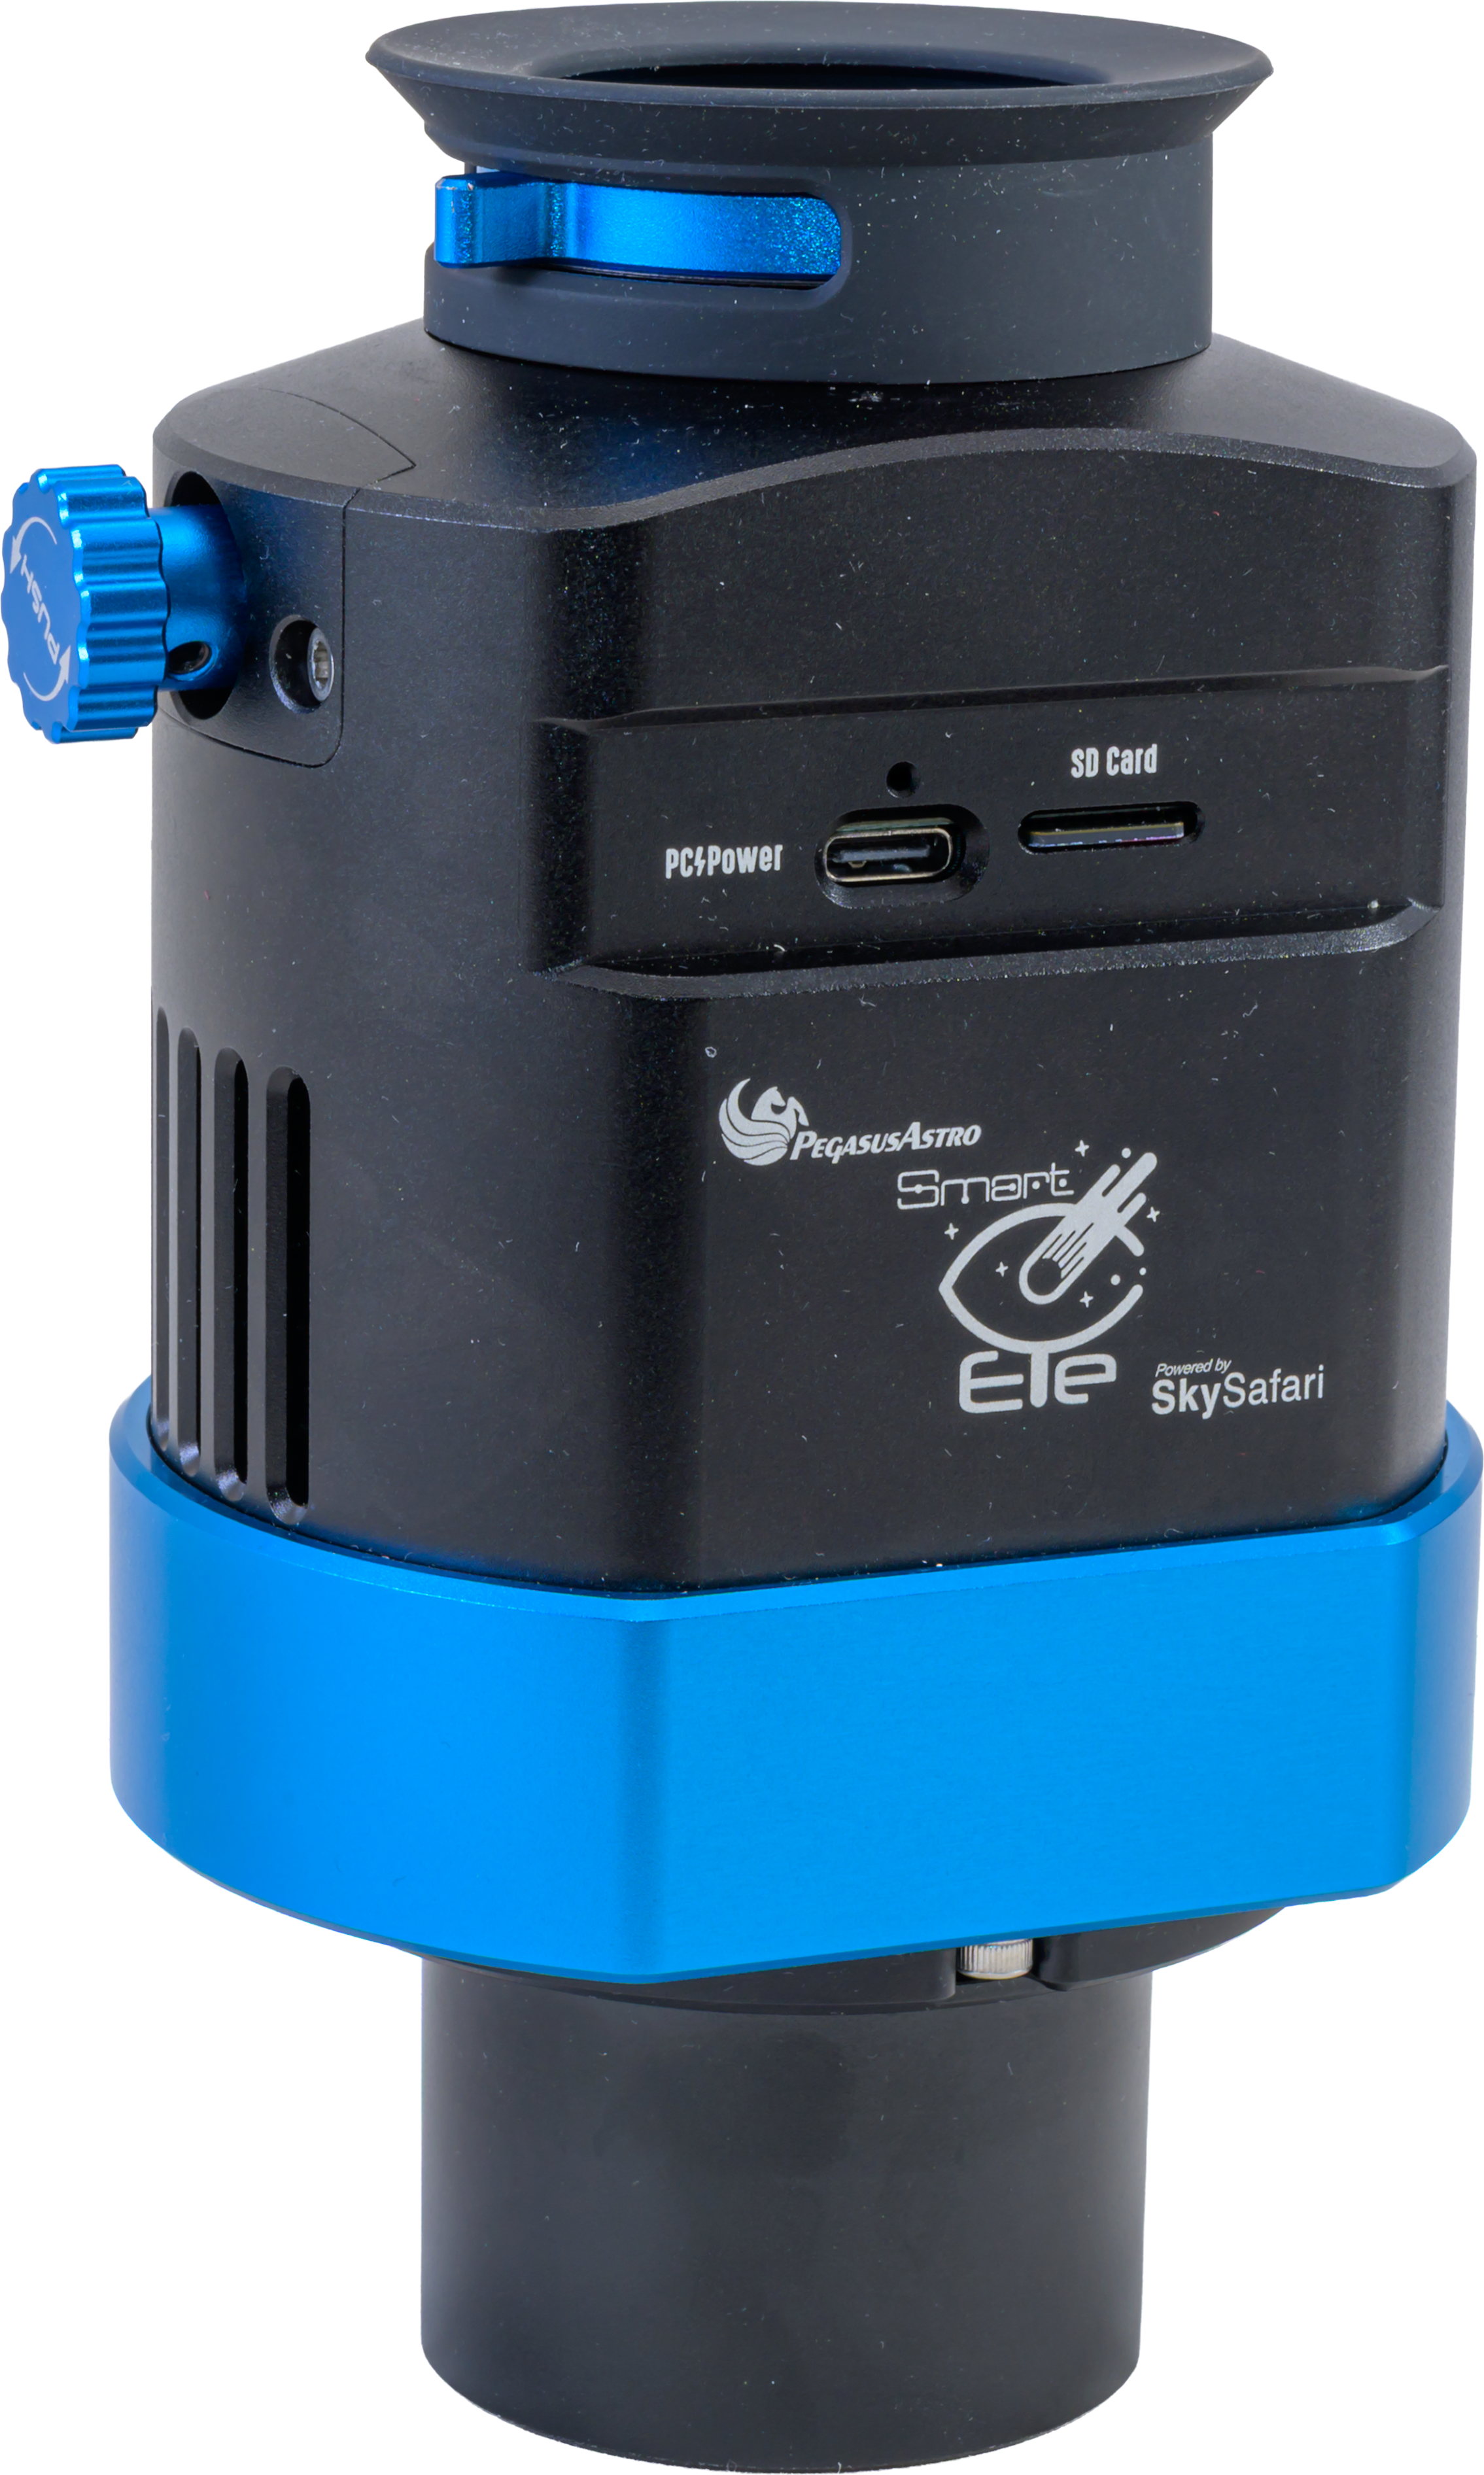
Once connected to power, SmartEye boots up with a screen (above) that first allows focusing the diopter so the screen appears sharp to your eye. That’s done with the large, easy-to-adjust lever on the side of the eyepiece.
While the eyepiece has comfortable eye relief, just enough to use eyeglasses, seeing the entire field requires your eye be right up to and centered on the rubber eyecup. If your eye is back too far or off-centre, stars look very distorted, far more than with an optical eyepiece.
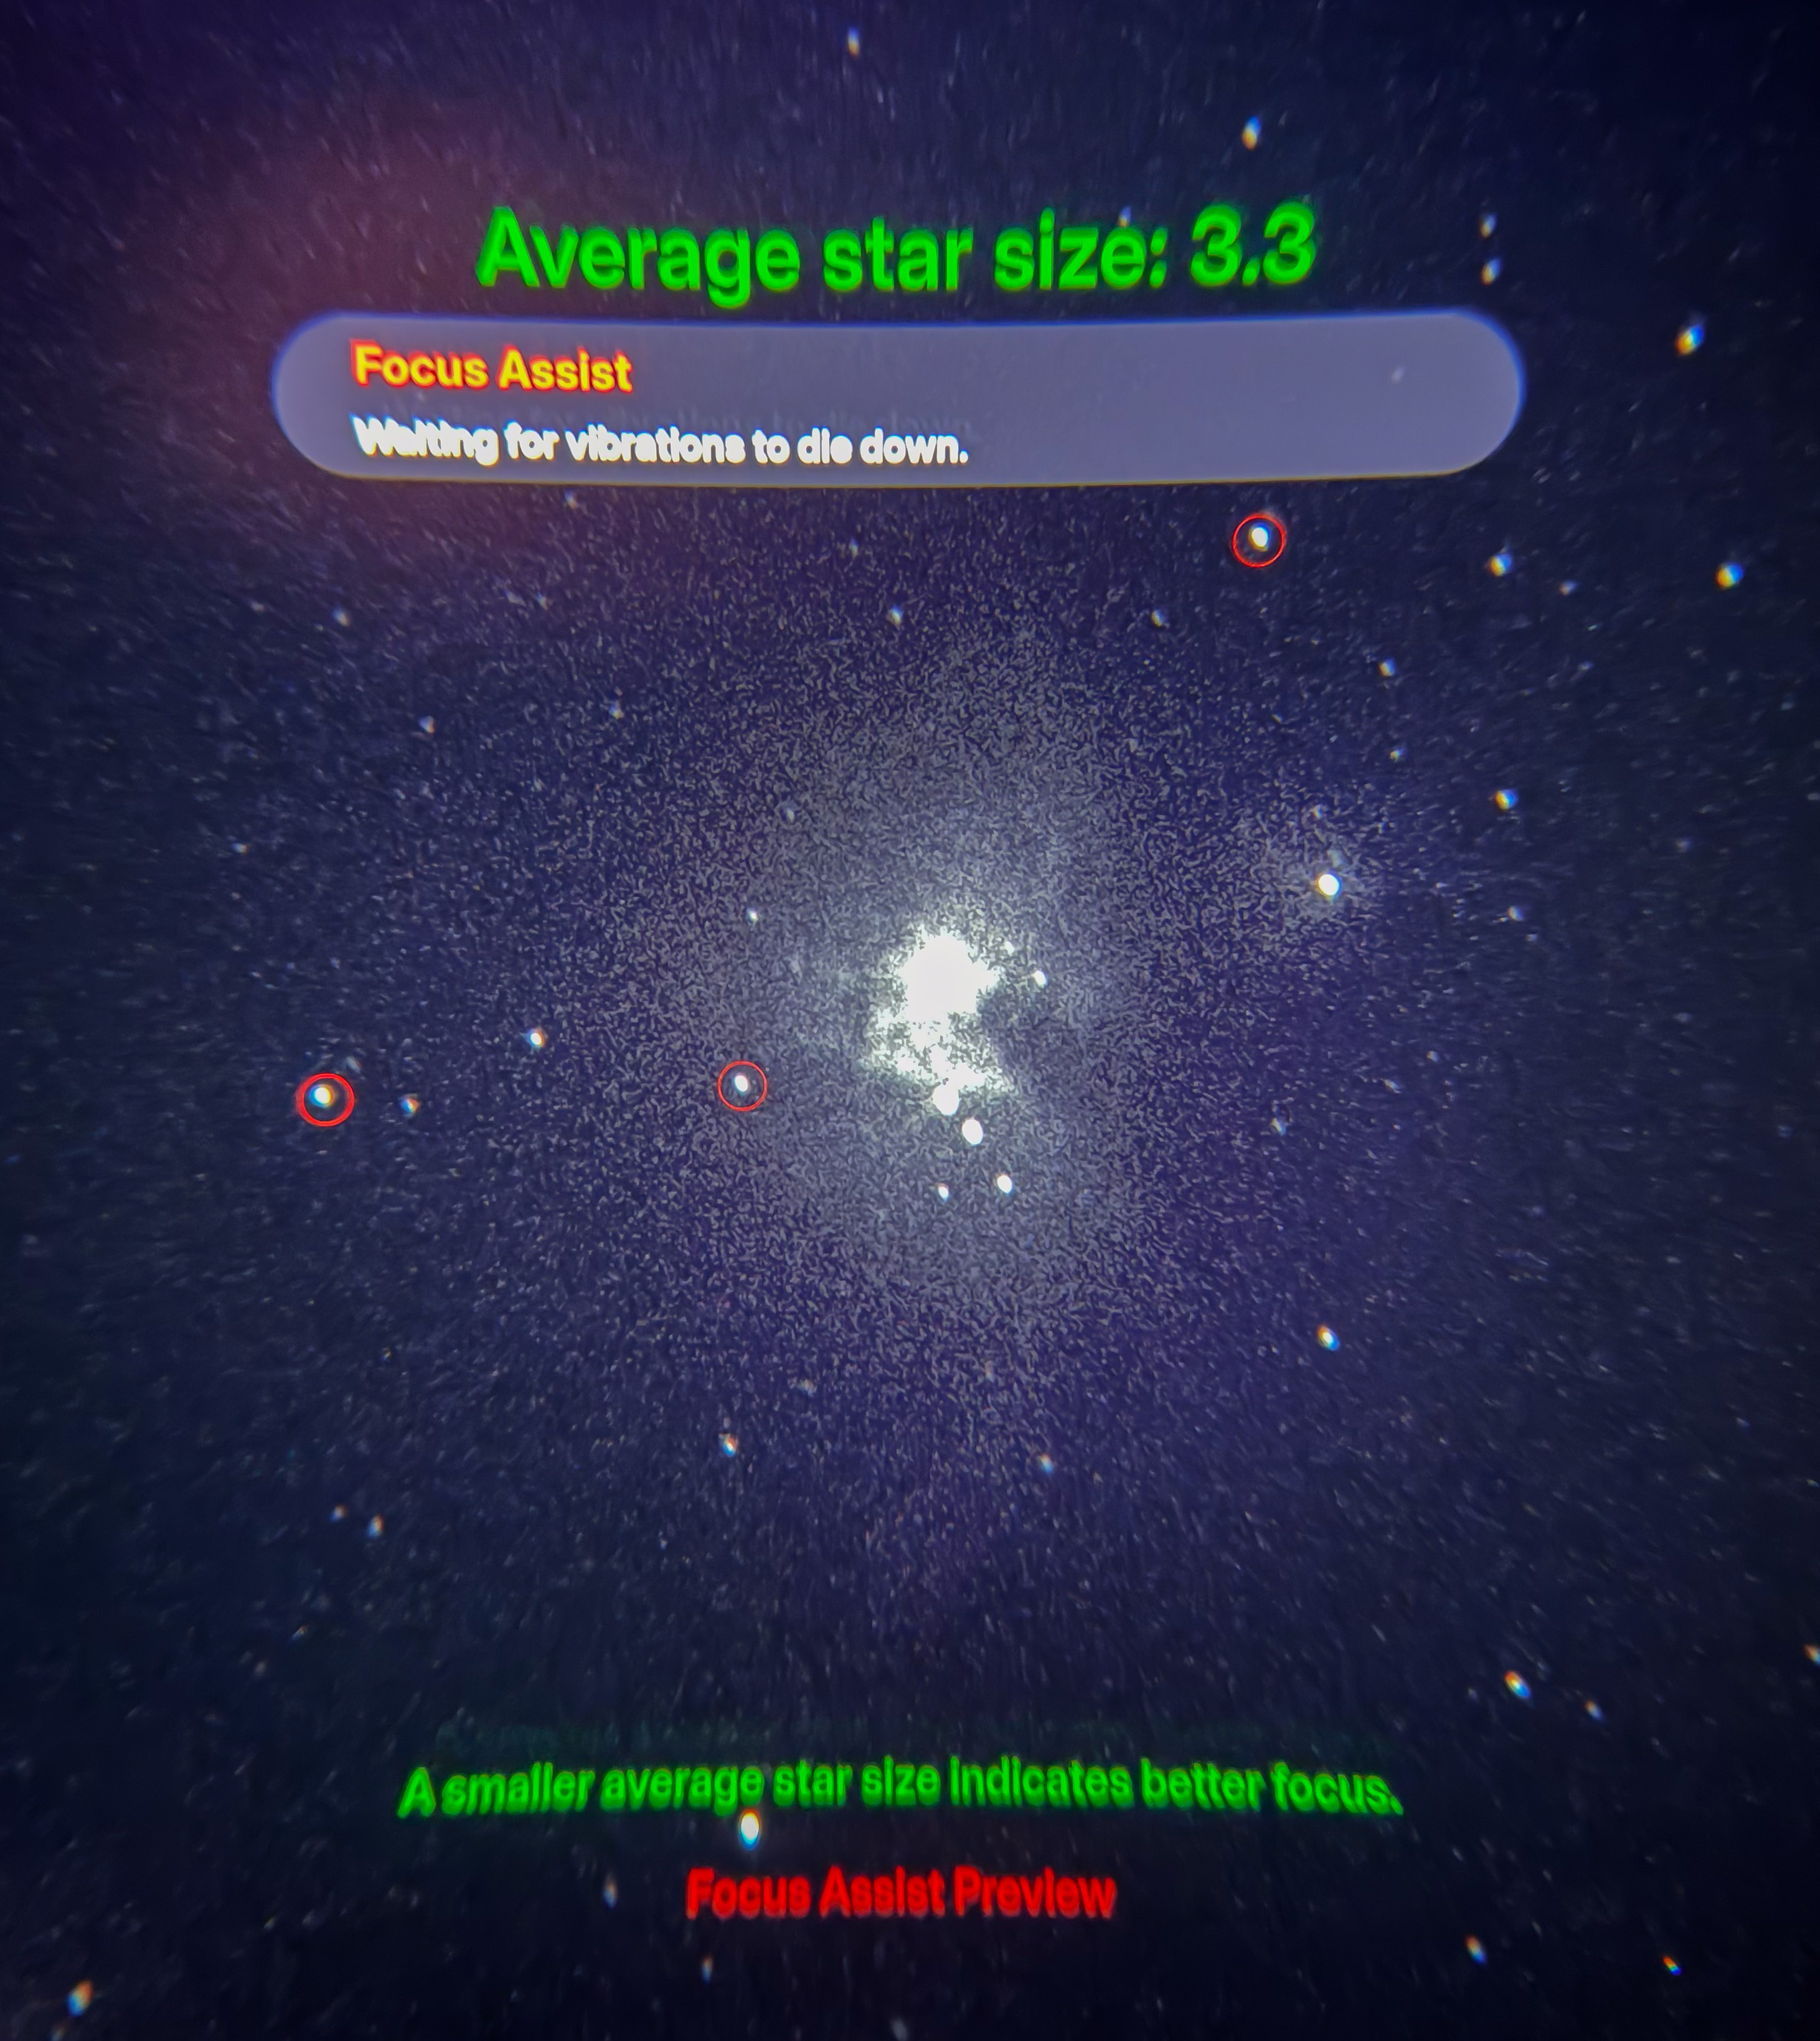
After focusing the diopter you enter “Live View” that presents an image refreshing every 1/2 second. This allows focusing the telescope. “Focus Assist” overlays provide a numerical readout of star sizes – the smaller the number, the sharper the image.
The numbers tended to fluctuate in value, making it hard to nail the most precise focus. For visual use the accuracy was good enough. But for critical imaging I found focusing first on a bright star using a Bahtinov mask (as with any deep-sky imaging) did noticeably improve sharpness.
Live View also allows centering a target. Bright deep-sky objects will be visible. However, I found the bright Focus Assist overlays (which can’t be dimmed or turned off) made it difficult to see faint targets. In that case, checking if a target was in the field required starting an imaging sequence, what SmartEye calls a “New Observation.”
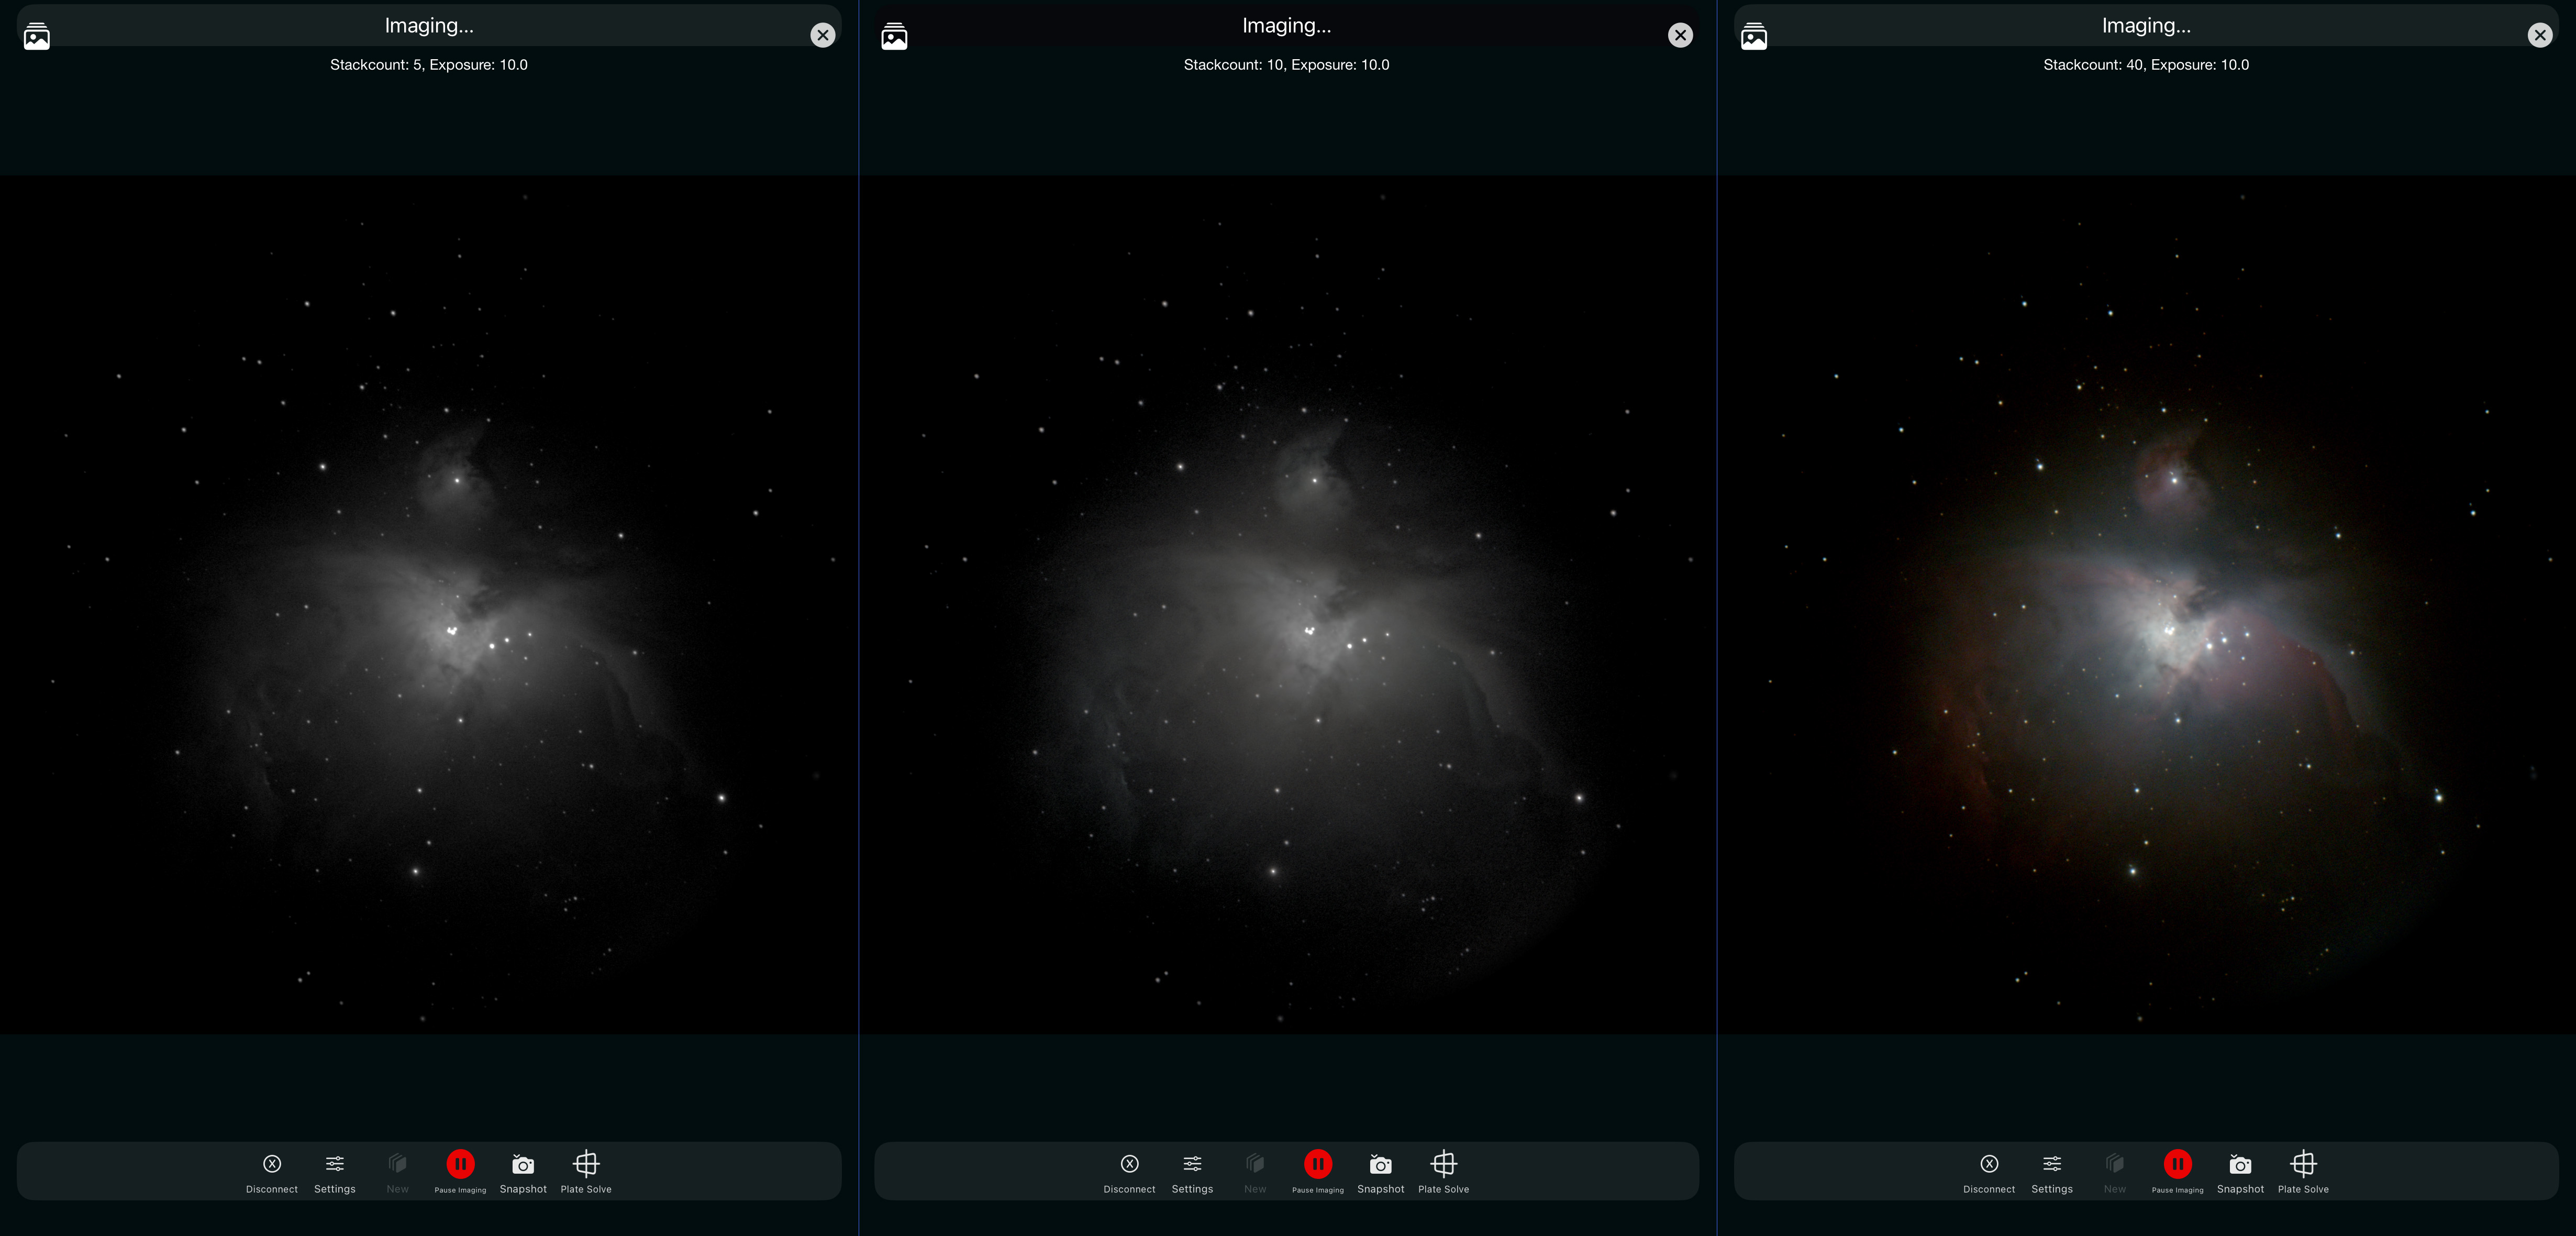
SmartEye then takes and accumulates 10-second exposures (by default; the exposure time can be varied by the user from 5 to 30 seconds). After just one or two exposures the object appears much brighter than in Live View. After a few more exposures detailed structure begins to emerge. But it takes a couple of minutes for colours to appear.
After a few more minutes the view stabilizes, so most people in line at your telescope should see much the same view.
The View Through SmartEye
I had only one opportunity during my test period to use the SmartEye at a public outreach event, and the reaction was universally “Wow! This is the best thing I’ve seen all night!” It was the showpiece globular cluster Messier 13 through only an 80mm refractor. But people could see it as a ball of stars, not just as a fuzzy glow.
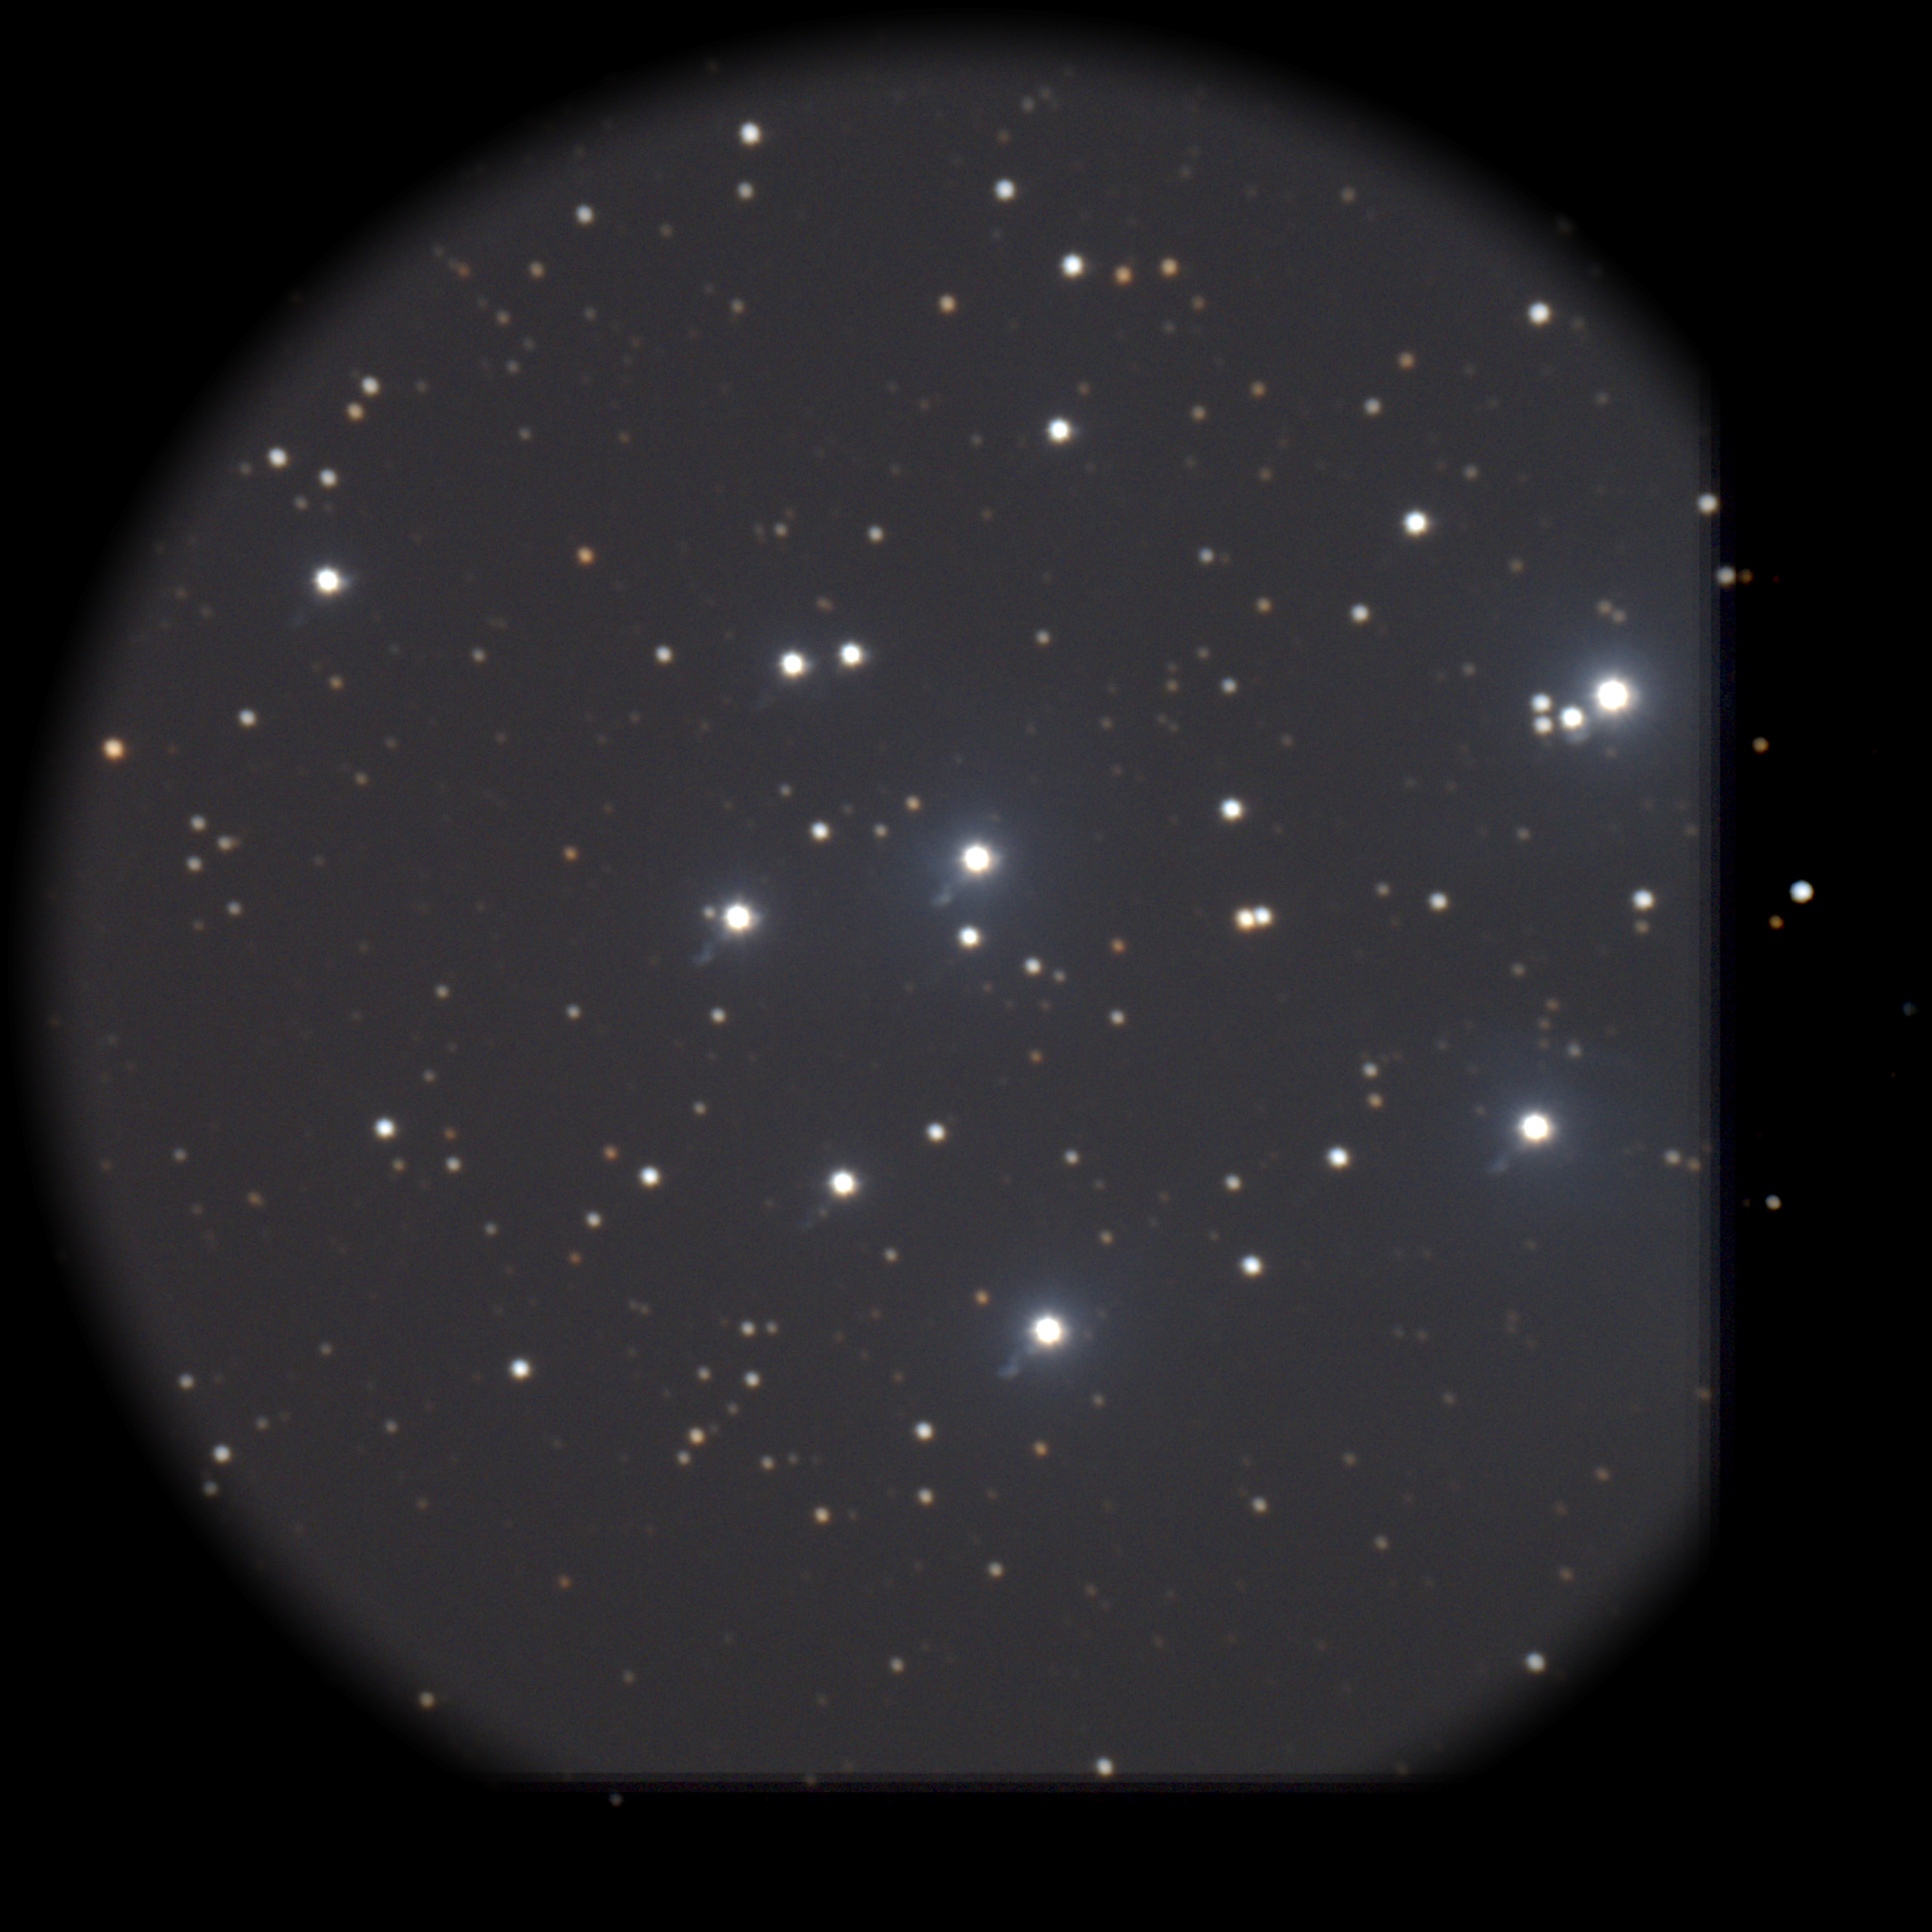
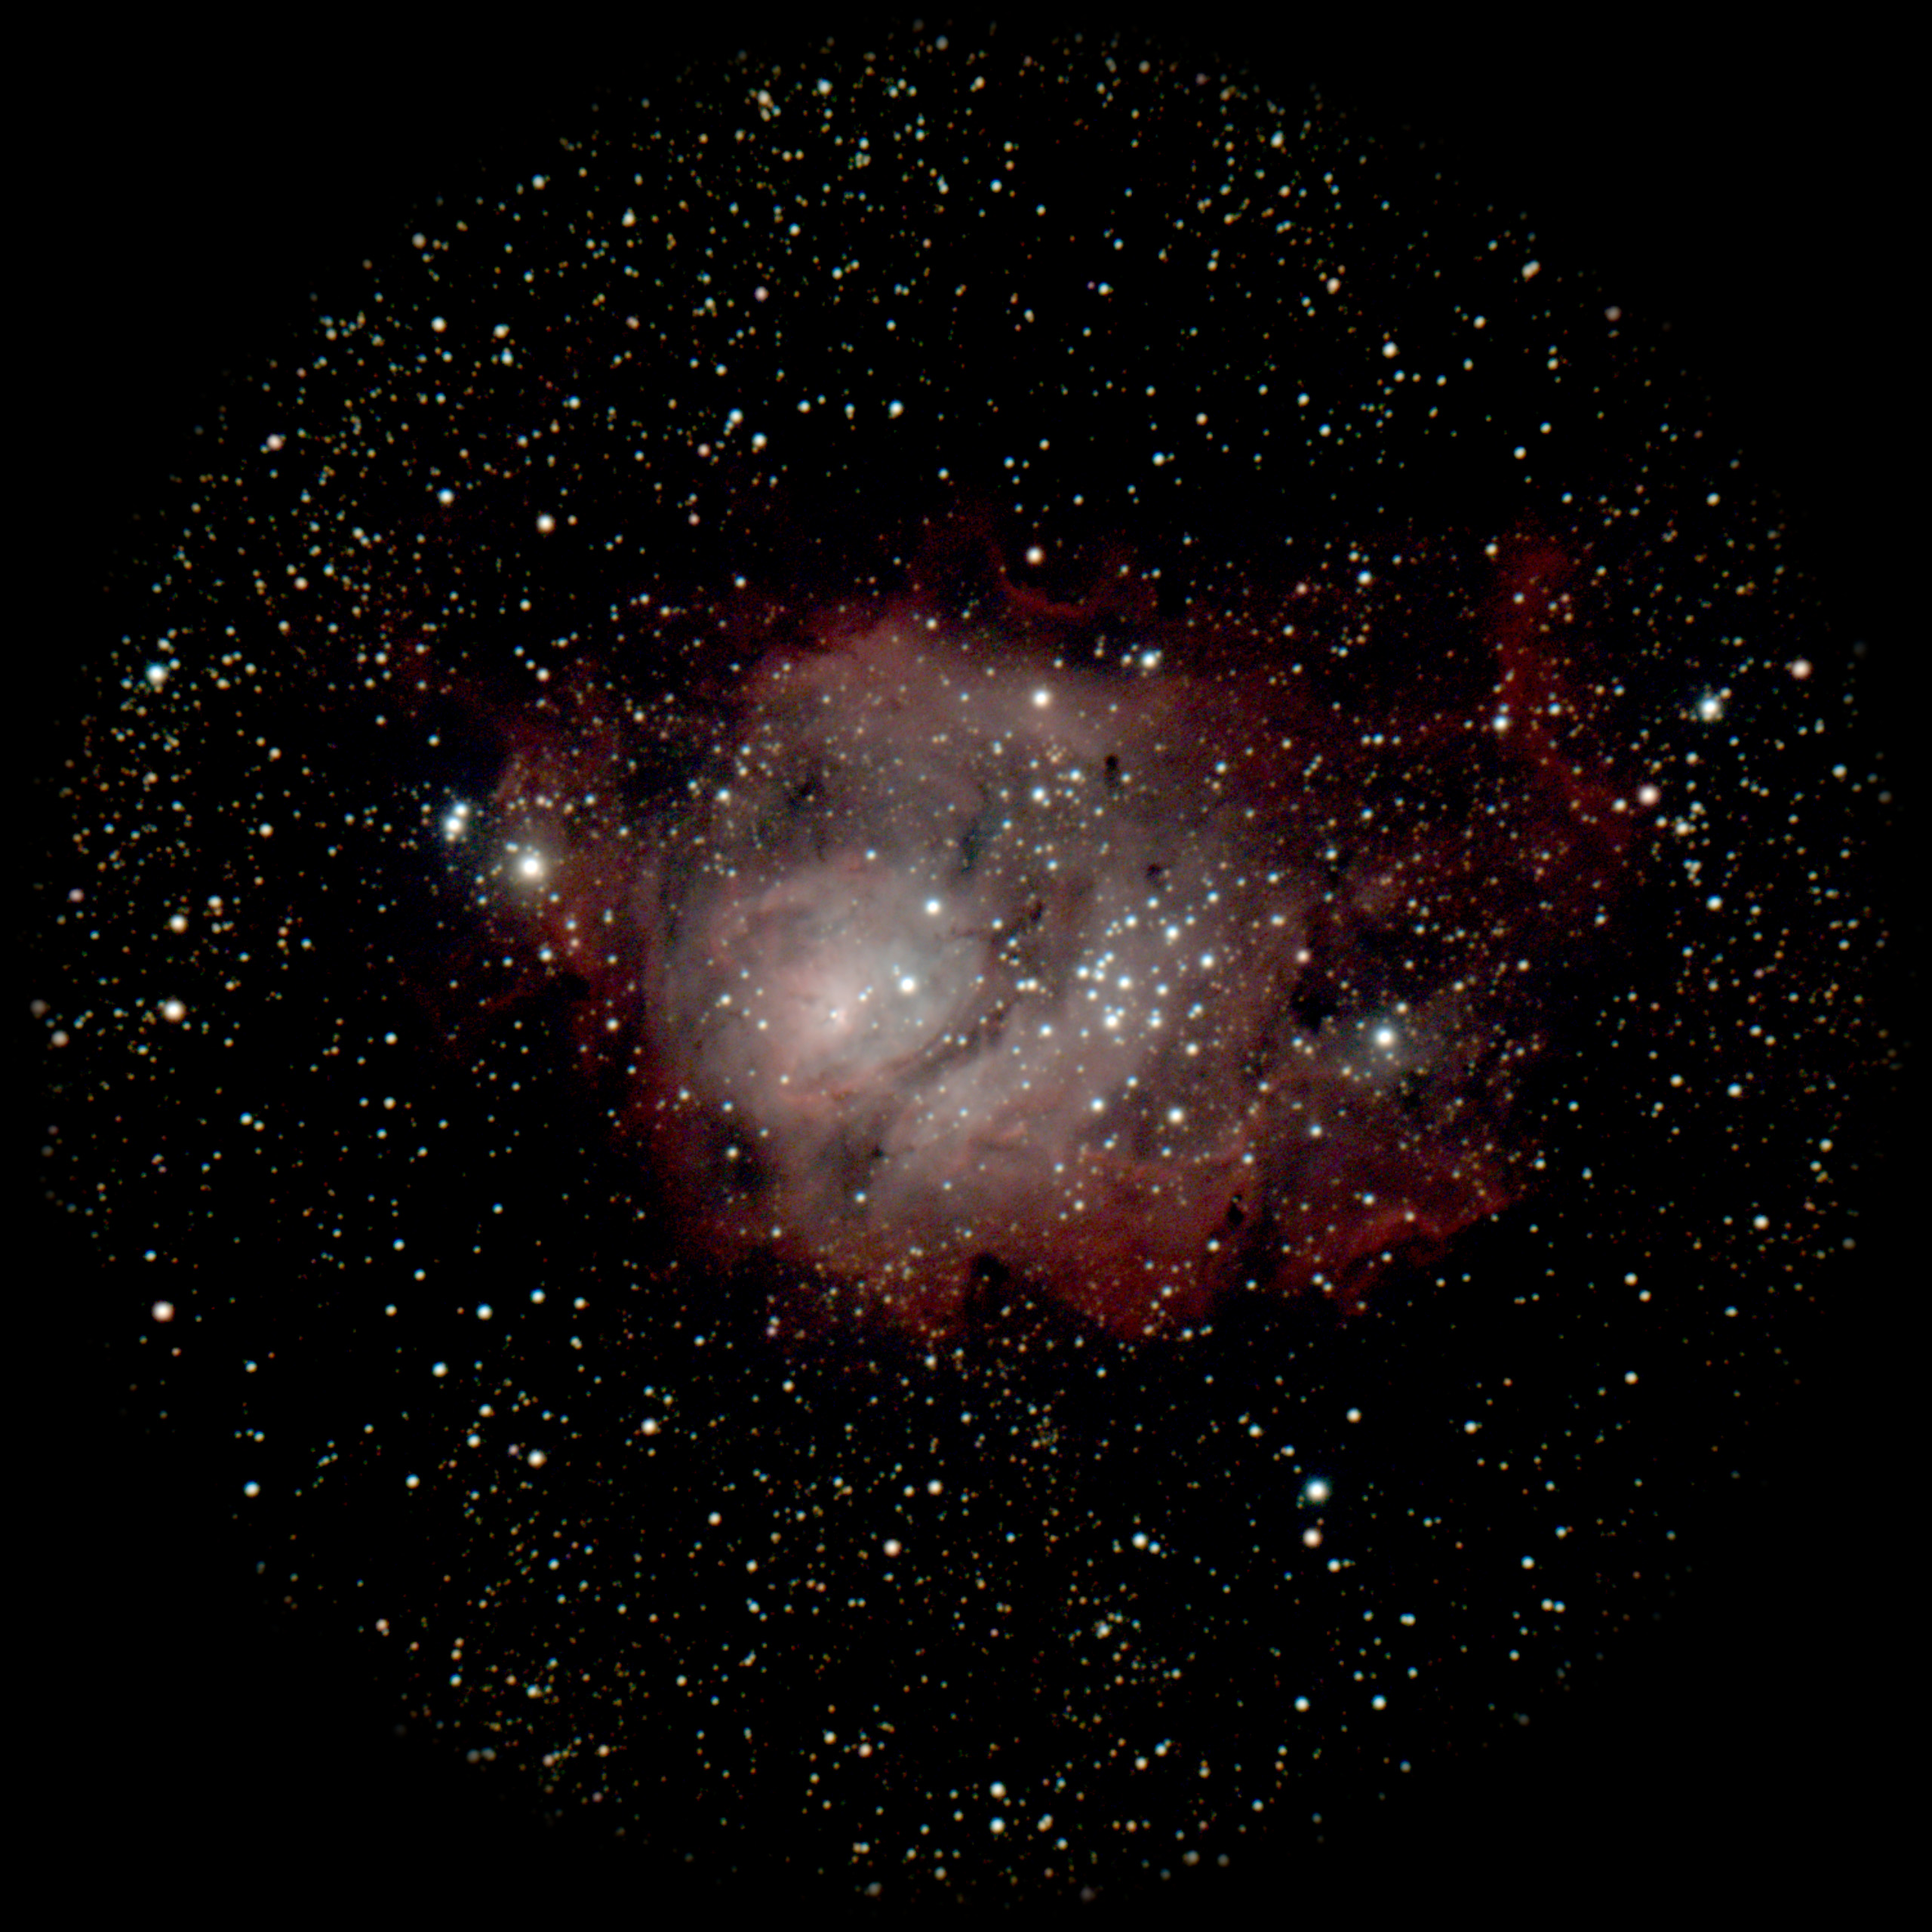
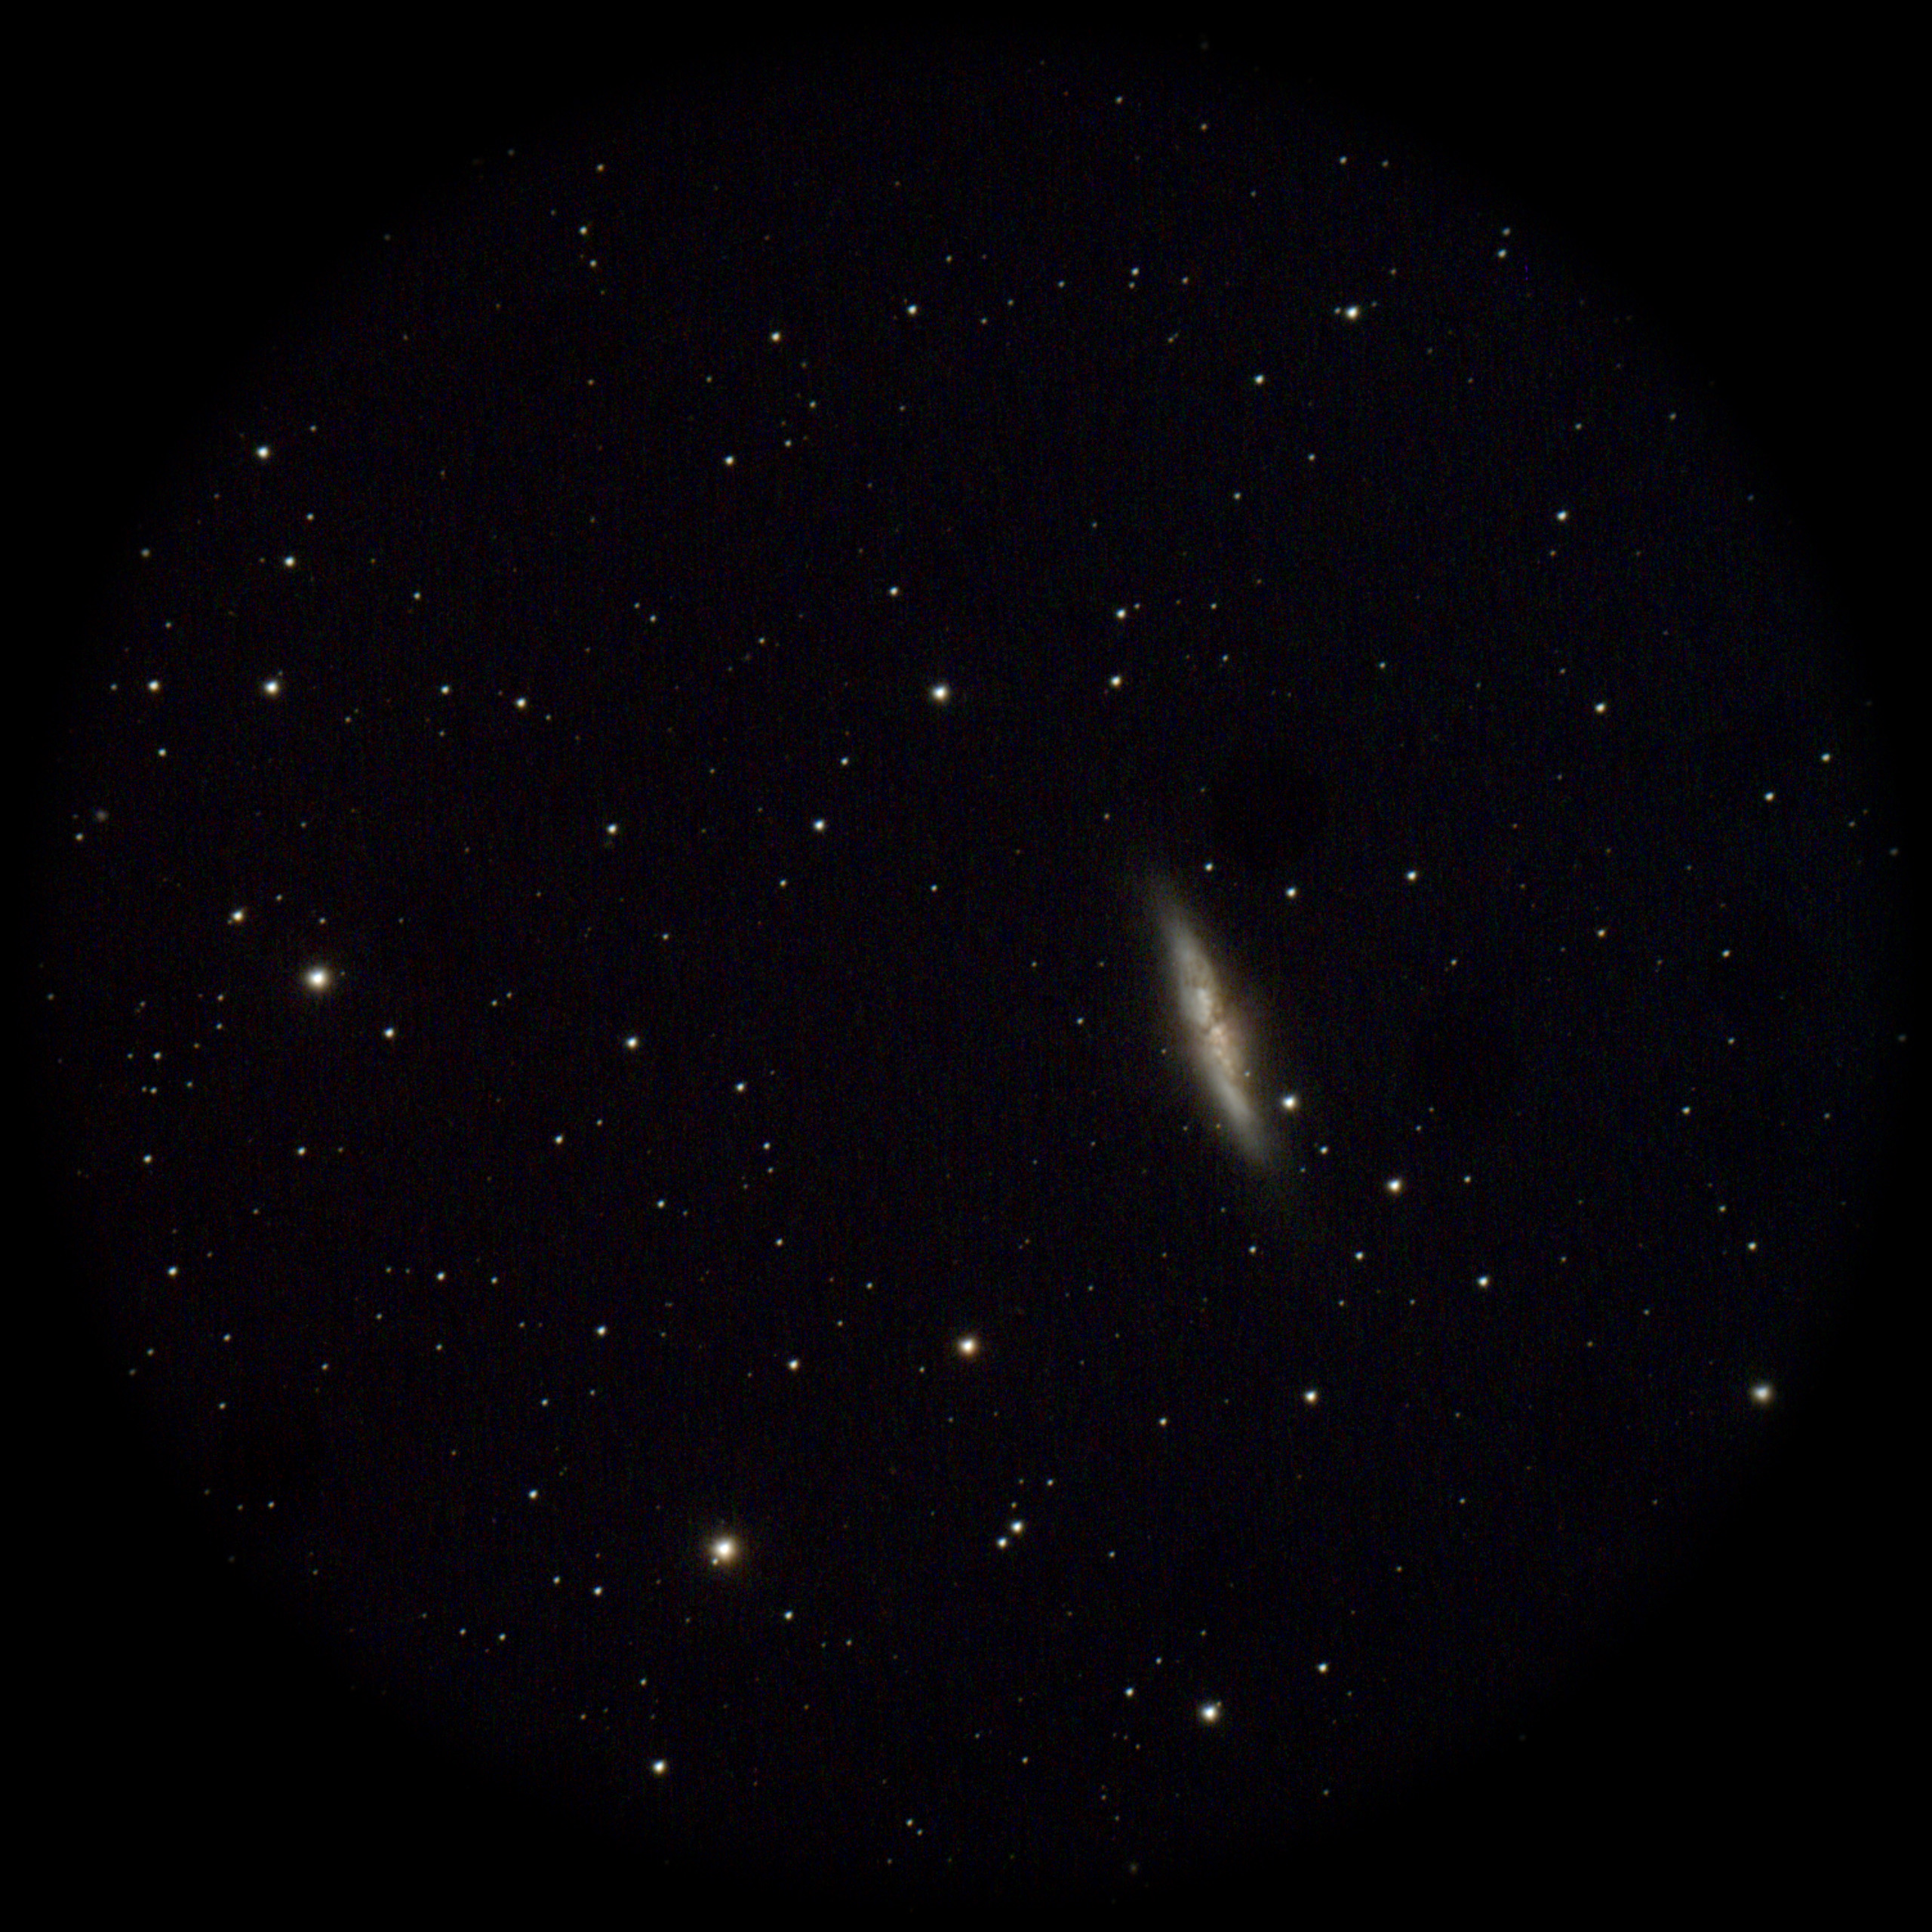
Click or tap on the images below to view them full-screen. All SmartEye images present the objects as they looked live in the eyepiece. No post-processing was applied.
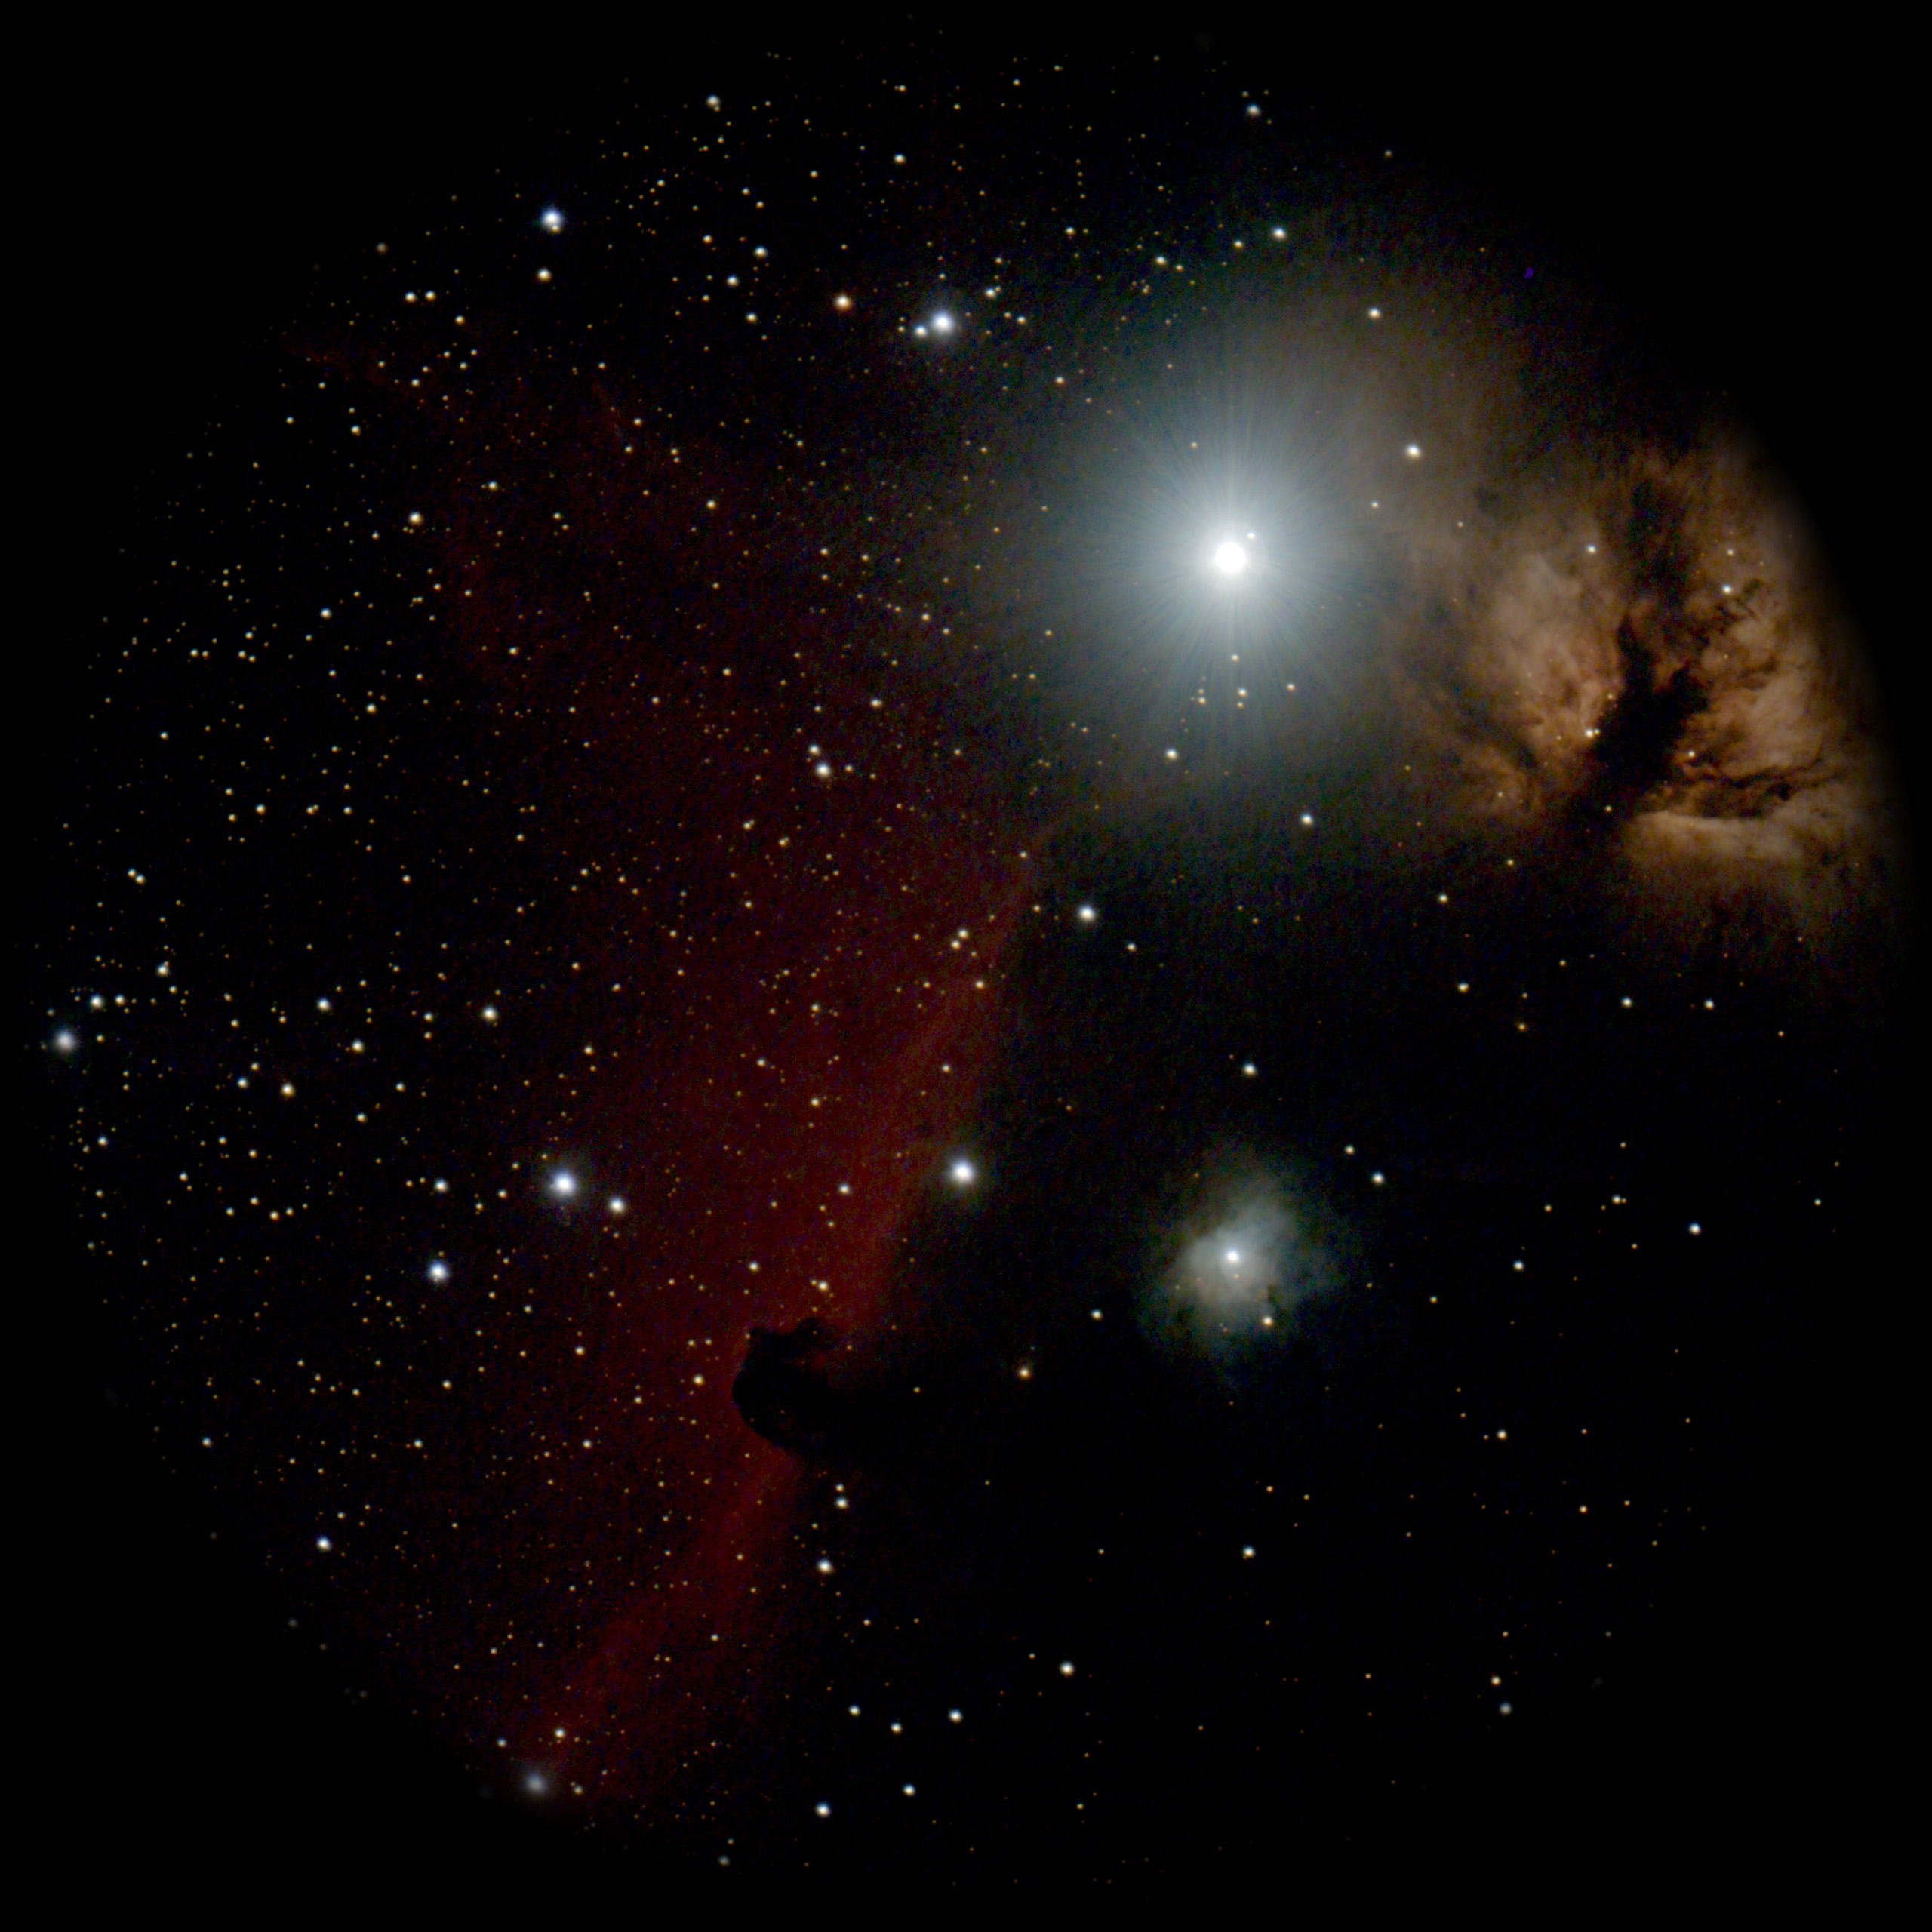
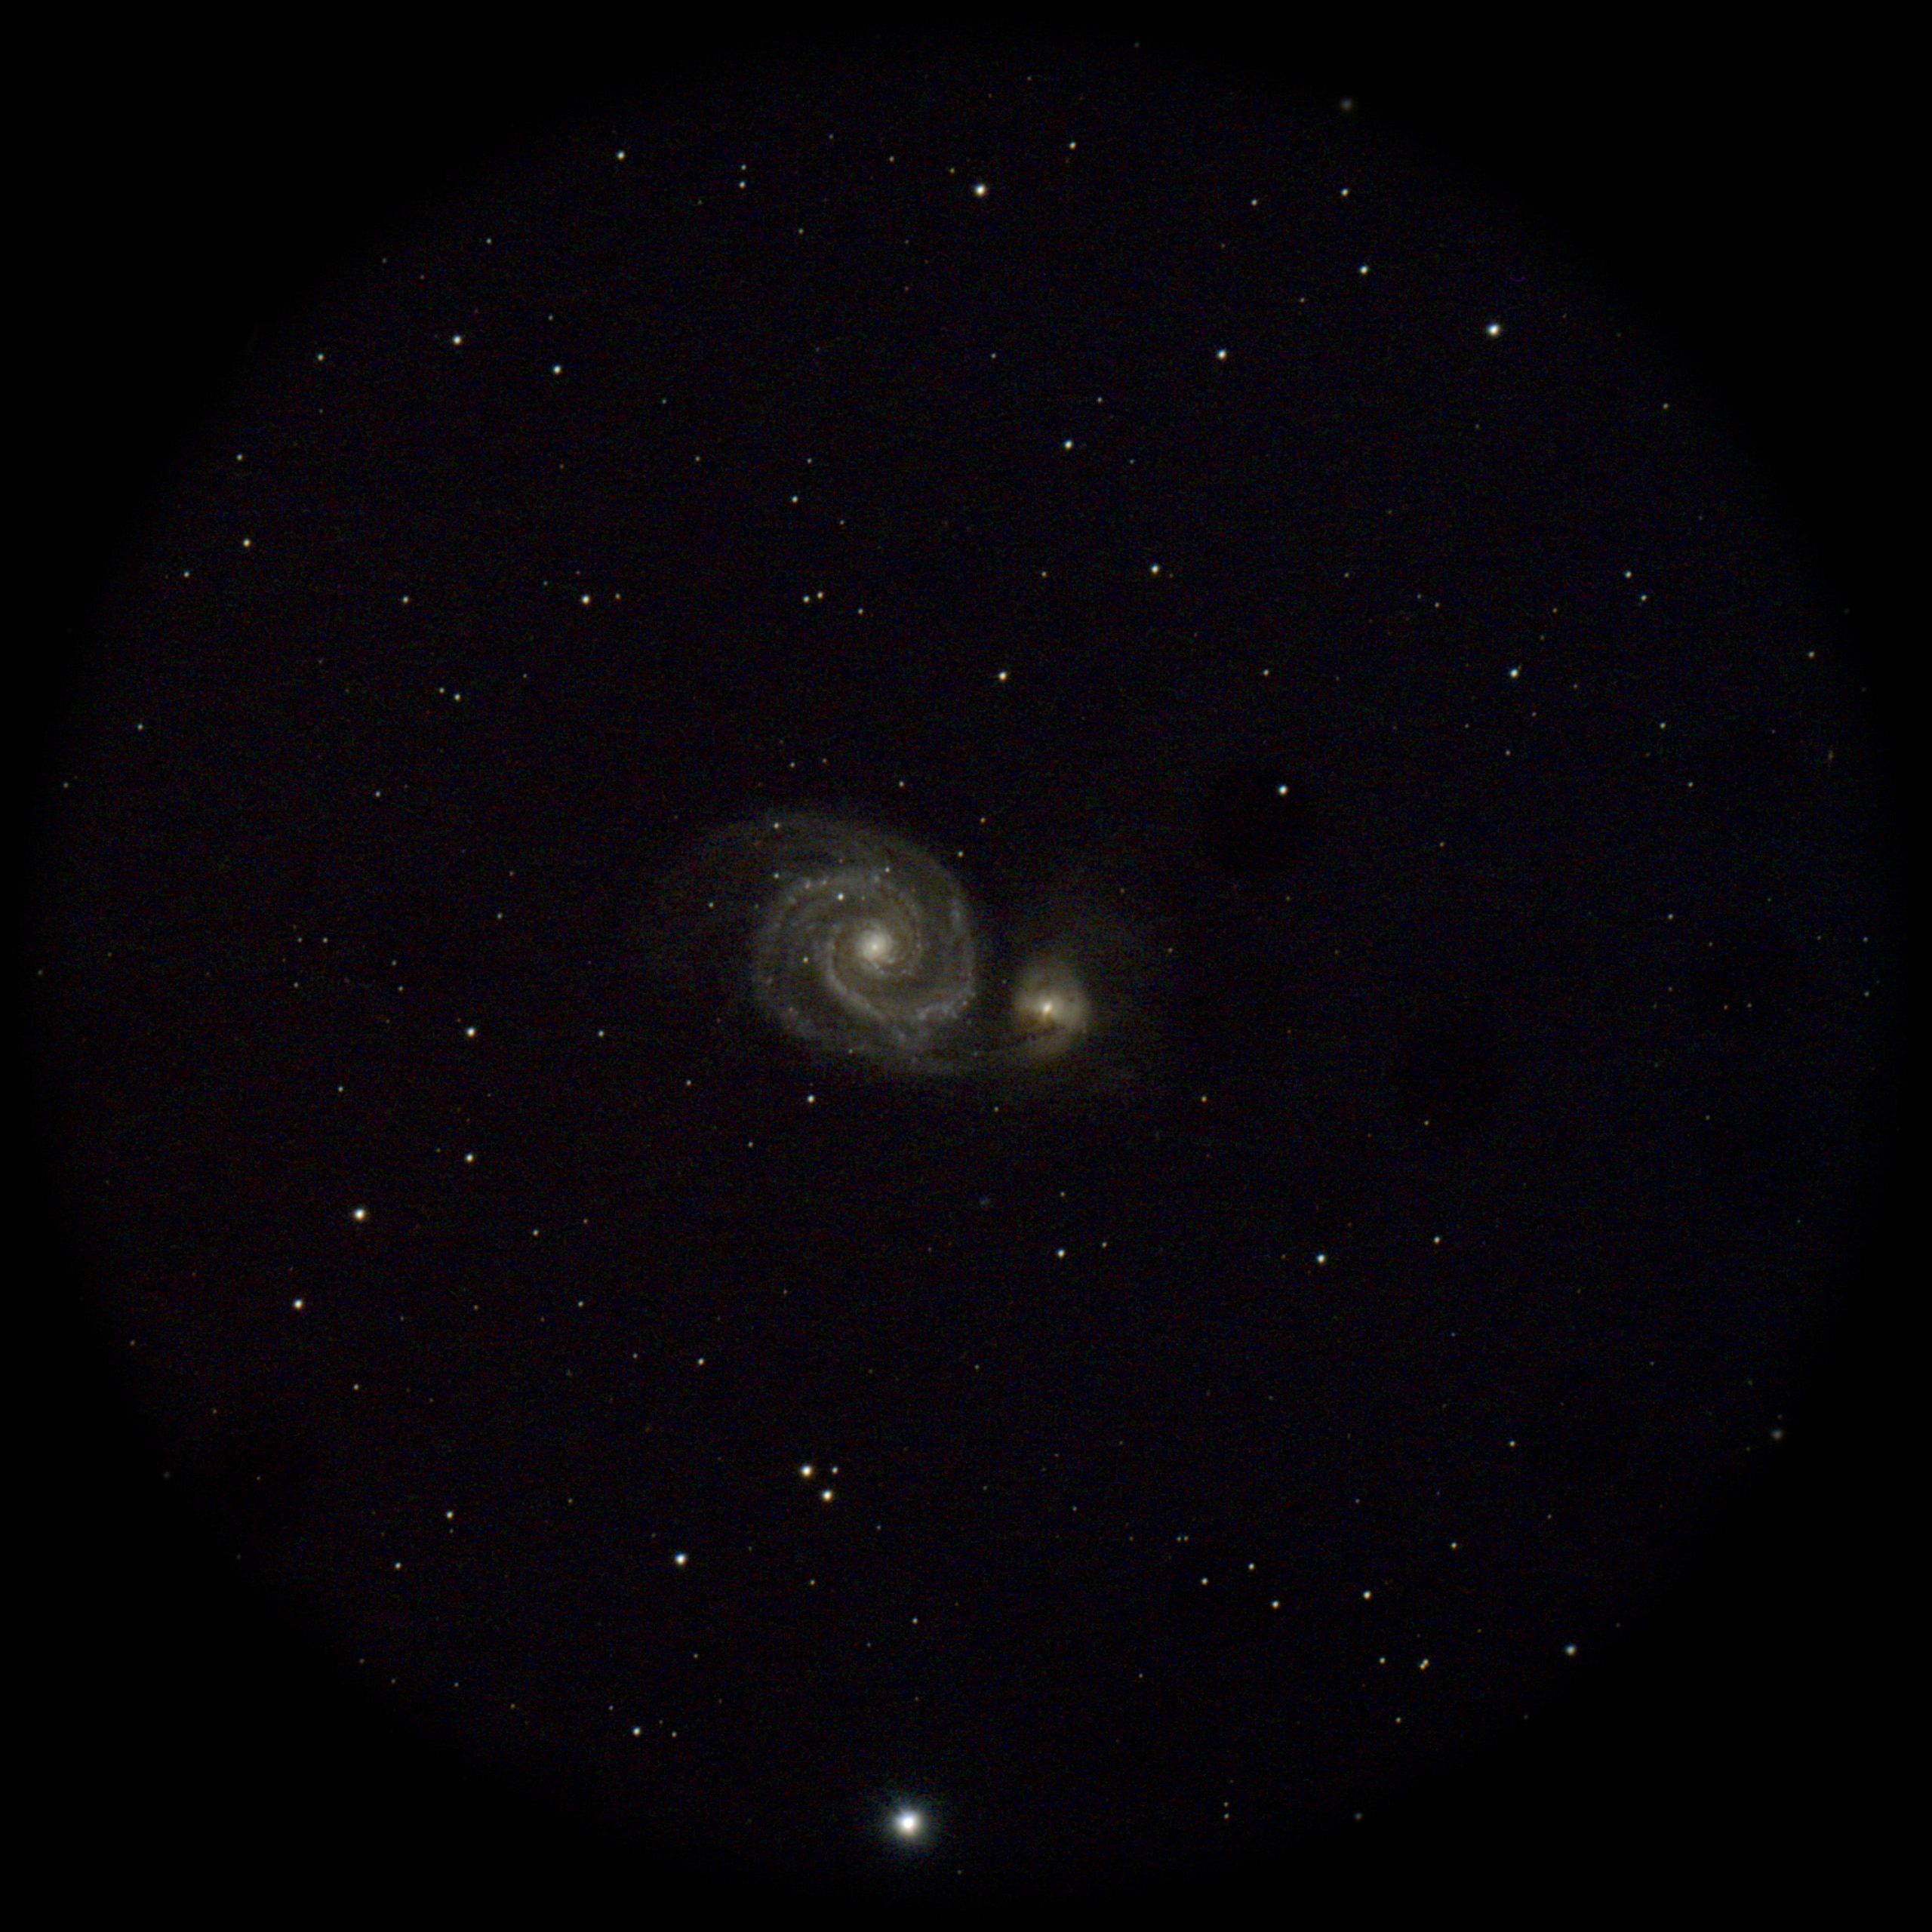

The screen has 2560 by 2560 pixels, enough resolution it is not obvious you are looking at a screen. Only when viewing dim targets does speckled noise become visible, giving away the fact you are viewing an electronic image. But most objects look quite natural, with the exception they are eerily still – there is no scintillation or wavering from atmospheric “seeing.” Stars also appear in different sizes, not all as pinpoints.
As soon as you exit an Observation SmartEye automatically saves the stacked final image as an 8-bit PNG file onto a user-supplied microSD card. (Imagers can opt to have it also save all sub-frames as 16-bit FITS files for stacking later. Those are square images measuring 3008 x 3008 pixels.)
All the images presented here are the “out-of-camera” PNG stacks; I did not process them further. They record the objects just as they looked “live” through the eyepiece, complete with a round mask, and flipped mirror-image because SmartEye was inserted into a star diagonal. There is no option for flipping the image back to normal “in-camera.”
While SmartEye performs some internal noise reduction and dark-frame subtraction, there are no “AI” enhancements, which I think is a good thing!
However, a Gamma contrast adjustment provides some control over what the image looks like. A higher gamma of 1.2 makes faint features more visible; a lower gamma of 0.8 prevents bright areas from blowing out. However, the instructions don’t tell you this contrast adjustment gets baked into the saved PNG stacked image; it is not just a change in the displayed image.
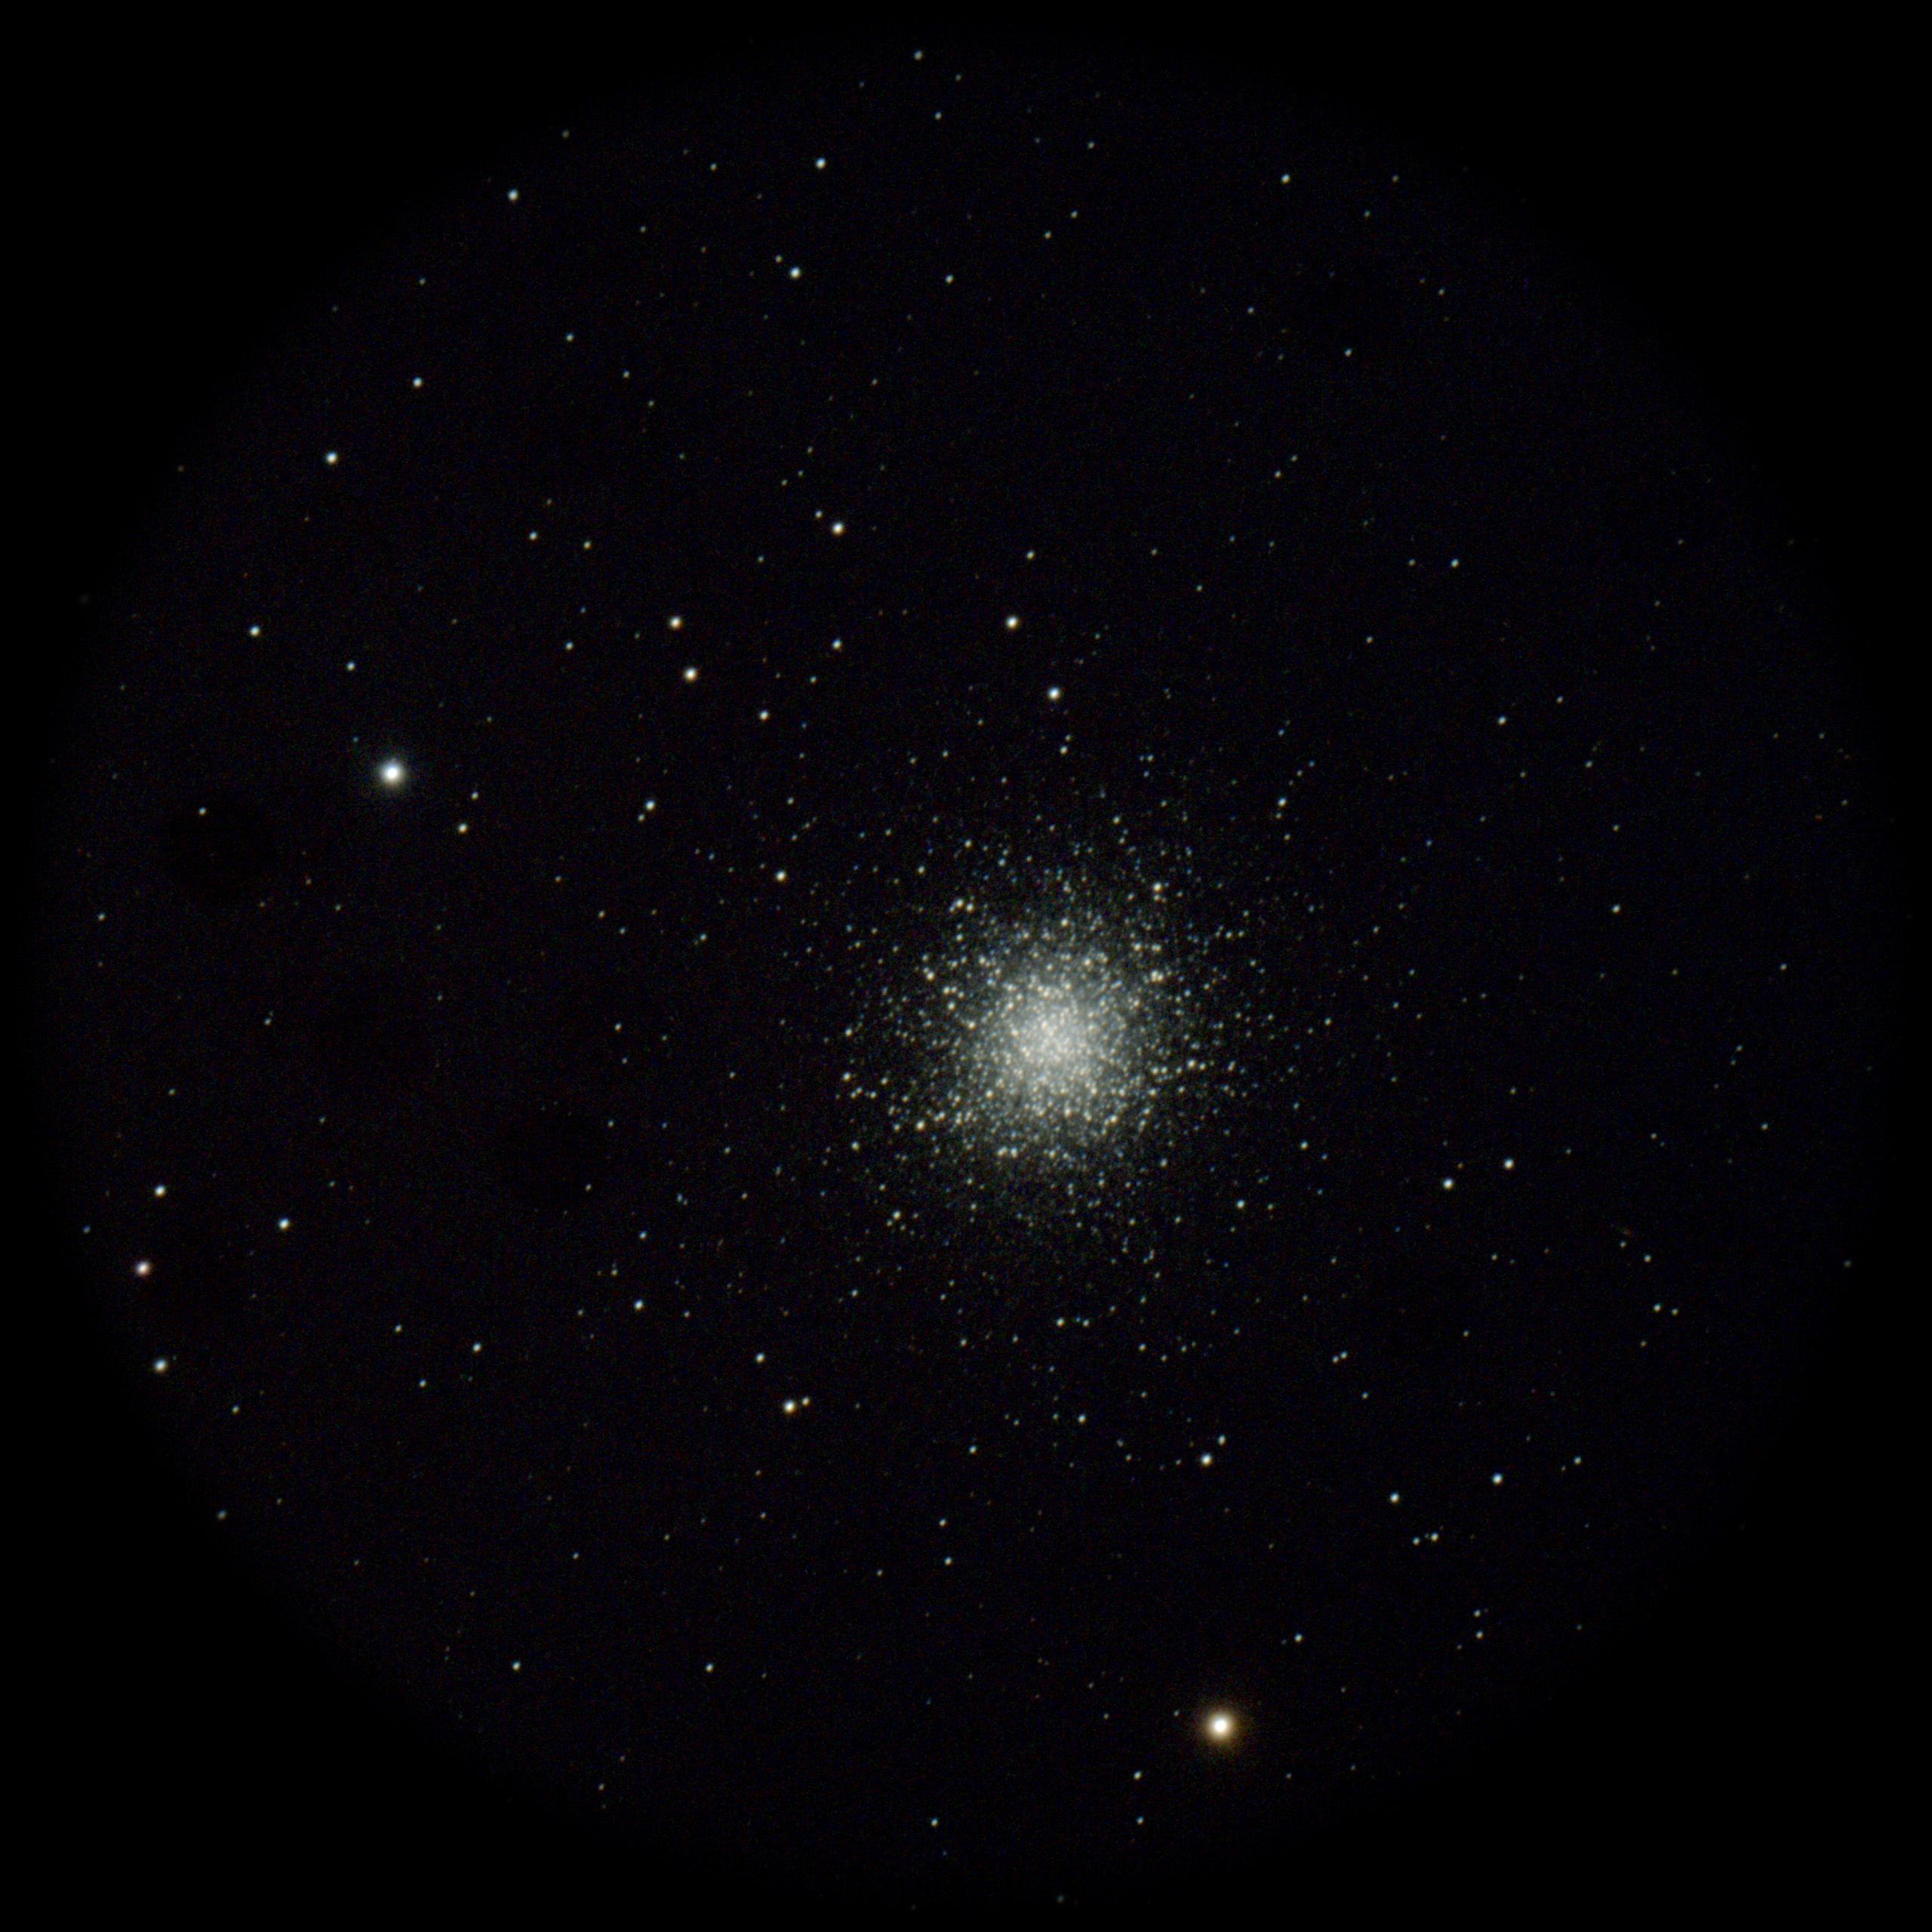
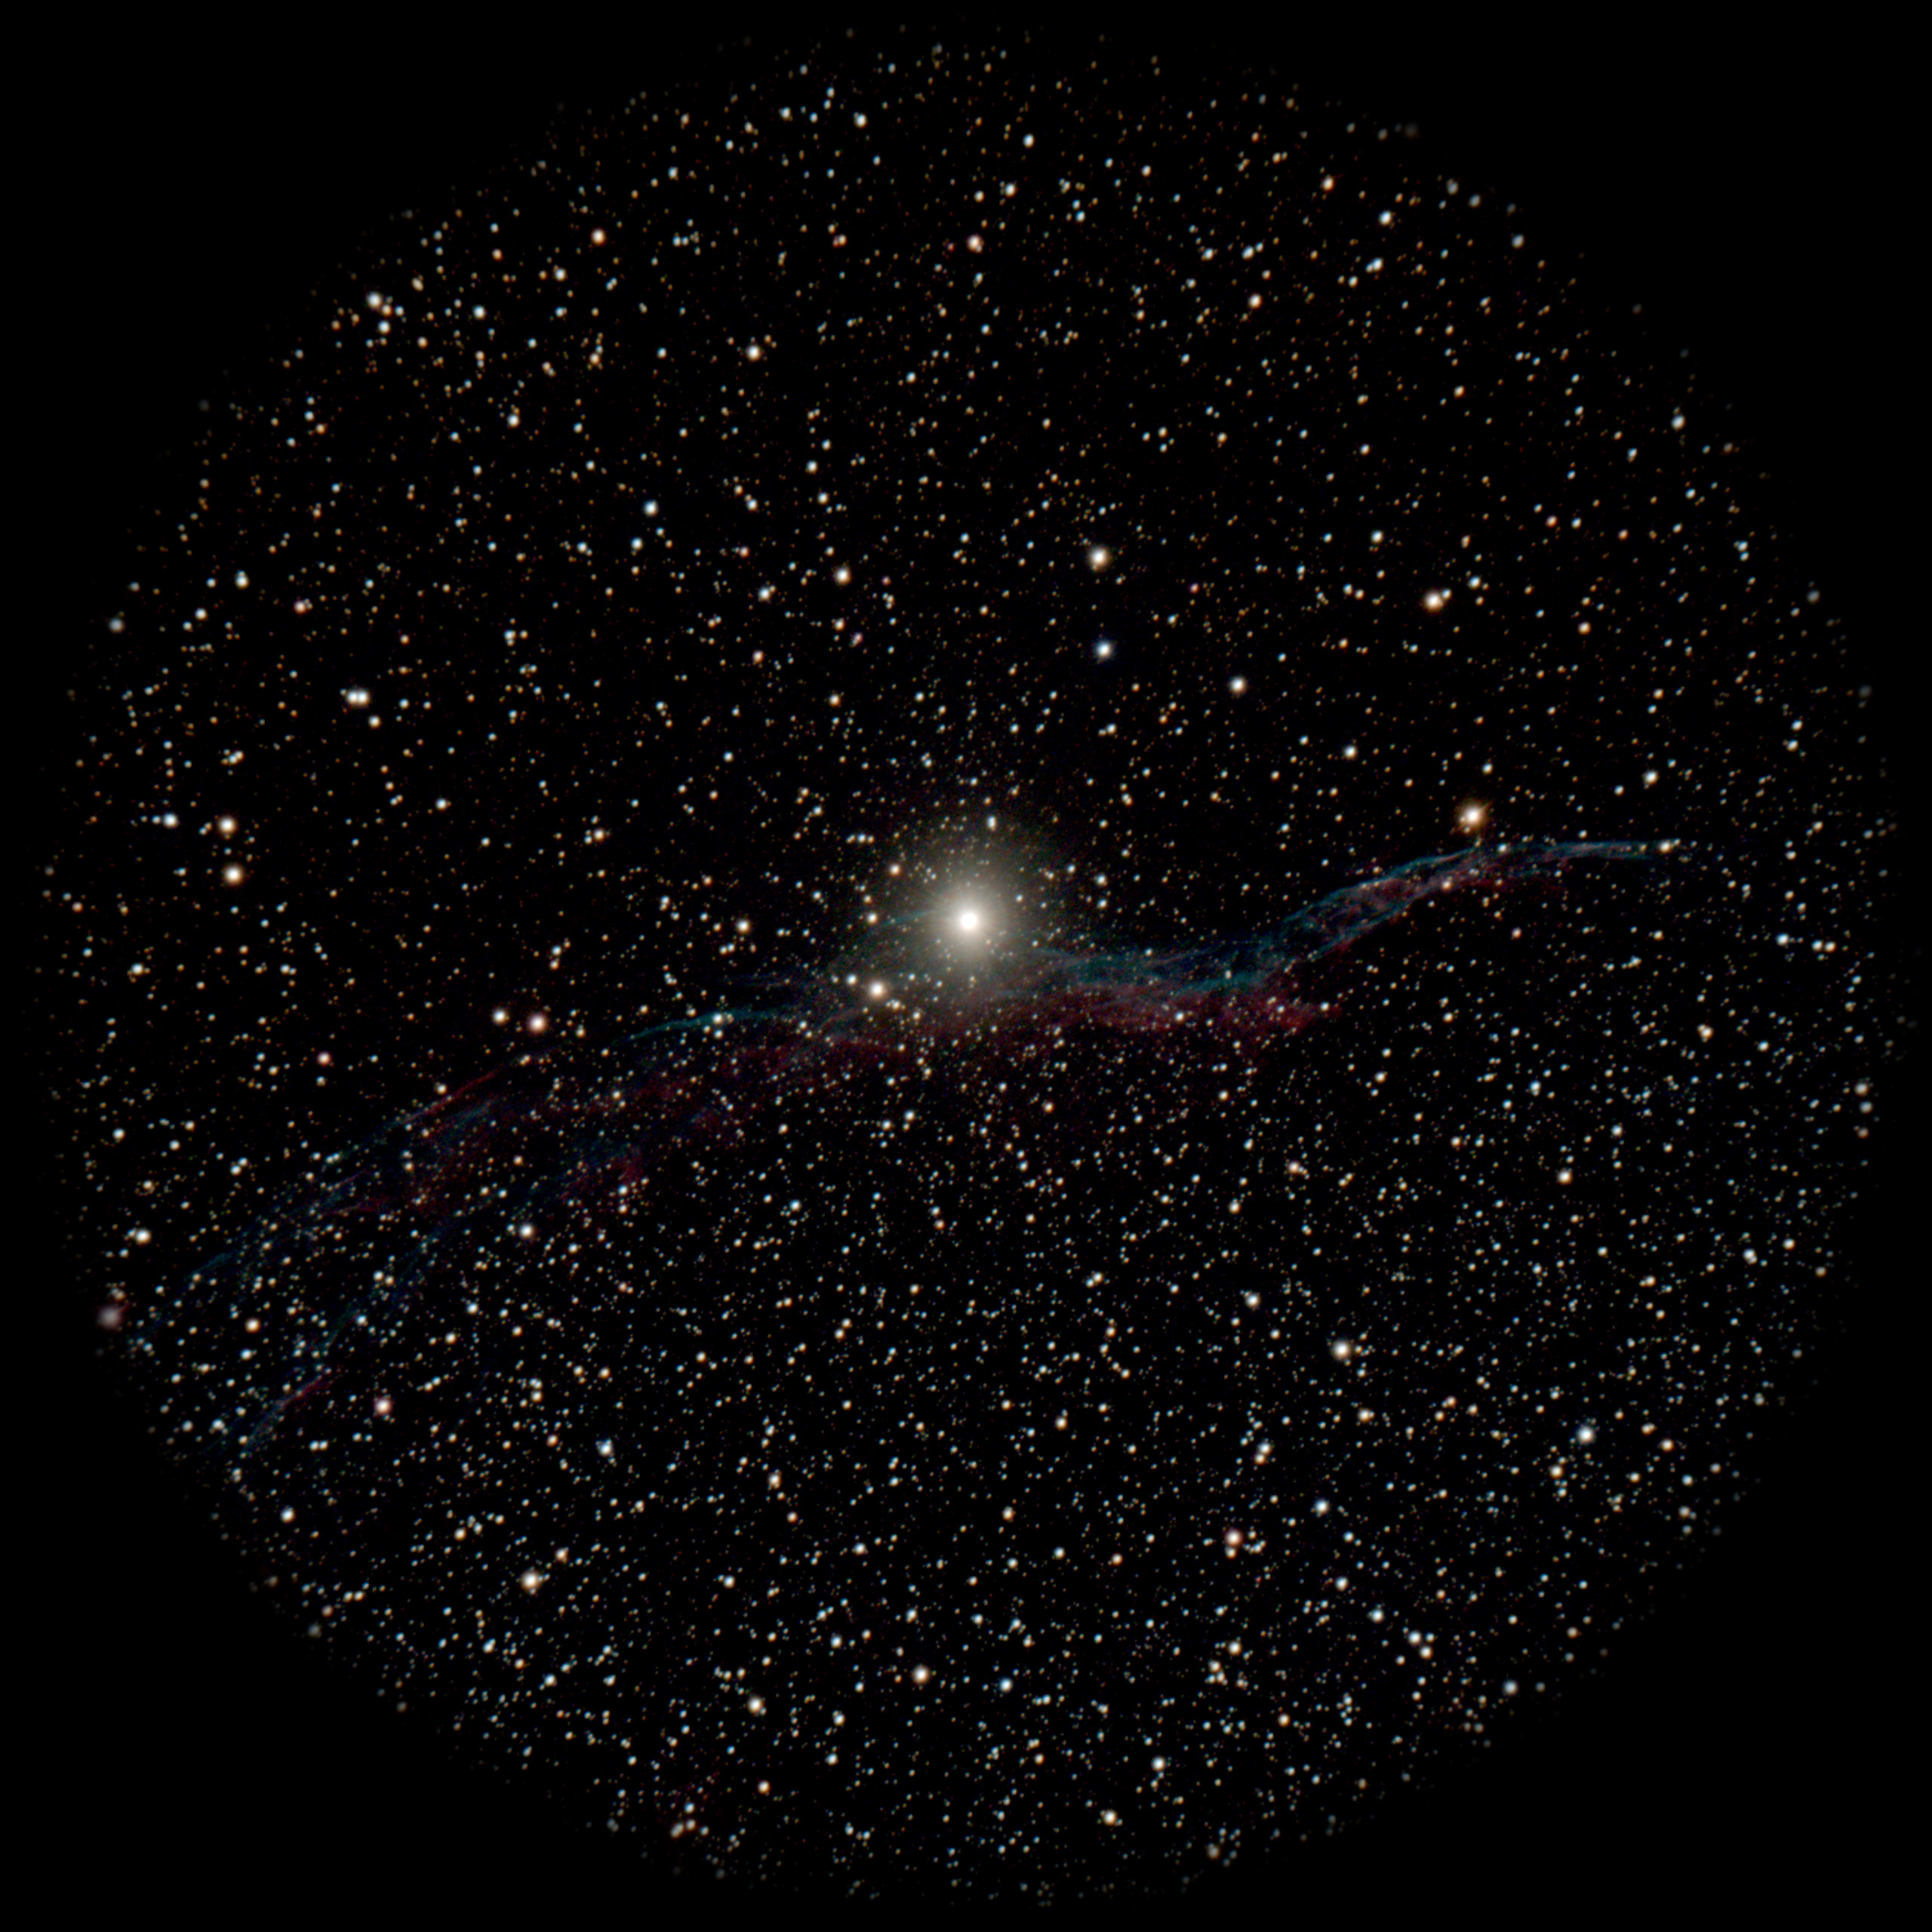
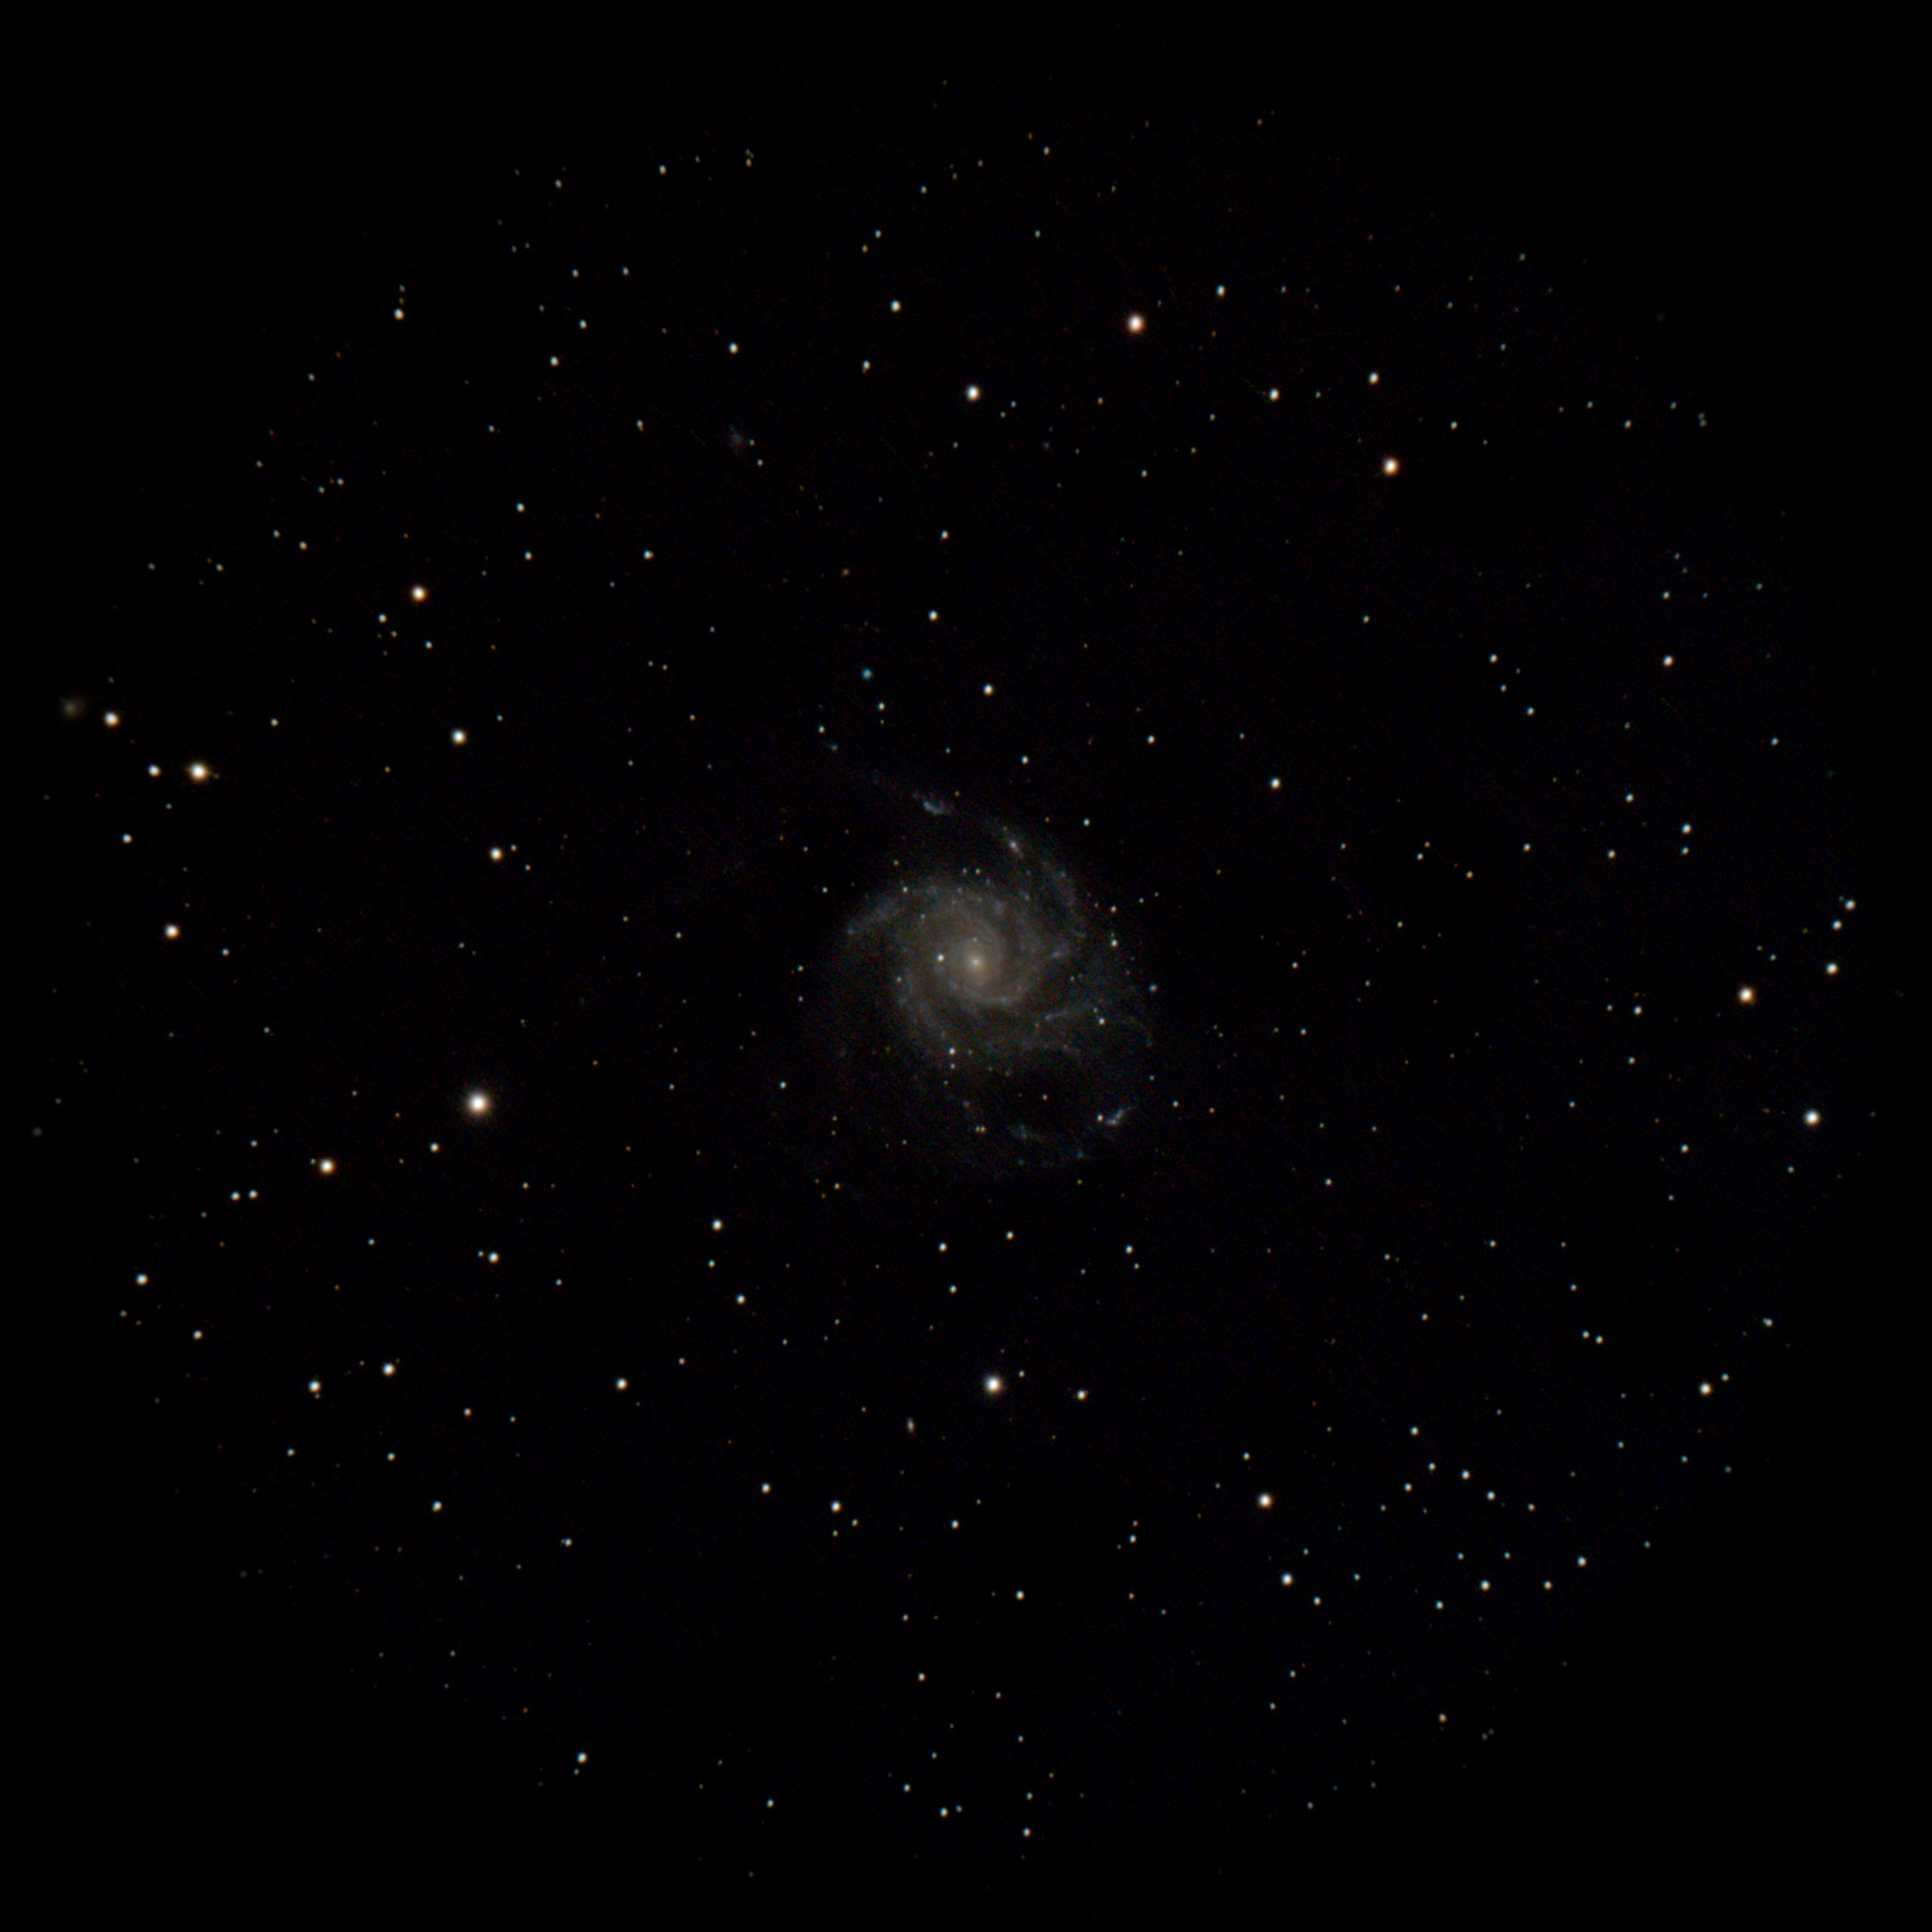
As the examples show, deep-sky objects – star clusters, nebulas and galaxies – look superb. You see not only elusive objects like the Horsehead Nebula in a 4-inch scope, but in colour! You see not only spiral arms in galaxies, but details in the arms. With SmartEye, a 4-inch scope outperforms a 25-inch!
But SmartEye is only for deep-sky objects. It does not work on planets or the Moon, as even in Live View their images are greatly overexposed. There is no fast-exposure “lucky imaging” planetary mode.
Like any 2-inch eyepiece the SmartEye can accept standard 48mm filters. The manufacturer recommends using a UV/IR blocking filter to sharpen images. I tried SmartEye with and without such a filter from Astronomik and found the improvement the filter made was subtle at best. But it did help keep dust off the sensor which proved to be an issue; it tended to attract dust.
NOTE: During my test period from February to June 2026 a firmware update did address some issues I found. Future updates will no doubt address others, or add new features. But this test is based on Firmware v1.2, upgraded to v1.3.
The Critical Choice of a Mount and Telescope
SmartEye must be used on a mount that tracks the sky. I did test it on a “GoTo” alt-azimuth mount, and it did work. But the field rotation inevitable with such a mount introduced dark edge artifacts that began to spoil the view after only a few minutes.
Plan to use SmartEye on an equatorial mount. And it should be solid. The live stacking will recover from minor vibrations, as the stacking algorithm rejects bad frames.
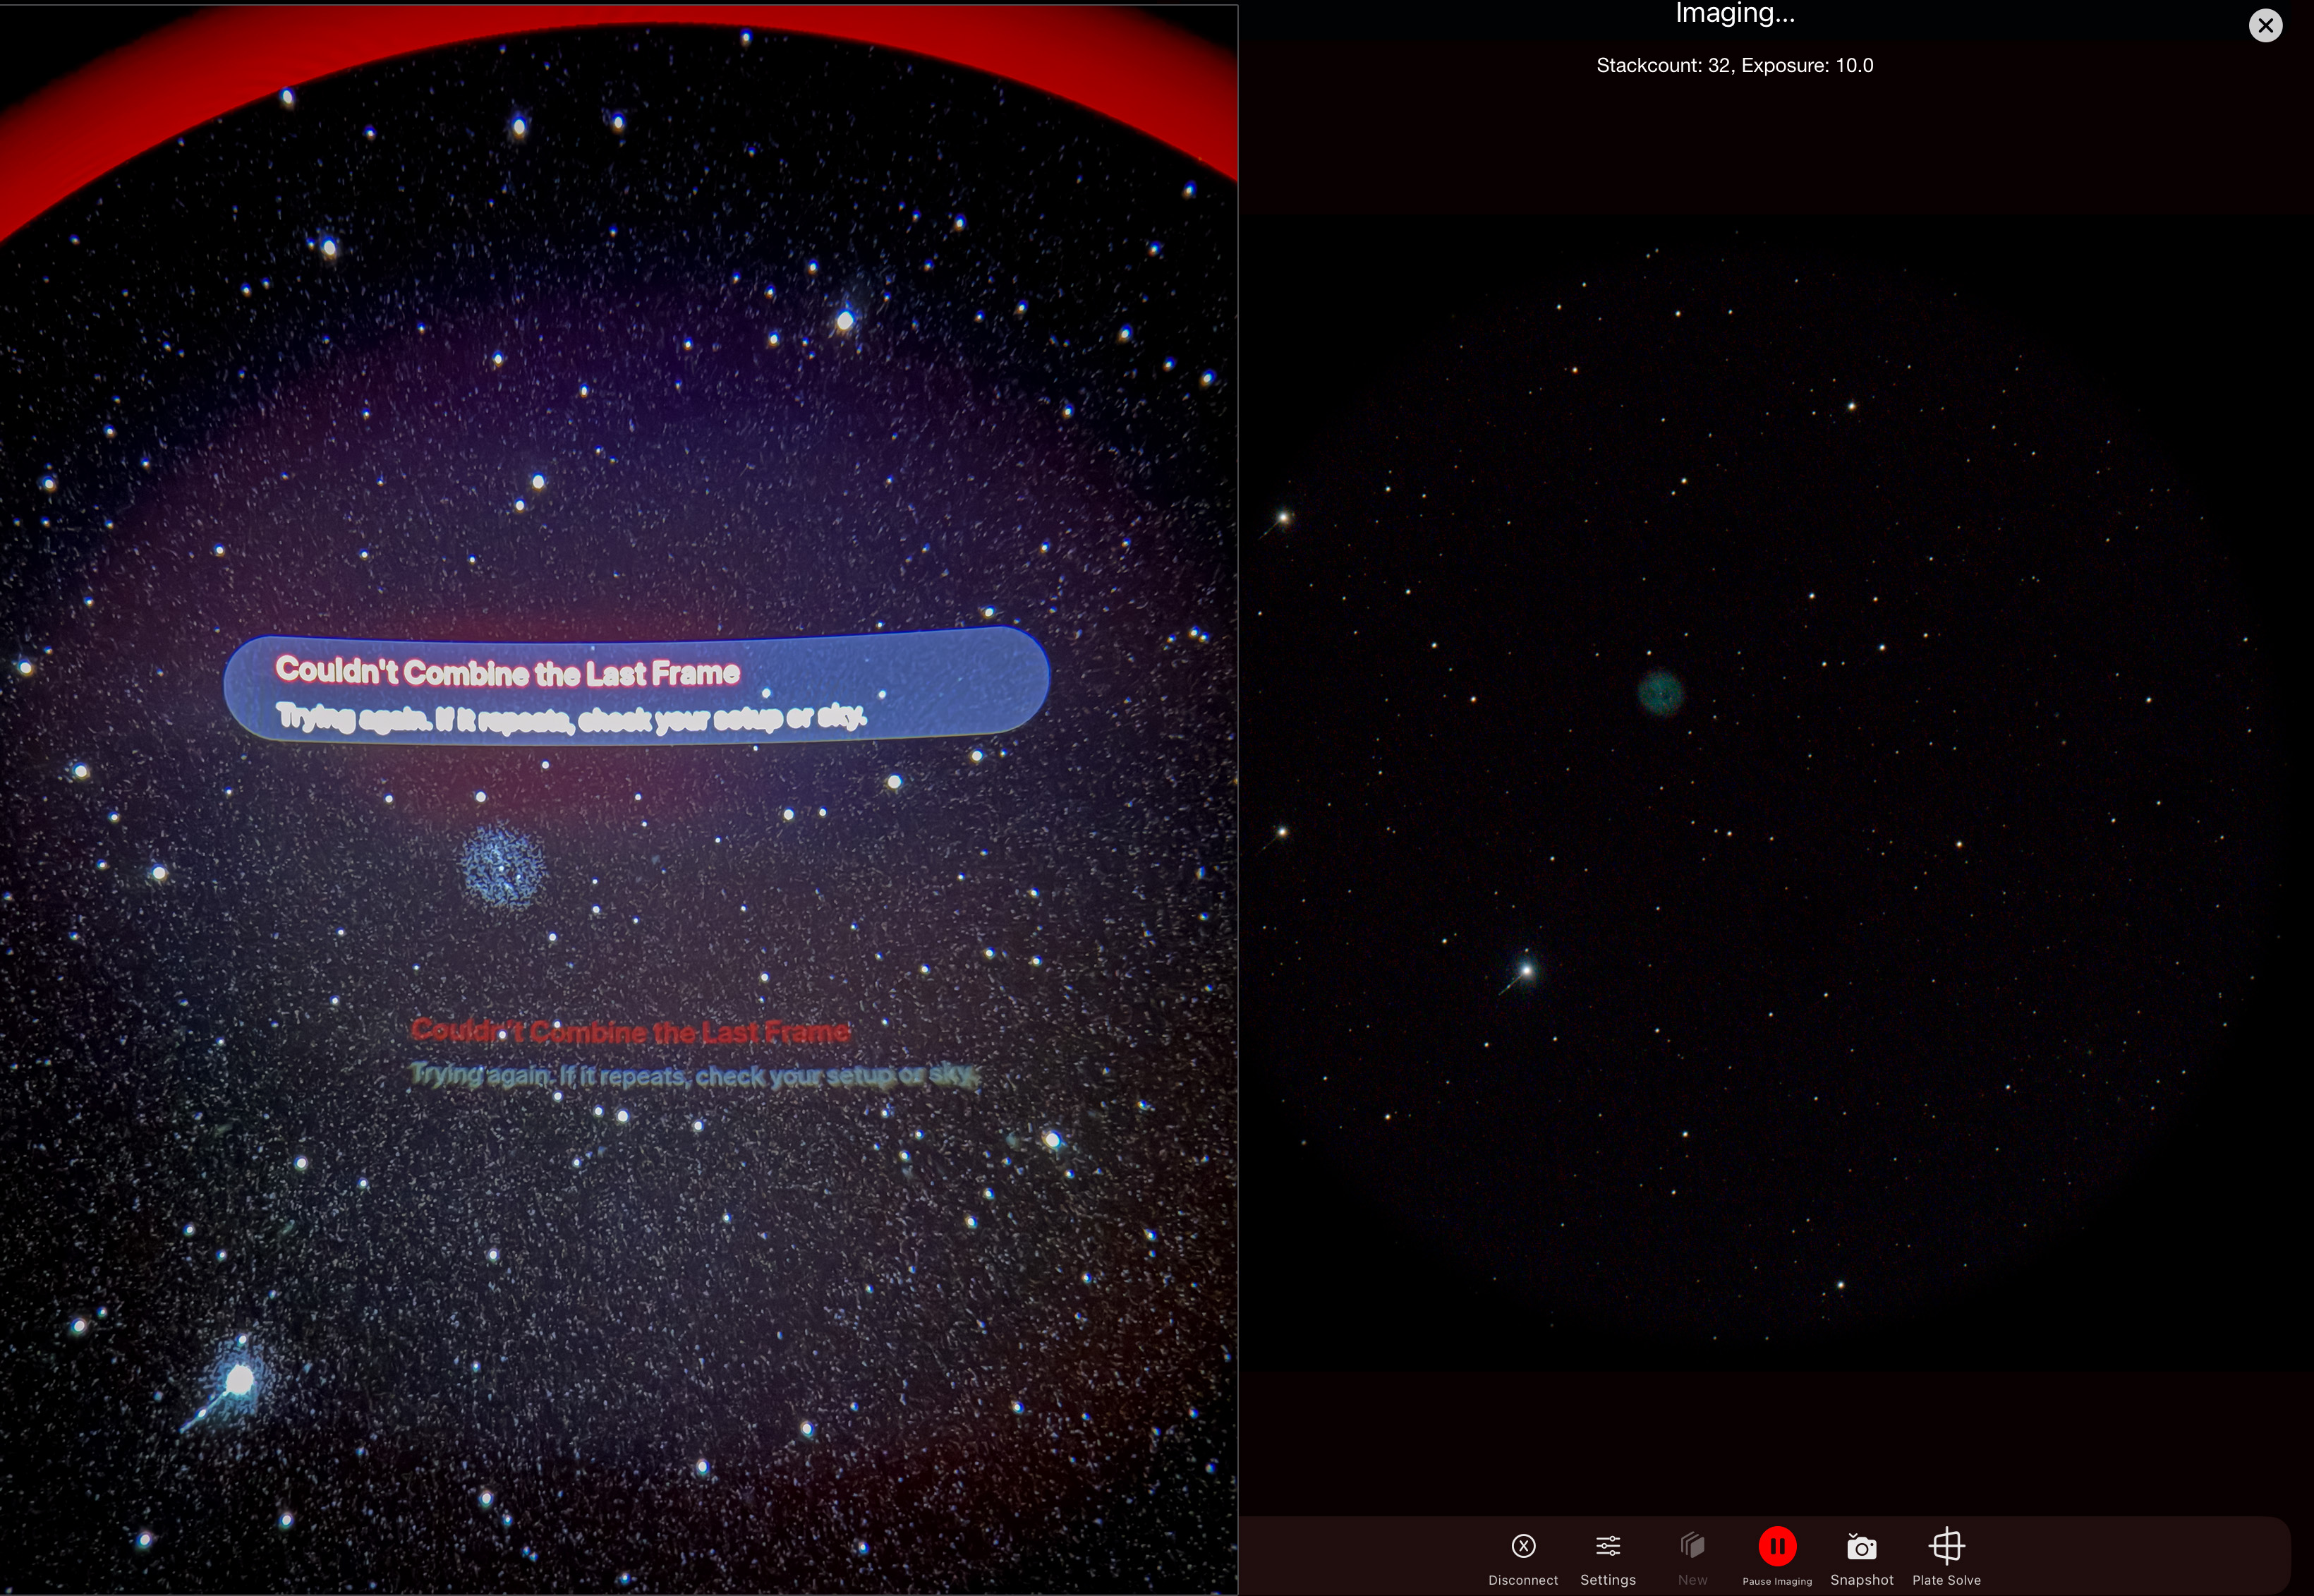
But a major bump (such as from the enthusiastic guest who has to grab the eyepiece!) will halt the stacking with an error message (as shown below) and spoil the image, even if the object is still in the field. The “Observation” has to be started over.
The mount must also have its GoTo system aligned accurately enough to place targets in the field of a moderately high-power eyepiece. Because that’s what SmartEye is.
The advertising claims a 90º apparent field of view, similar to a premium optical eyepiece. That’s about right as the visual field is quite expansive, though visually the edge of the field is not well defined. However, matching the SmartEye’s actual field in its final images to star charts (as shown below) required assigning the eyepiece a focal length of 7mm, much shorter than the 11mm or 12mm stated in the sales literature.

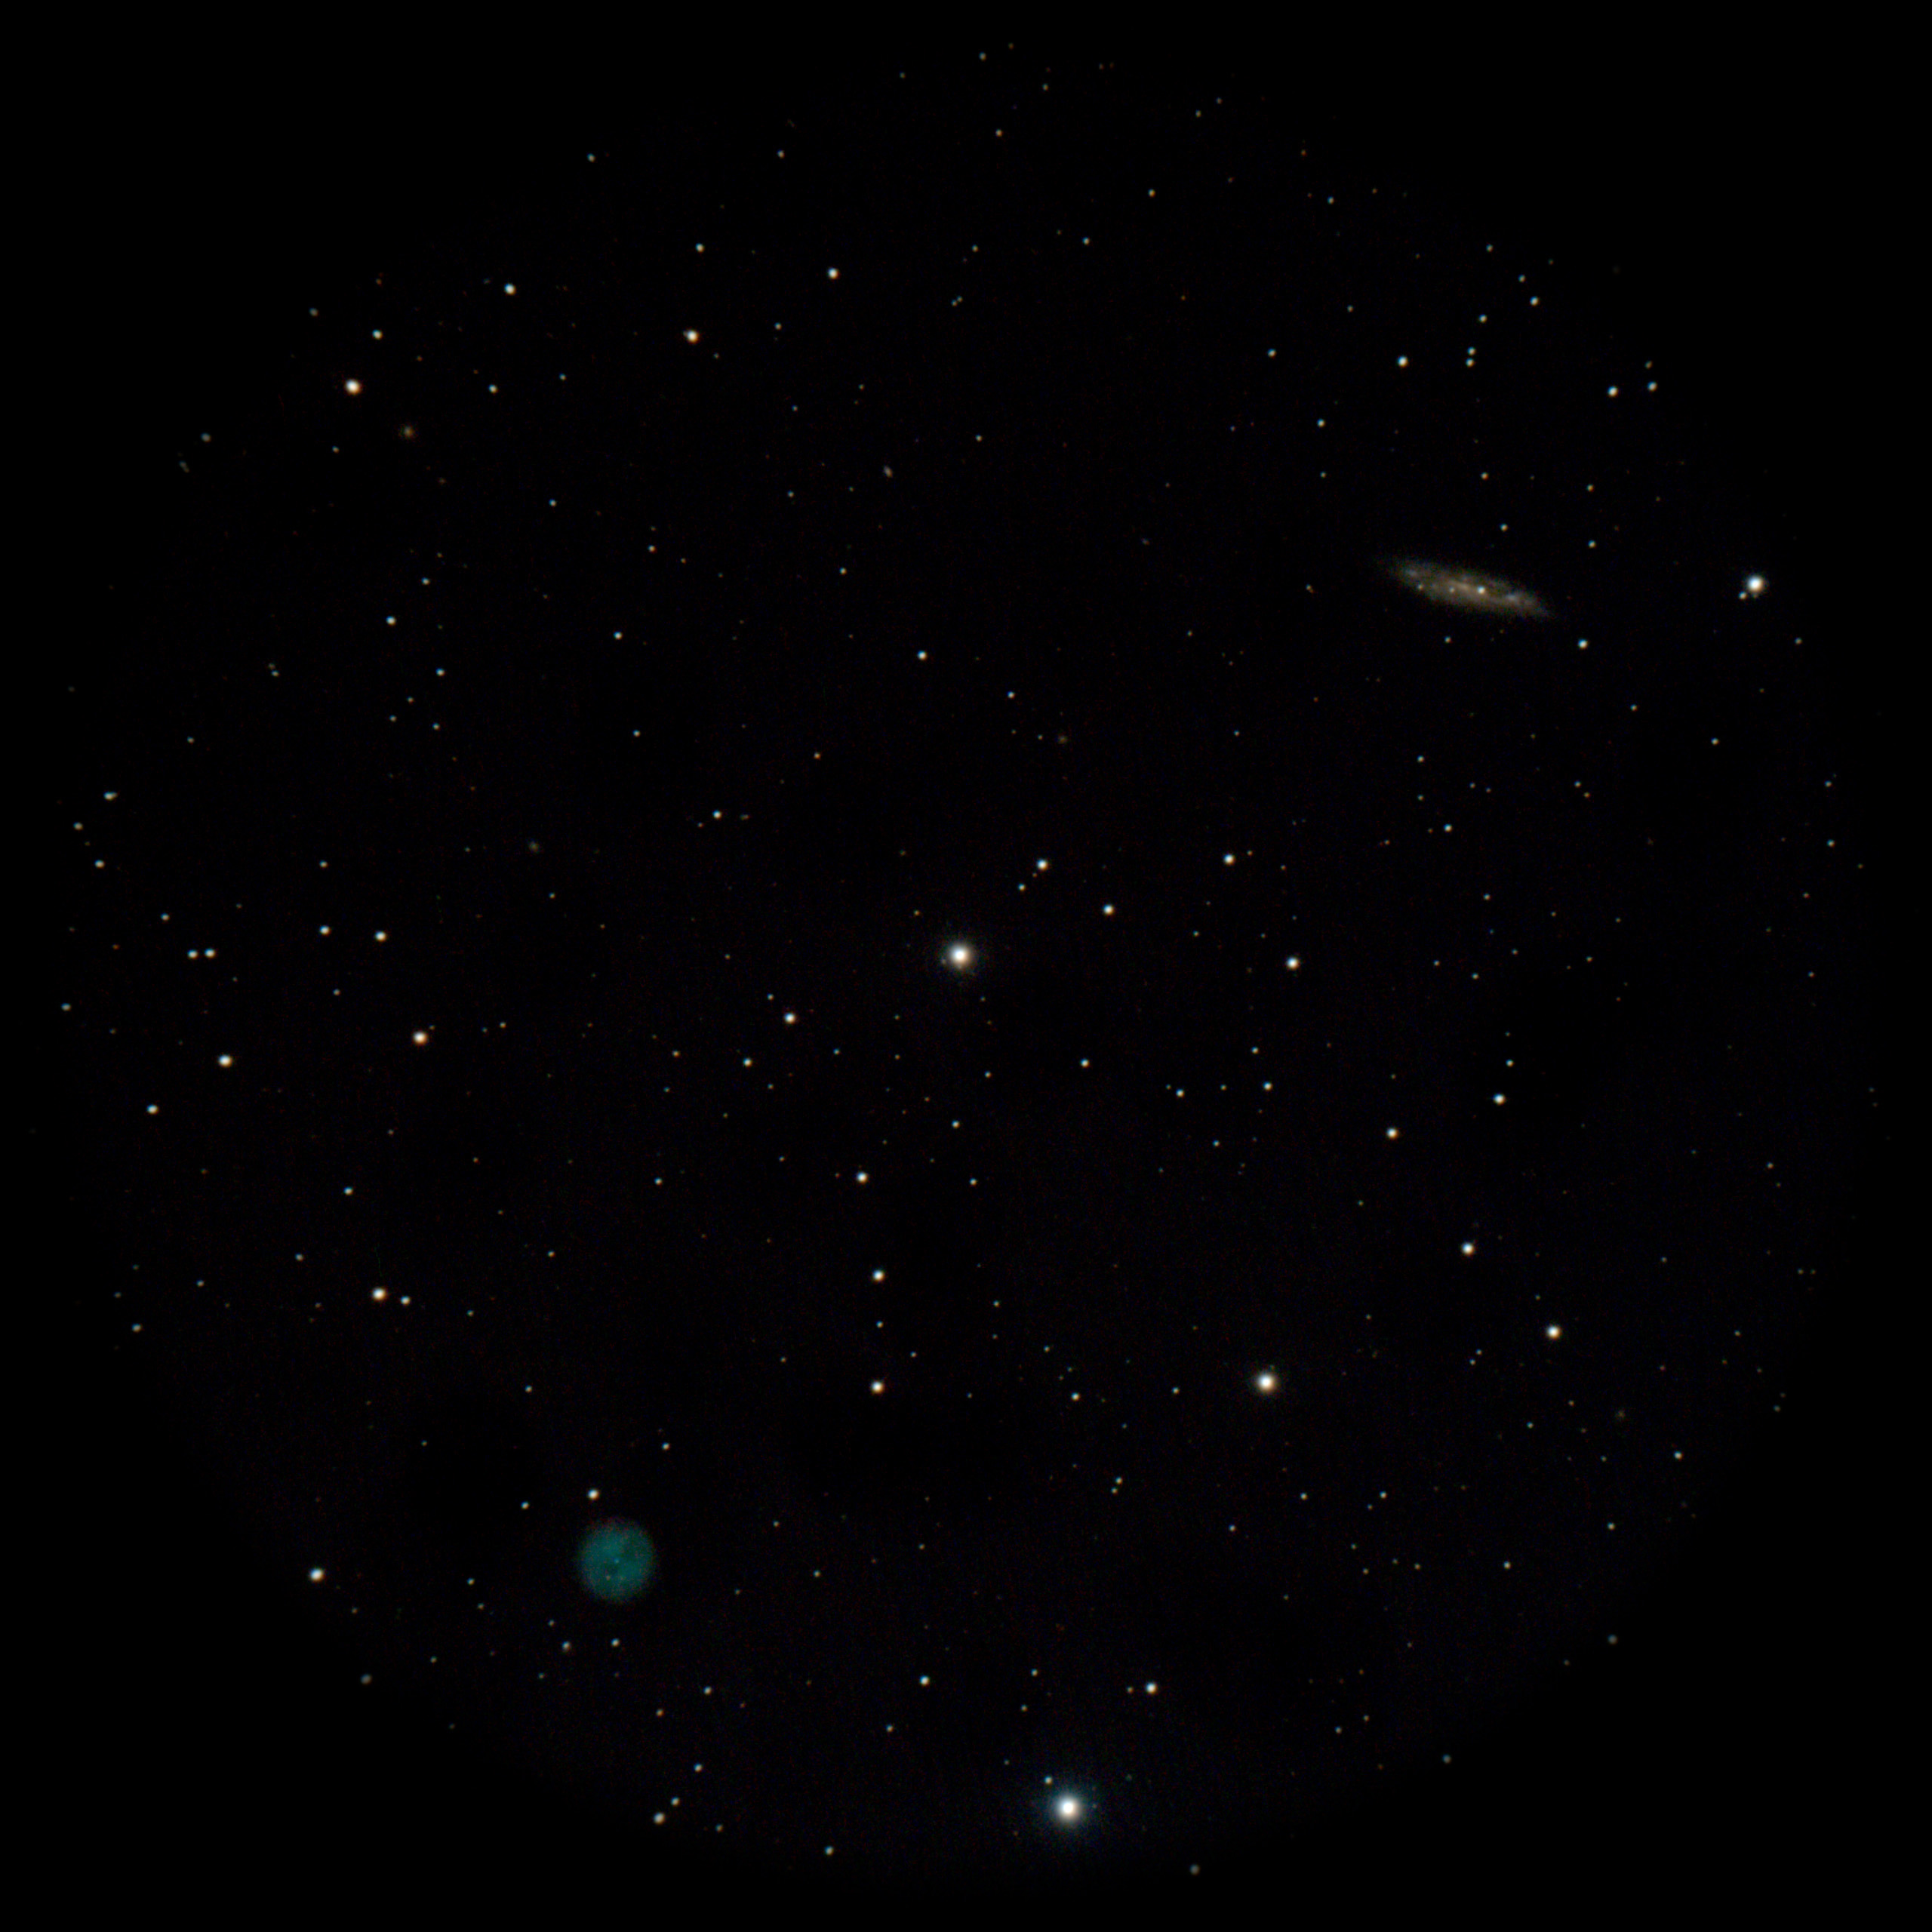
As such, on a large reflector (such as an 11- or 14-inch f/10 Schmidt-Cassegrain) the narrow actual field of view will be suitable only for small targets such as globular clusters, planetary nebulas, and bright galaxies, but not for showpiece objects such as large nebulas, open clusters, or the Andromeda Galaxy.
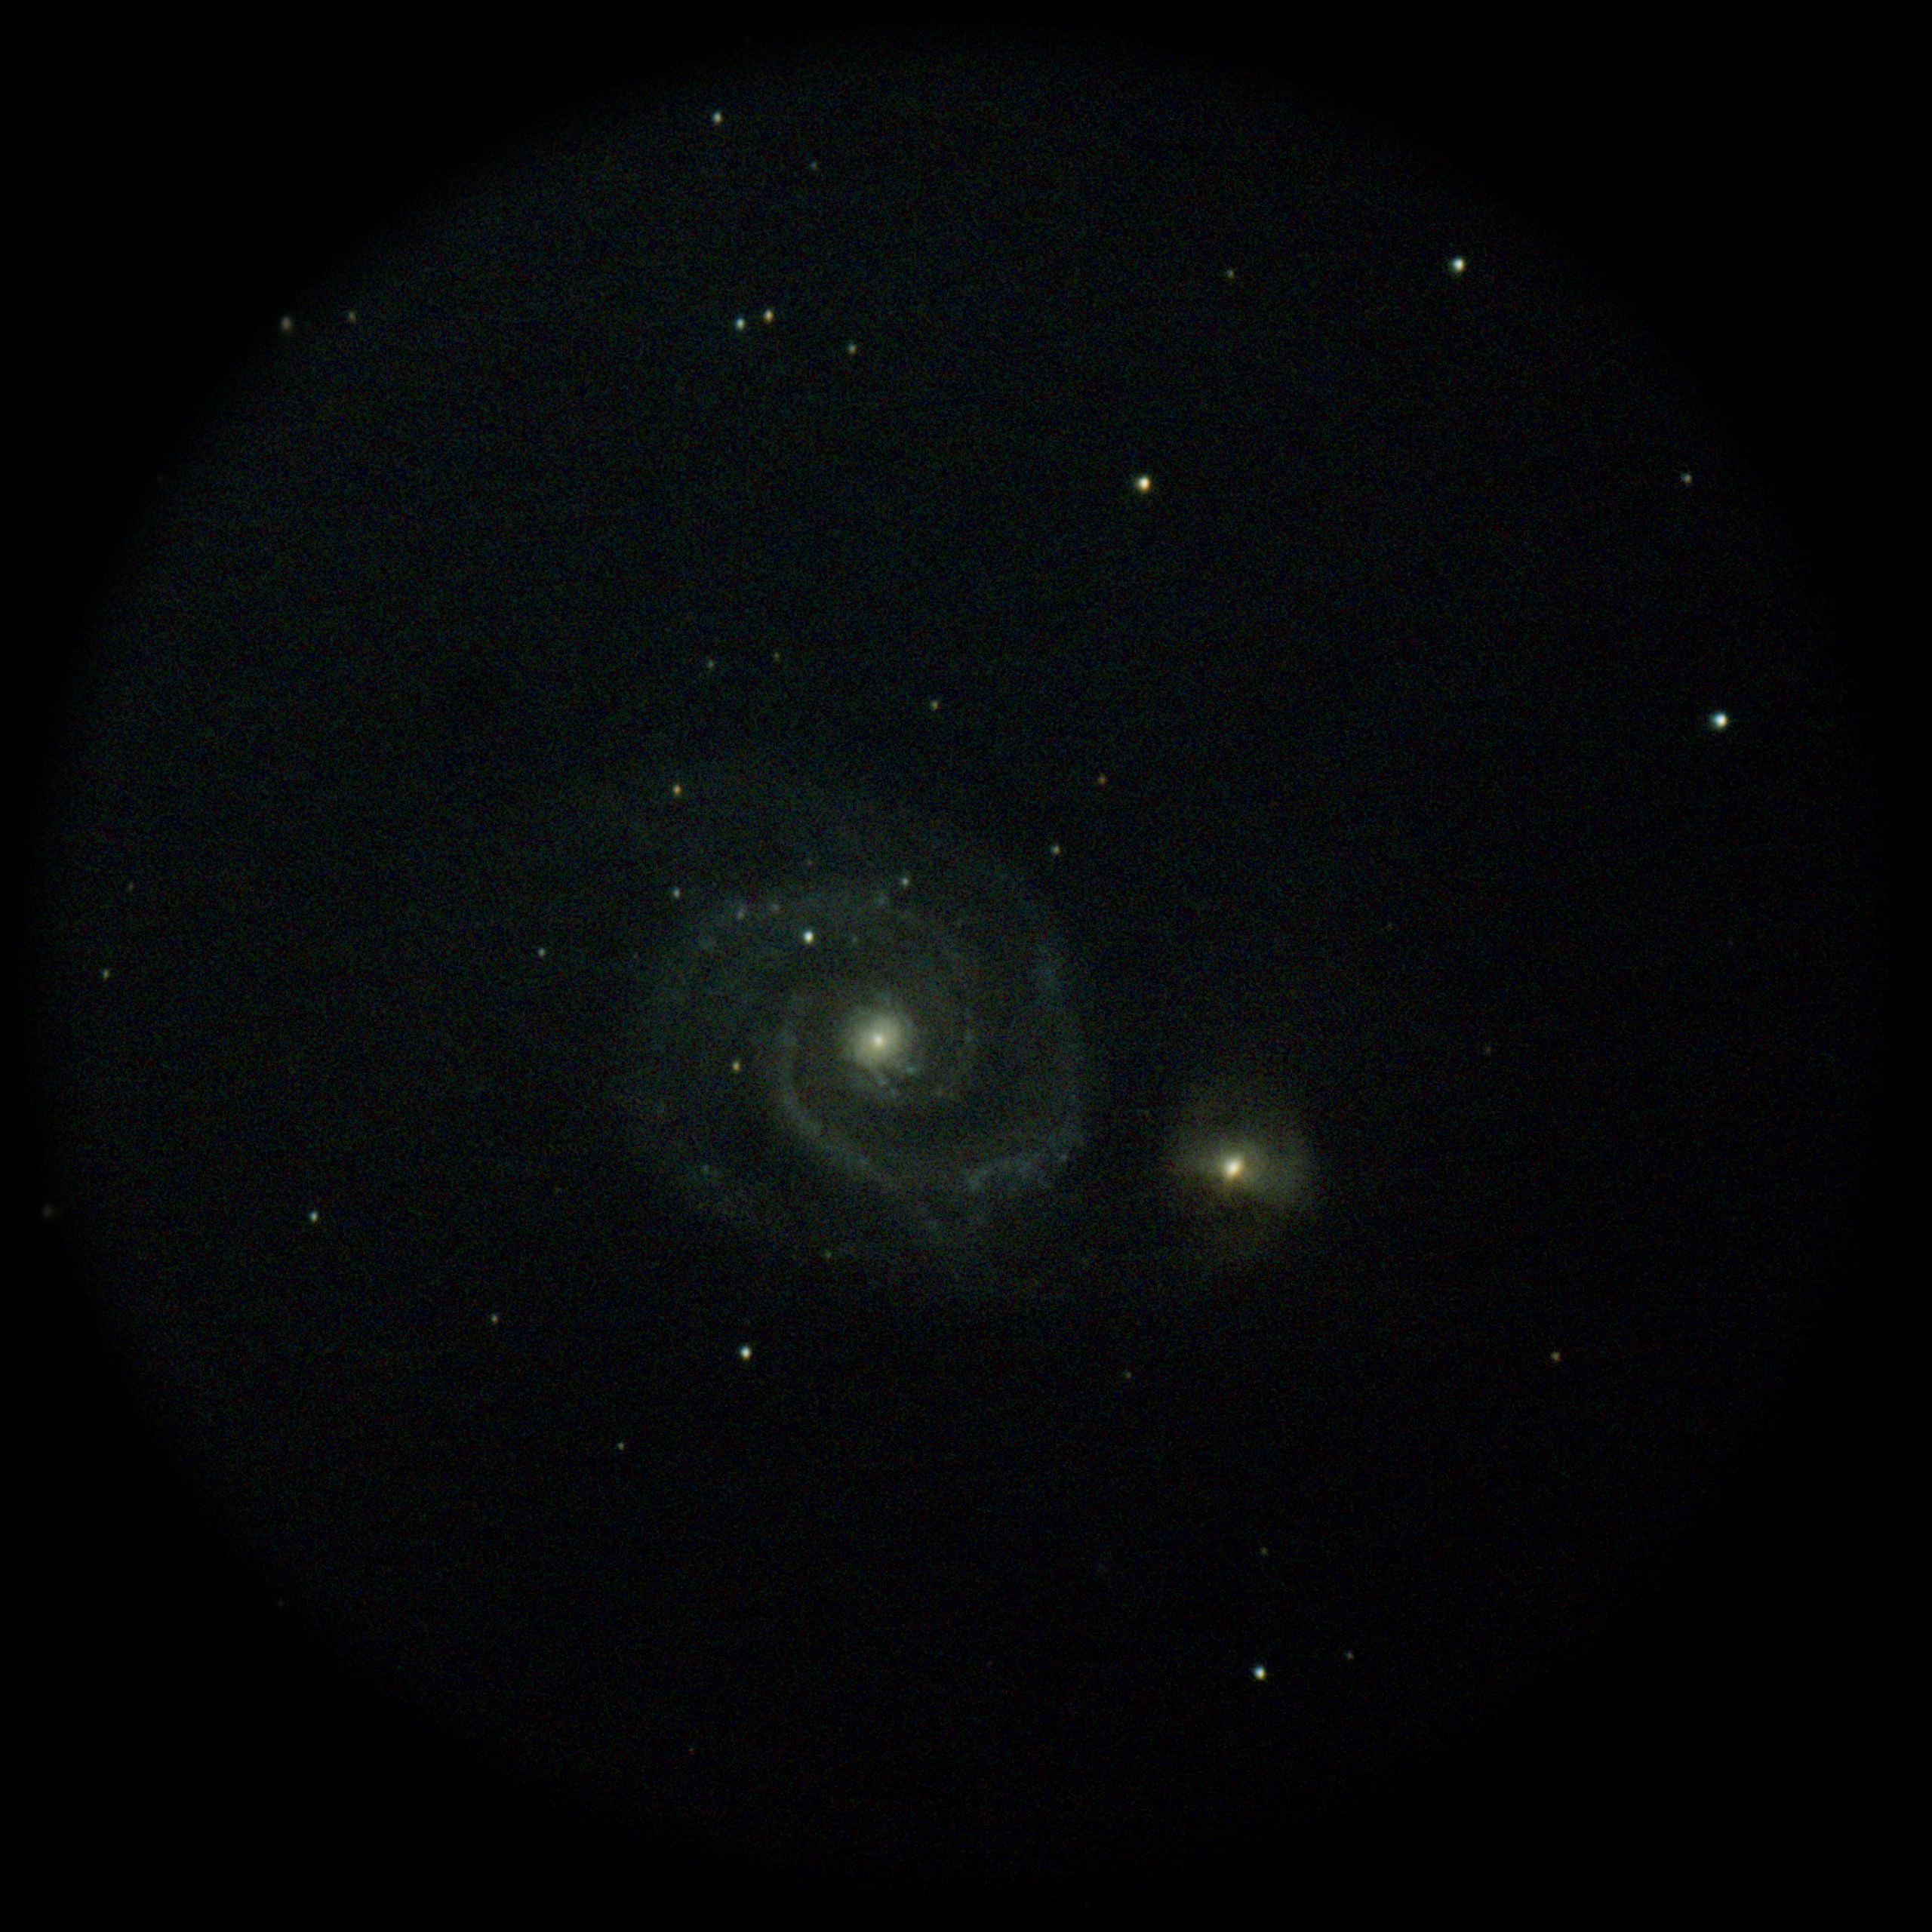
Even using it one night on a 127mm (5-inch) f/12 Maksutov telescope proved frustrating, as targets would end up just outside the narrow field. But where? It can take many iterations of “shoot-move-shoot” to centre a target. In such cases I found it useful to have a low-power optical eyepiece on hand to aid finding objects.
As per the manufacturer’s recommendations, I found SmartEye worked best on 80mm to 130mm (3.1- to 5-inch) refractors at f/6 or so. Indeed, as the sample images demonstrate, SmartEye will show more through a 4- to 5-inch refractor than an optical eyepiece will on a large-aperture reflector. It doesn’t need the light-gathering power of a big scope. In fact, due to its relatively high power, I think it’s best used on a small, fast scope.
Testing SmartEye’s Advanced Features
SmartEye works well stand-alone. You don’t need to connect it to any other device, other than a power bank.
But as an option, via SmartEye’s WiFi you can connect it to the popular app SkySafari from Simulation Curriculum (you need the app’s Pro version) to control SmartEye’s camera with your phone or tablet. Incoming images appear on your device where they can be saved. That worked well, and might be useful at an outreach event for people in line to preview what they are about to see.
SmartEye itself has a screen that displays a QR code to allow a guest to connect to it via a web app in a “read-only” mode with their own phone, to view and share images. But they first have to connect to SmartEye’s WiFi (no password is needed). And in my tests, the images were saved to my iPhone’s Downloads folder, not to the Photo gallery where a guest might expect to find them. I didn’t test this feature at a public event, so I can’t say how well it works in practice.
SmartEye can also connect to a WiFi-enabled mount (and it must be via WiFi, not a wired USB connection) so it can aim the mount by tapping on a target on SkySafari’s star chart. Once there SmartEye can “plate solve” using its images to nudge the mount to precisely centre an object, just as all smart scopes do.
What SmartEye coupled to SkySafari and a mount cannot do, unlike smart scopes and their apps, is use its plate solving ability to help you initially polar align the mount. I used a laser on the mount’s polar axis for that step.
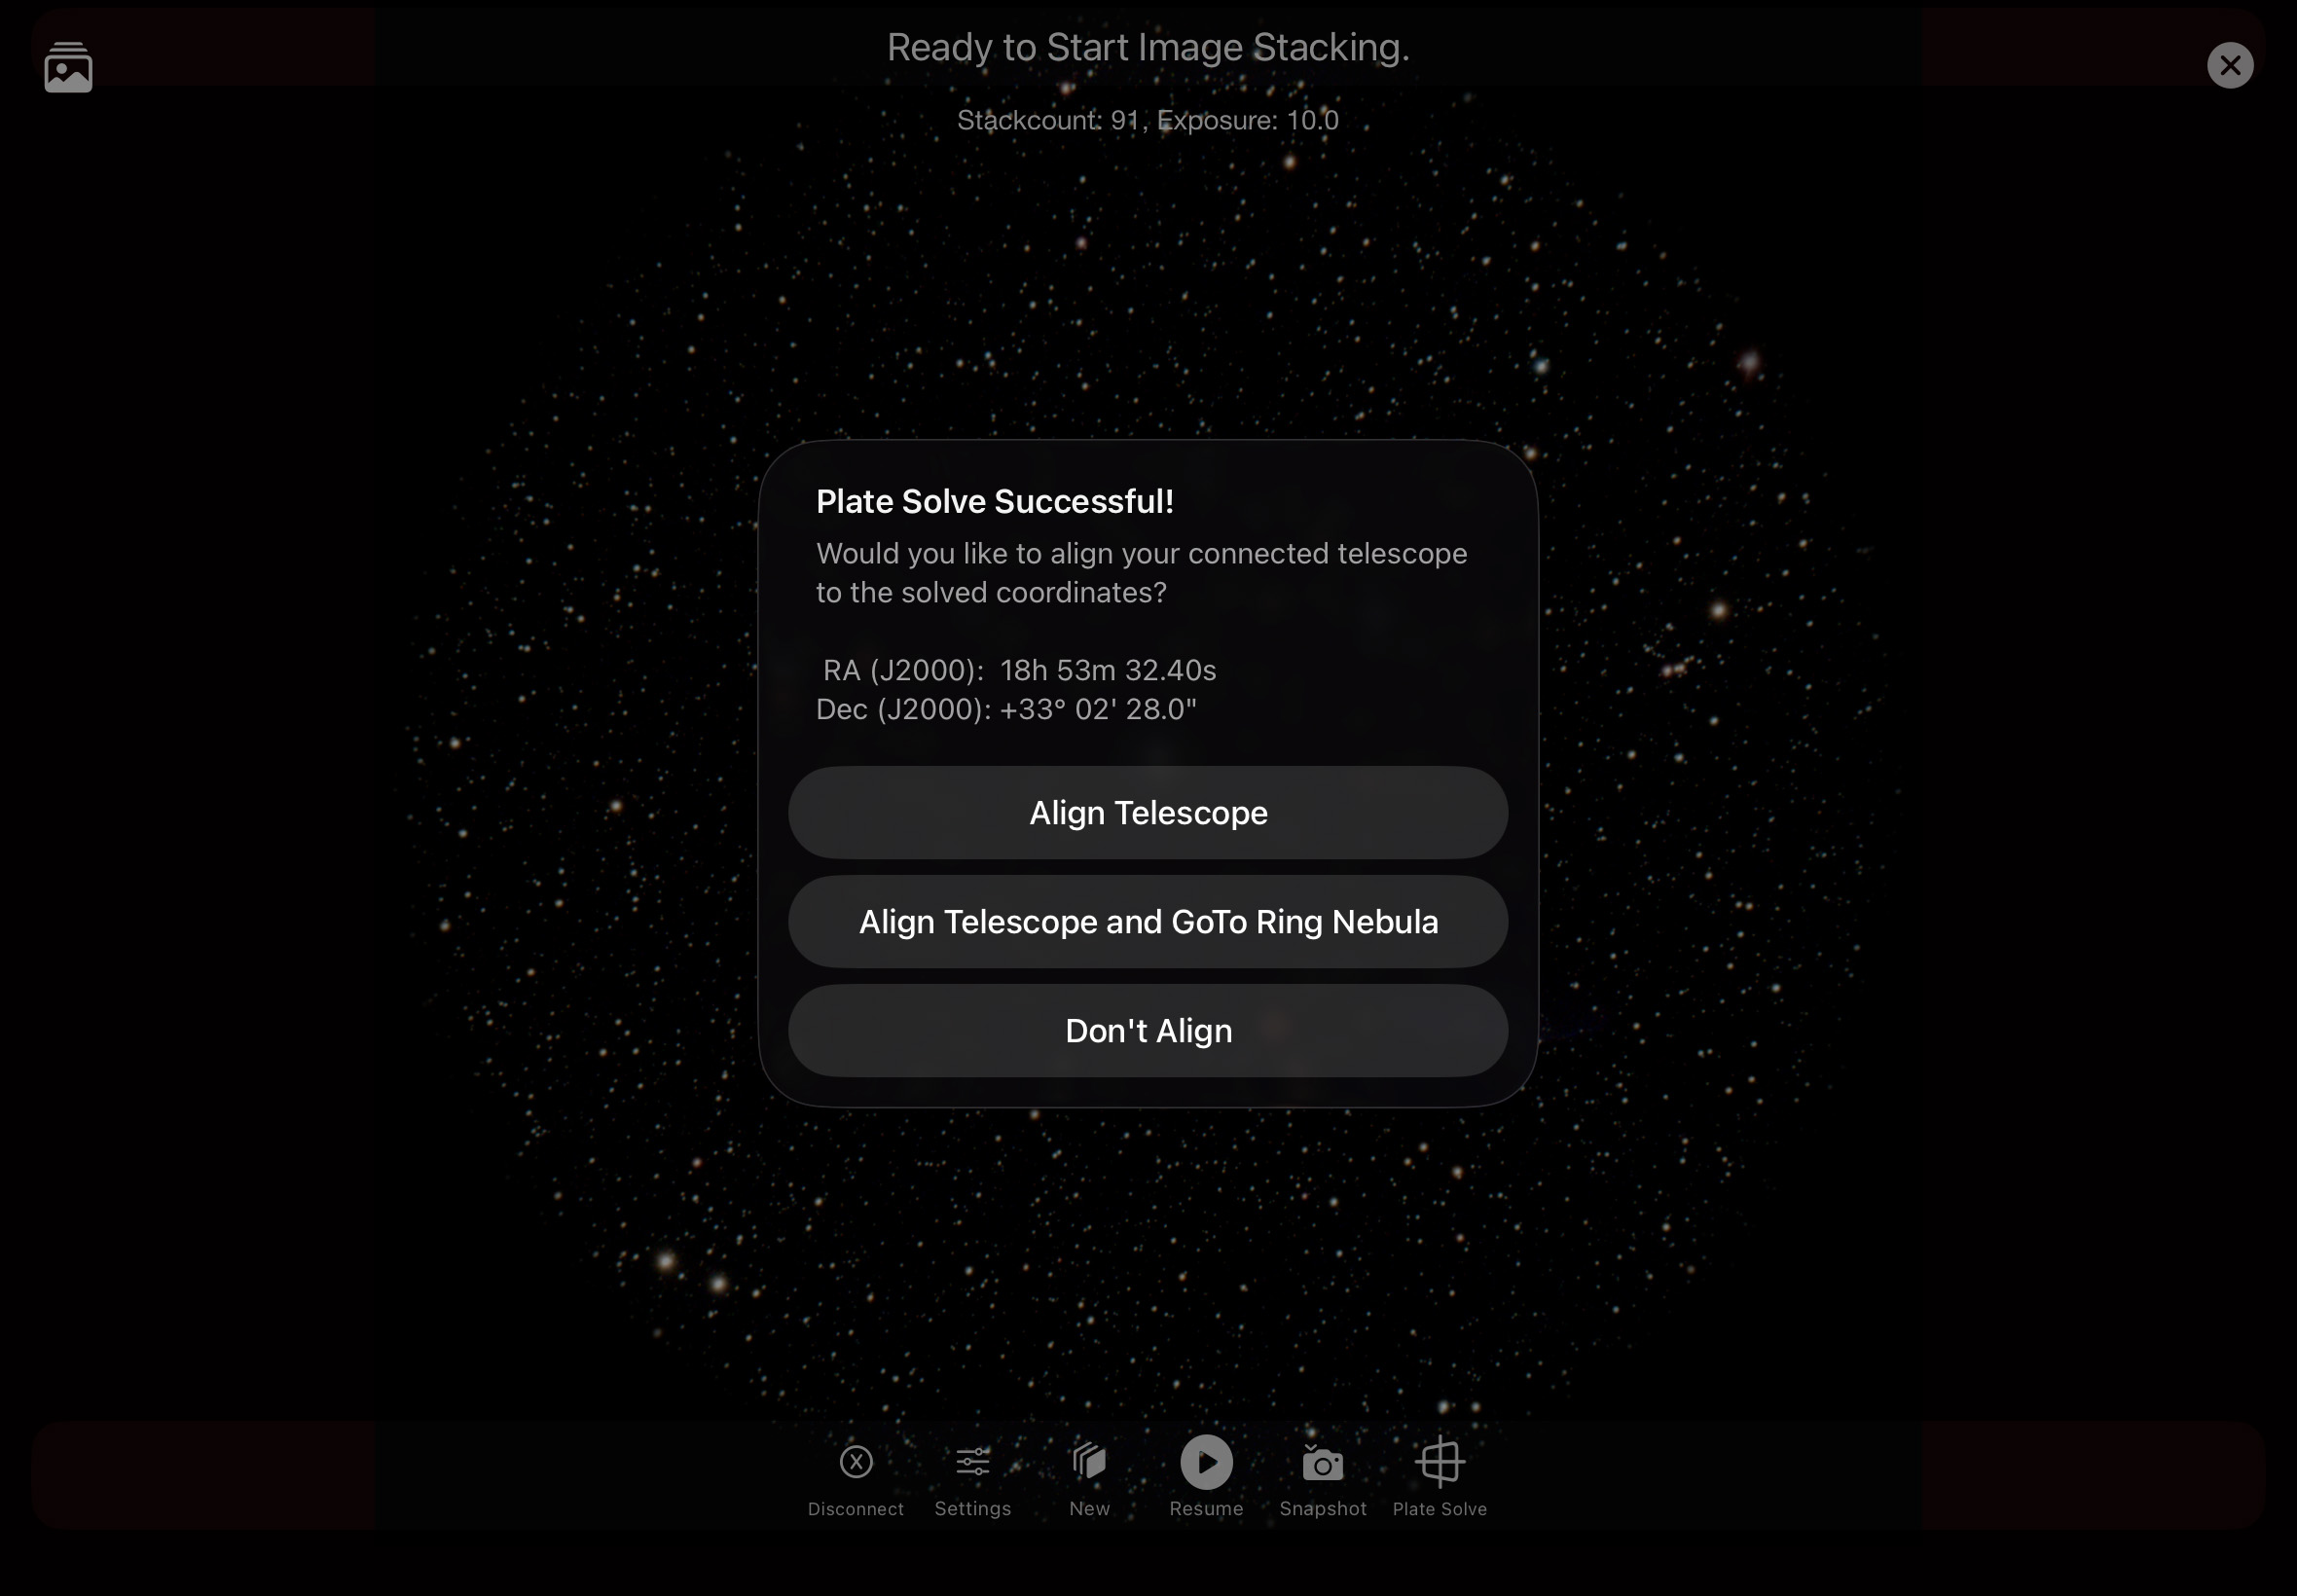
While I eventually got plate solving to work, it took some effort to set up, following multiple steps and entry of IP addresses. Non-IT-experts like me cringe at such procedures. While SmartEye is said to have Bluetooth 5, I saw no occasion when it made use of it, such as to ease the connection process as smart scopes do.
Indeed, the instructions in the earlier manual I had were too generic and failed to work; I had to be sent detailed steps for the ZWO AM5 mount I was using. (As of v1.7 the SmartEye manual now includes instructions for several brands of mounts.) But in the end the plate-solving and centering did work accurately and quickly. Setting up Presets in SkySafari made it “one-click” easy to reconnect later.
So a caveat: If you have issues connecting SmartEye to a WiFi-equipped mount as I did, you might need to contact Support at PegasusAstro or Simulation Curriculum for advice specific to your gear.
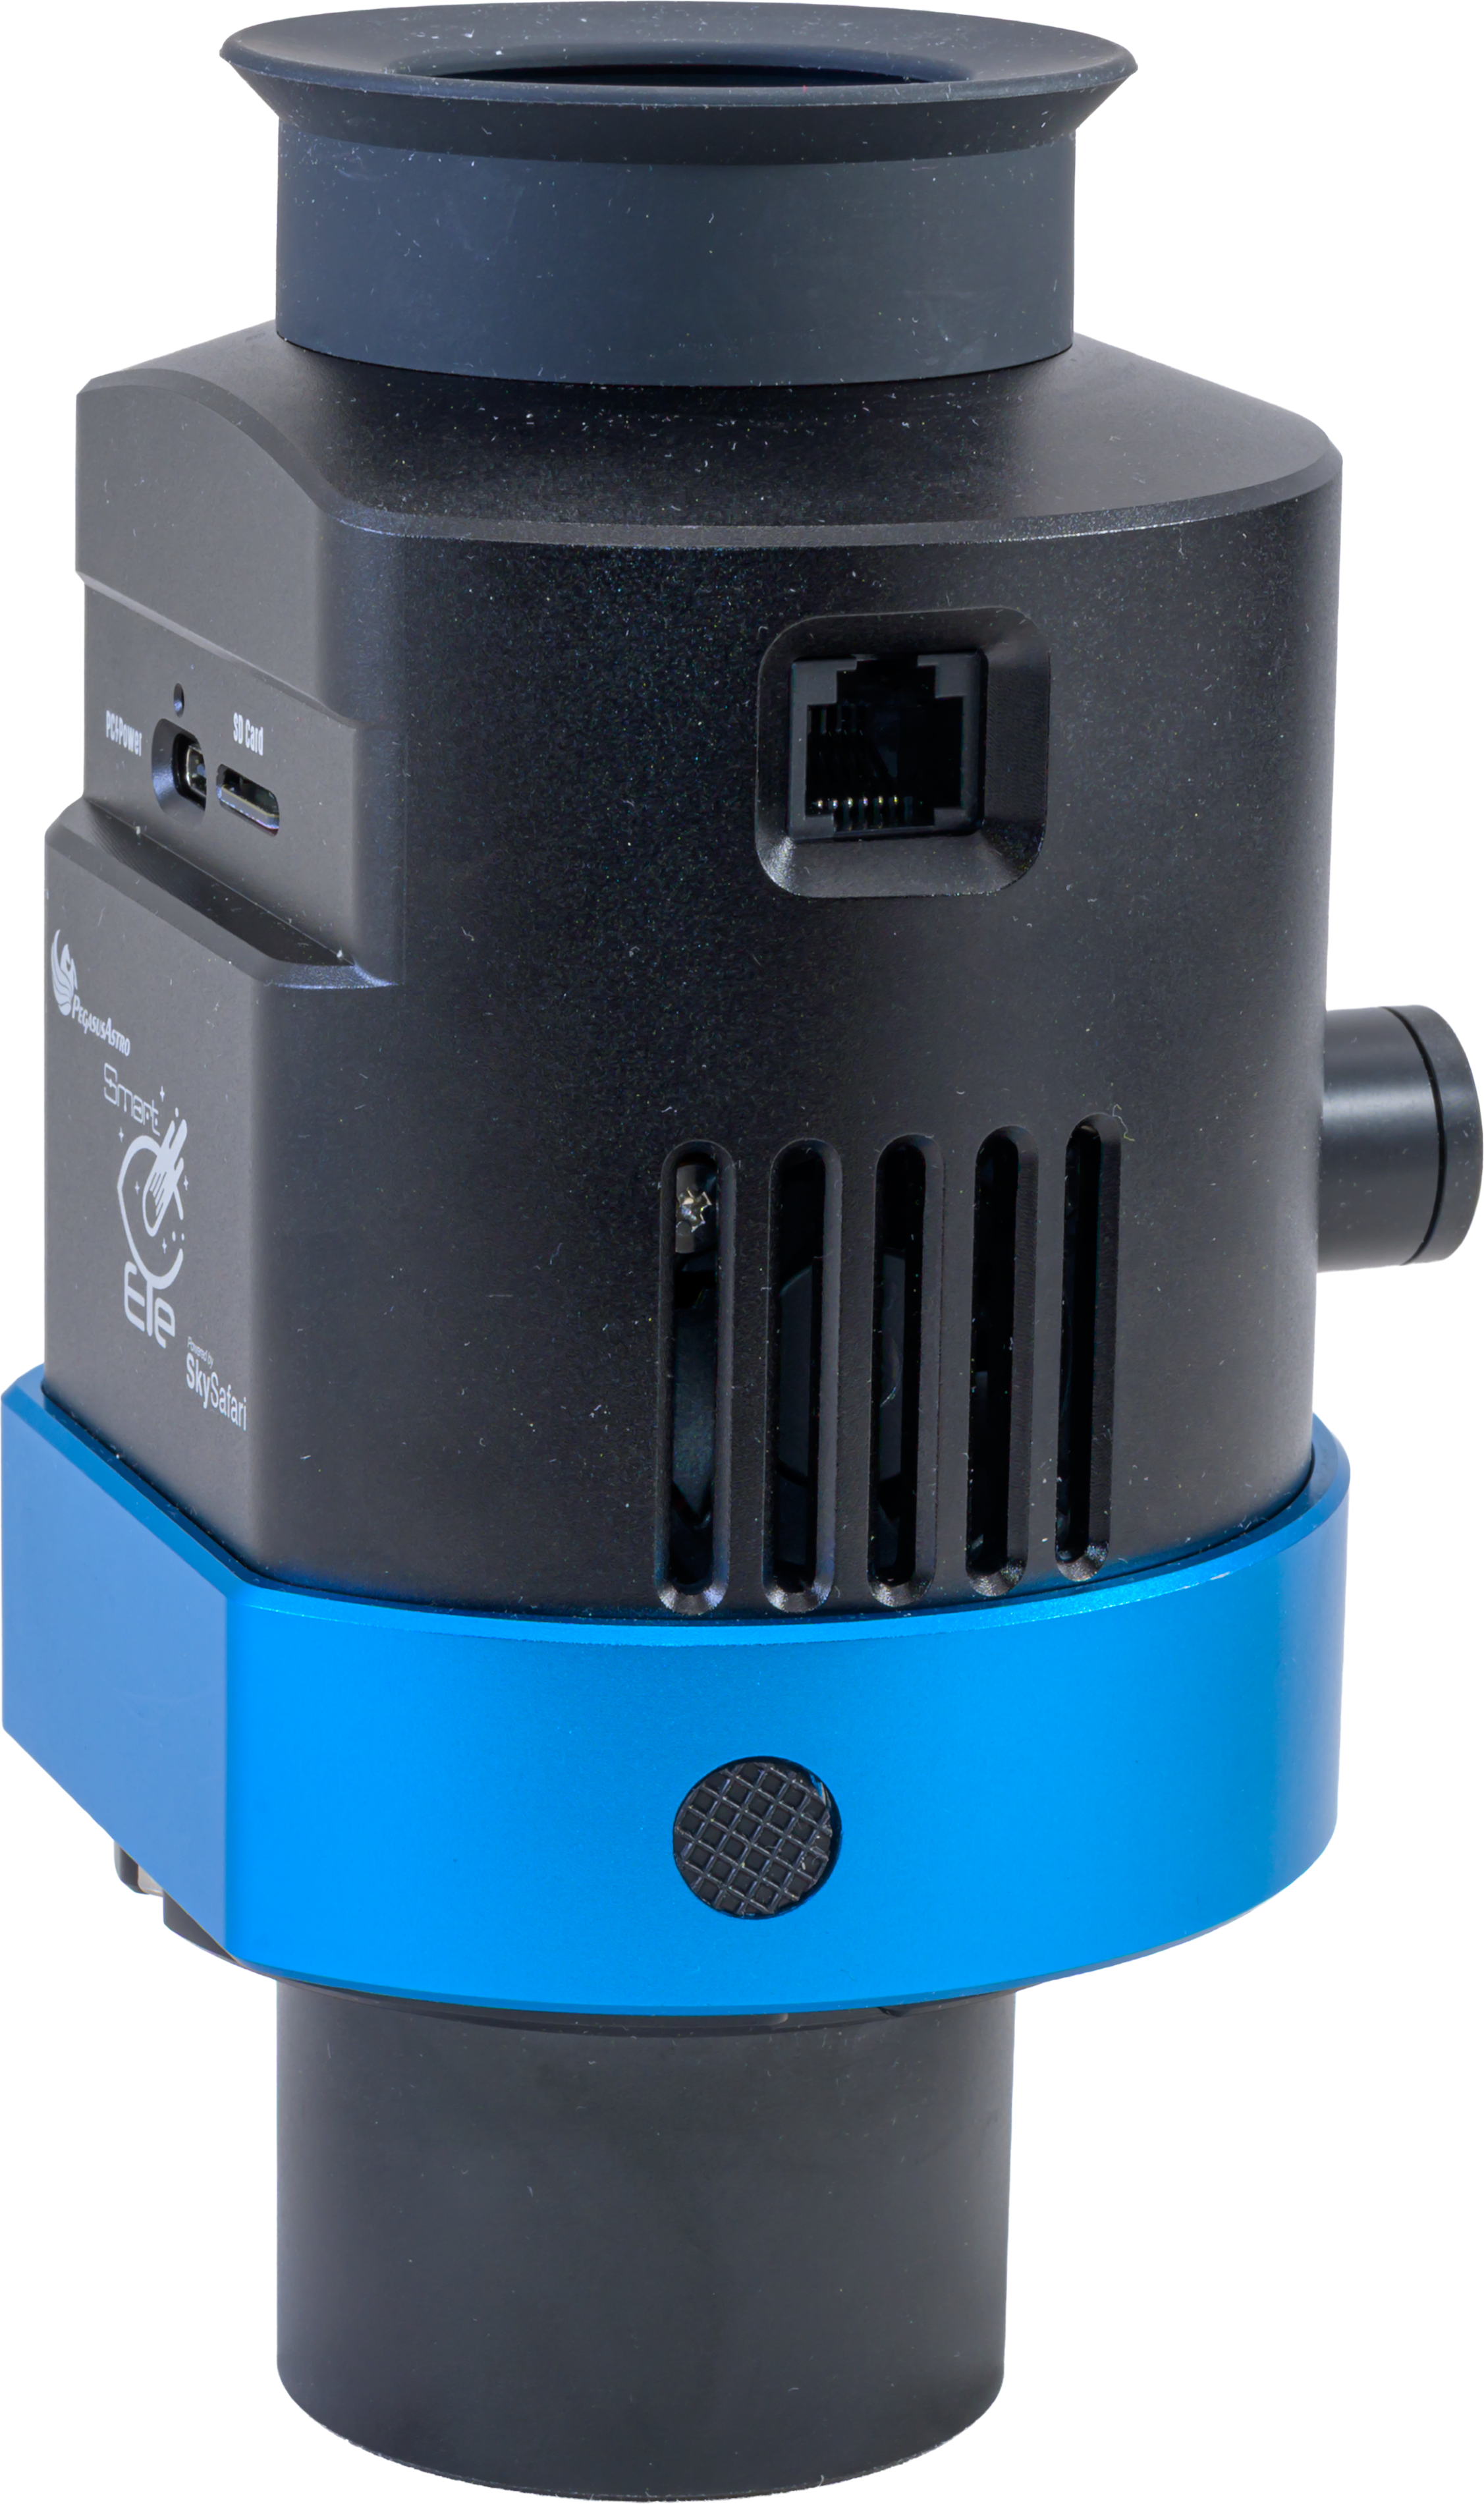
Another caveat for imagers: The specs mention SmartEye will auto-guide a mount while it is also taking images (it has a standard ST-4 port for this, shown above). But as of July 2026 that feature has yet to be implemented.
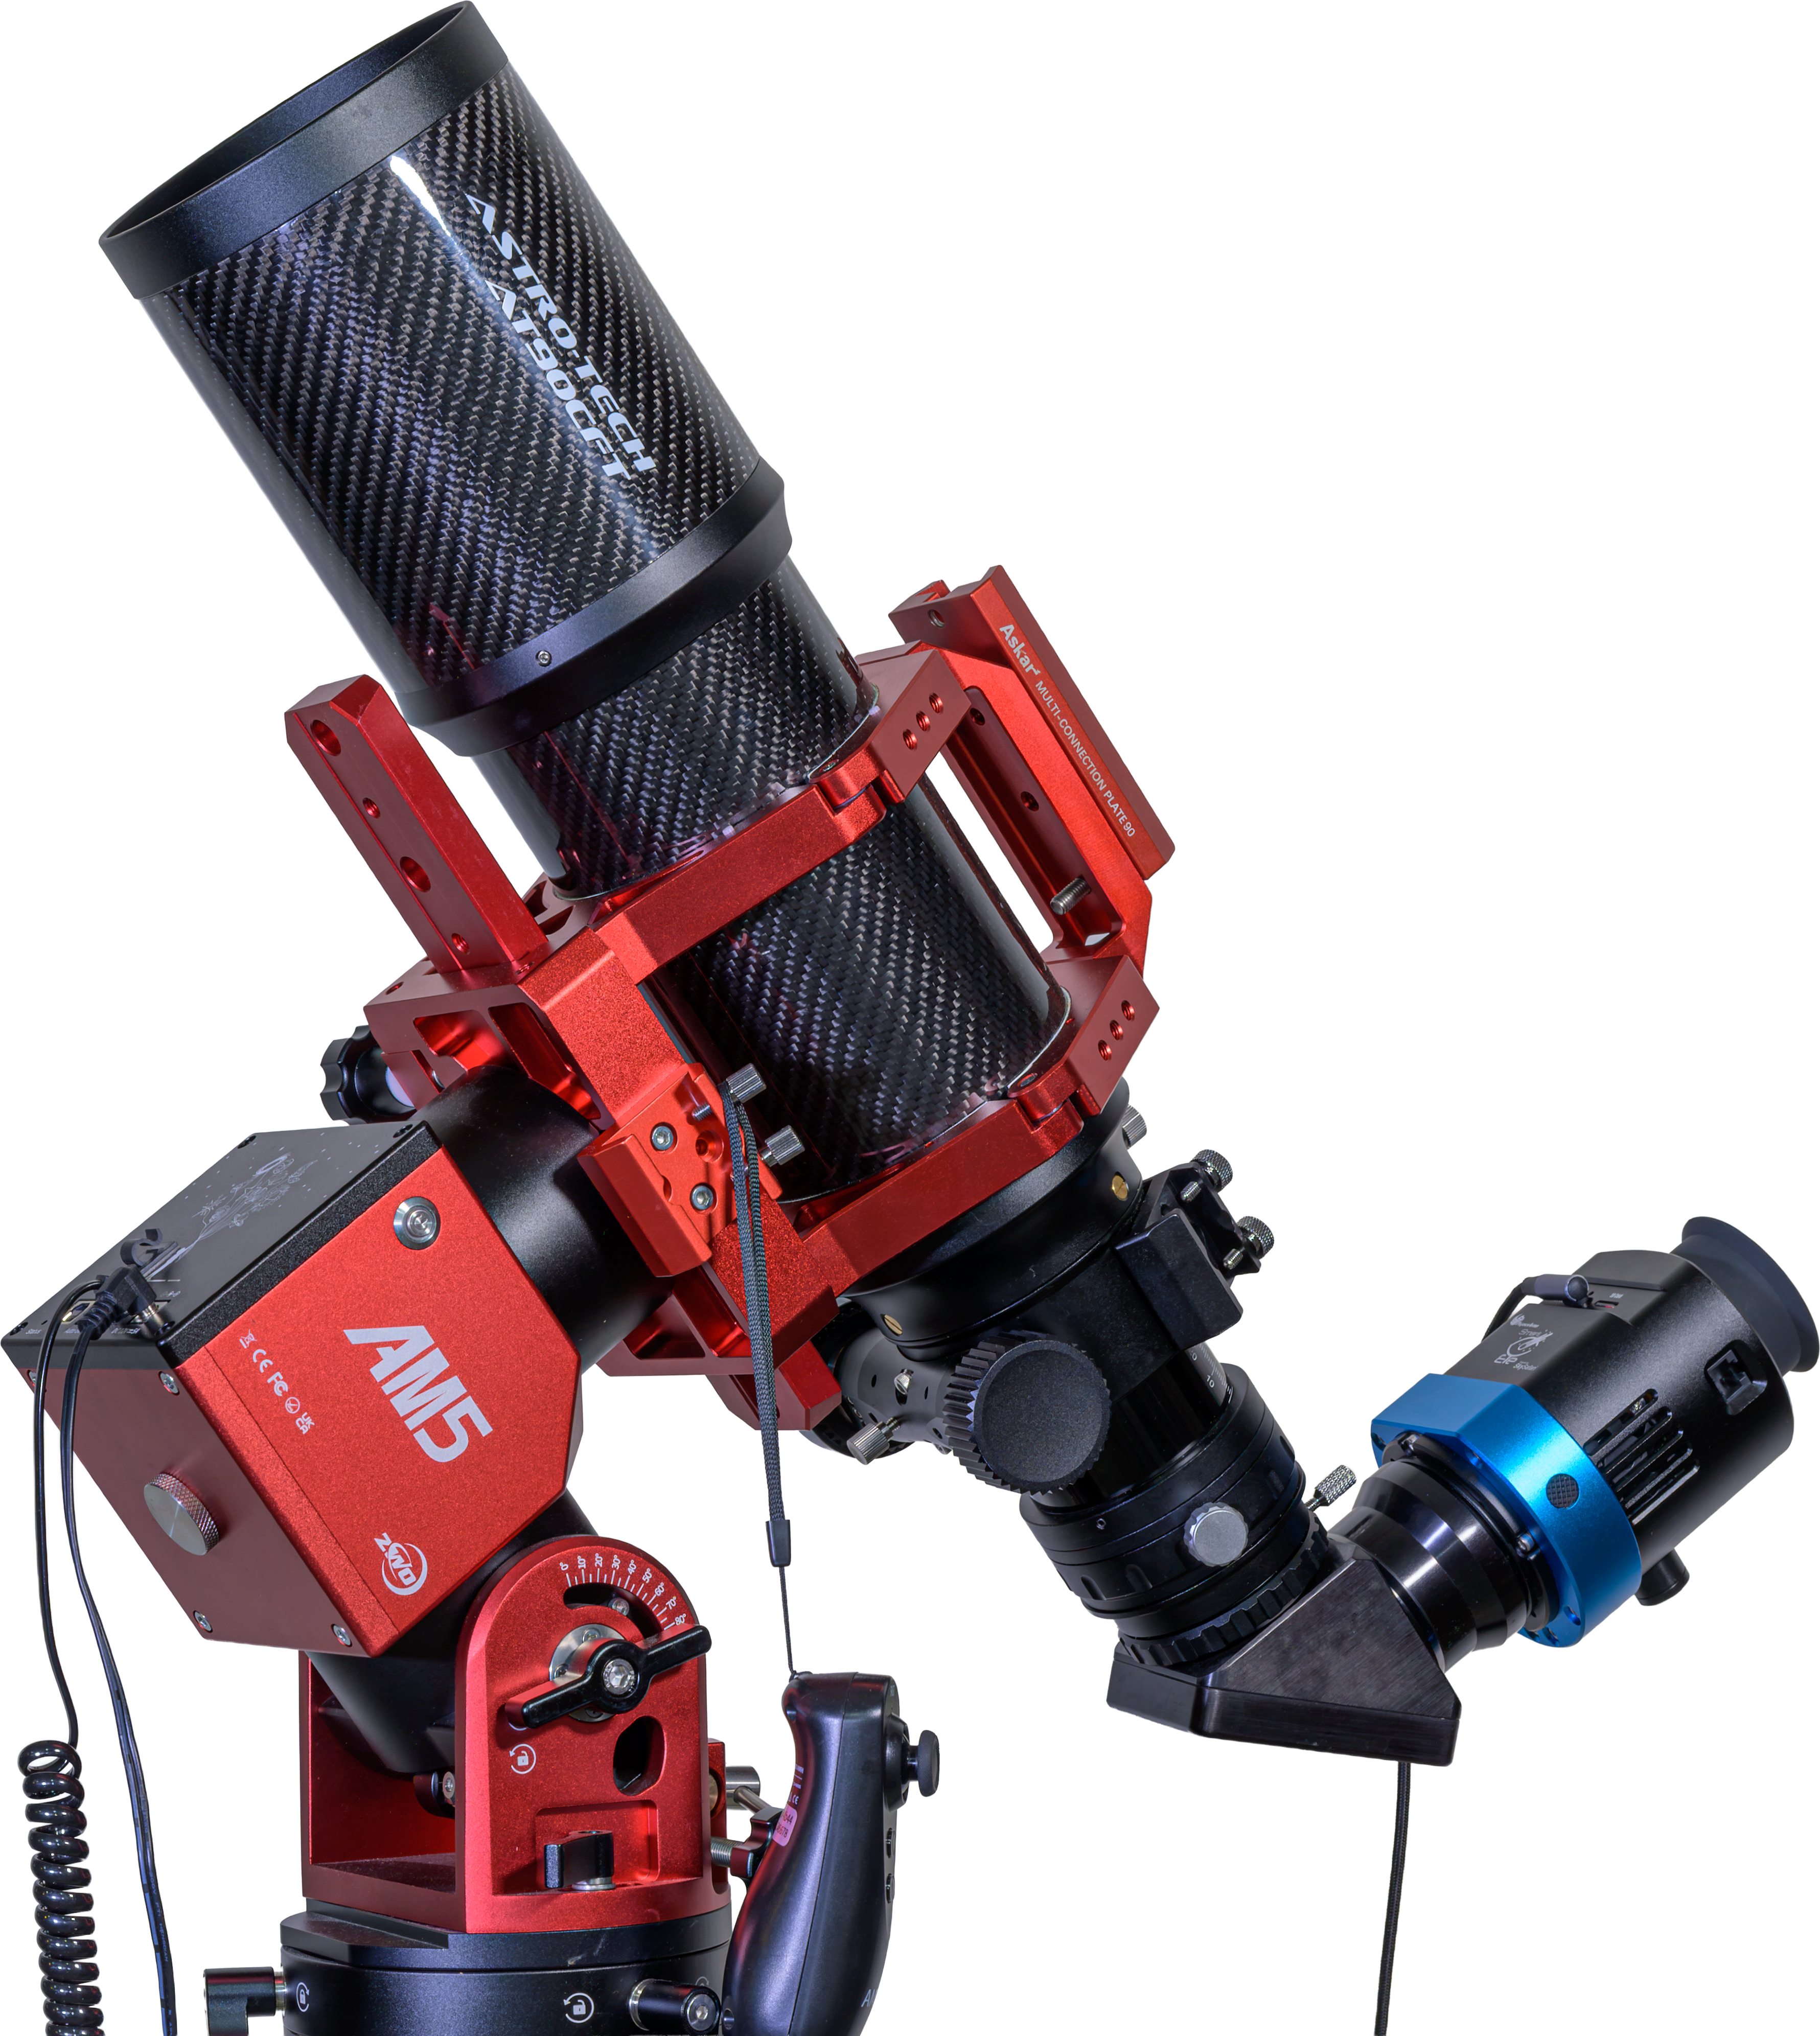
The PegasusAstro SmartEye – Who Is It For?
The individual — SmartEye is for the experienced deep-sky observer wanting to see more, but without the effort of having to set up a big telescope. Nor having to travel to dark skies – SmartEye presented fine views under bright skies. (I shot many of the sample images in bright moonlight.)
Weigh the $2000 (US) cost of SmartEye vs. the cost and inconvenience of a big telescope. However, don’t expect to use it for enhanced views of the Moon and planets. And it is best used on a polar-aligned equatorial mount, so not quite a “grab-and-go” rig.
The club — SmartEye will also be suitable for outreach evangelists, astronomy clubs, and public observatories. It is ideal for EAA – Electronically Assisted Astronomy, but with a more immersive sense of discovery for your guests than they can get by looking at a separate screen. After all, they show up at your events hoping to look through a telescope, not at yet another screen!
But I recommend not putting SmartEye on your club’s pride-and-joy big reflector scope. Keep the SmartEye rig small. Even when I told guests at my scope they were really looking at an electronic image, they were still thrilled with the view. And that was with a mere 80mm refractor!
— Alan Dyer, July 10, 2026 / www.AmazingSky.com
 The Amazing Sky