AI-based noise reduction programs continue to improve, to provide remarkable results on many images. But … how well do they work on star-filled astrophotos?
In late 2022 I published a comparison of noise reduction programs current at that time. It’s here on my Amazing Sky blog.
As we know, software evolves rapidly. So here’s my latest look at versions of those programs current of as May 2024, plus new entries into the category, all with a focus on how well they perform on a variety of astrophotos. Only two programs tested here, NoiseXTerminator and GraXpert, are specifically designed to be used on astrophotos, primarily telescopic images of deep-sky objects.
The other programs on test are general purpose, for use on noisy images such as wildlife photos shot at high ISOs to freeze motion, or any photos shot under low light. But the latter includes nightscapes.
I tested programs in three categories, defined primarily by how they are used in a processing workflow:


- General programs usable only on Raw files at the start of a workflow:
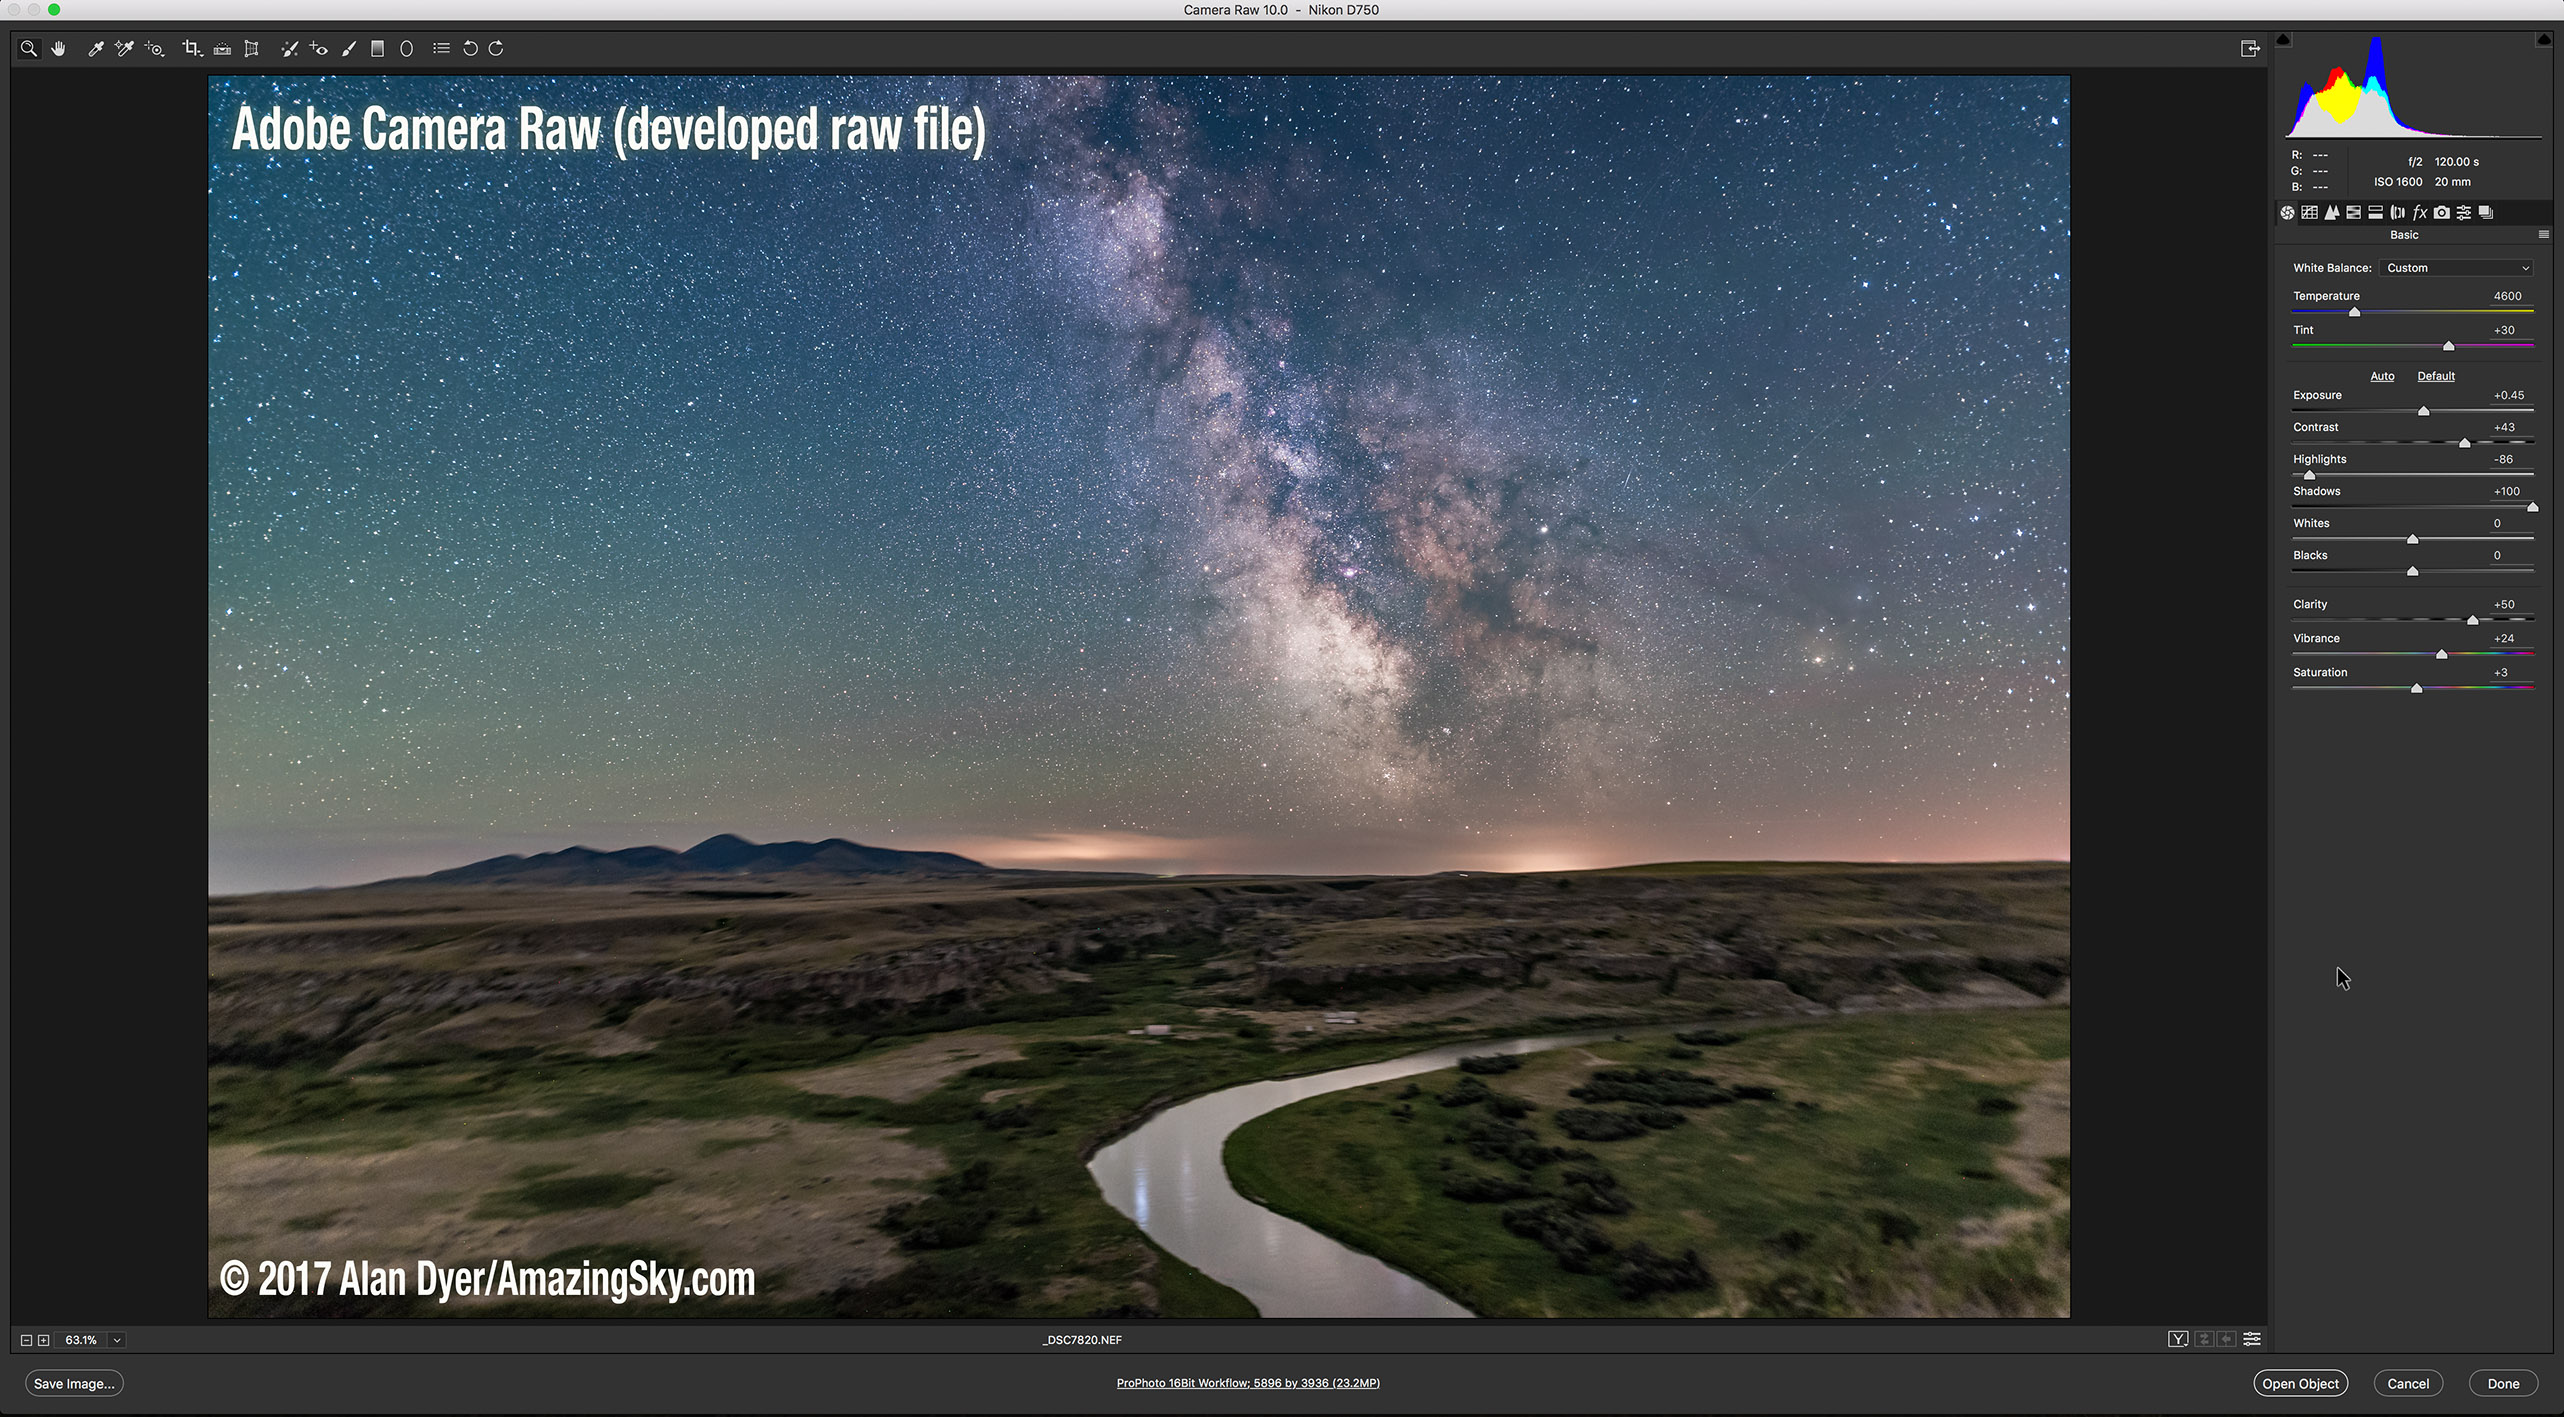
- Adobe DeNoise AI from within Adobe Camera Raw (v16.3) or Lightroom (v13.3)
- DxO PureRAW 4 (v4.1), a stand-alone app only


- General programs usable as stand-alone apps on Raw files, but also as plug-ins for Photoshop for use later in a workflow (I tested both workflows):
- Luminar Neo (v1.19.1) and its Noiseless AI filter
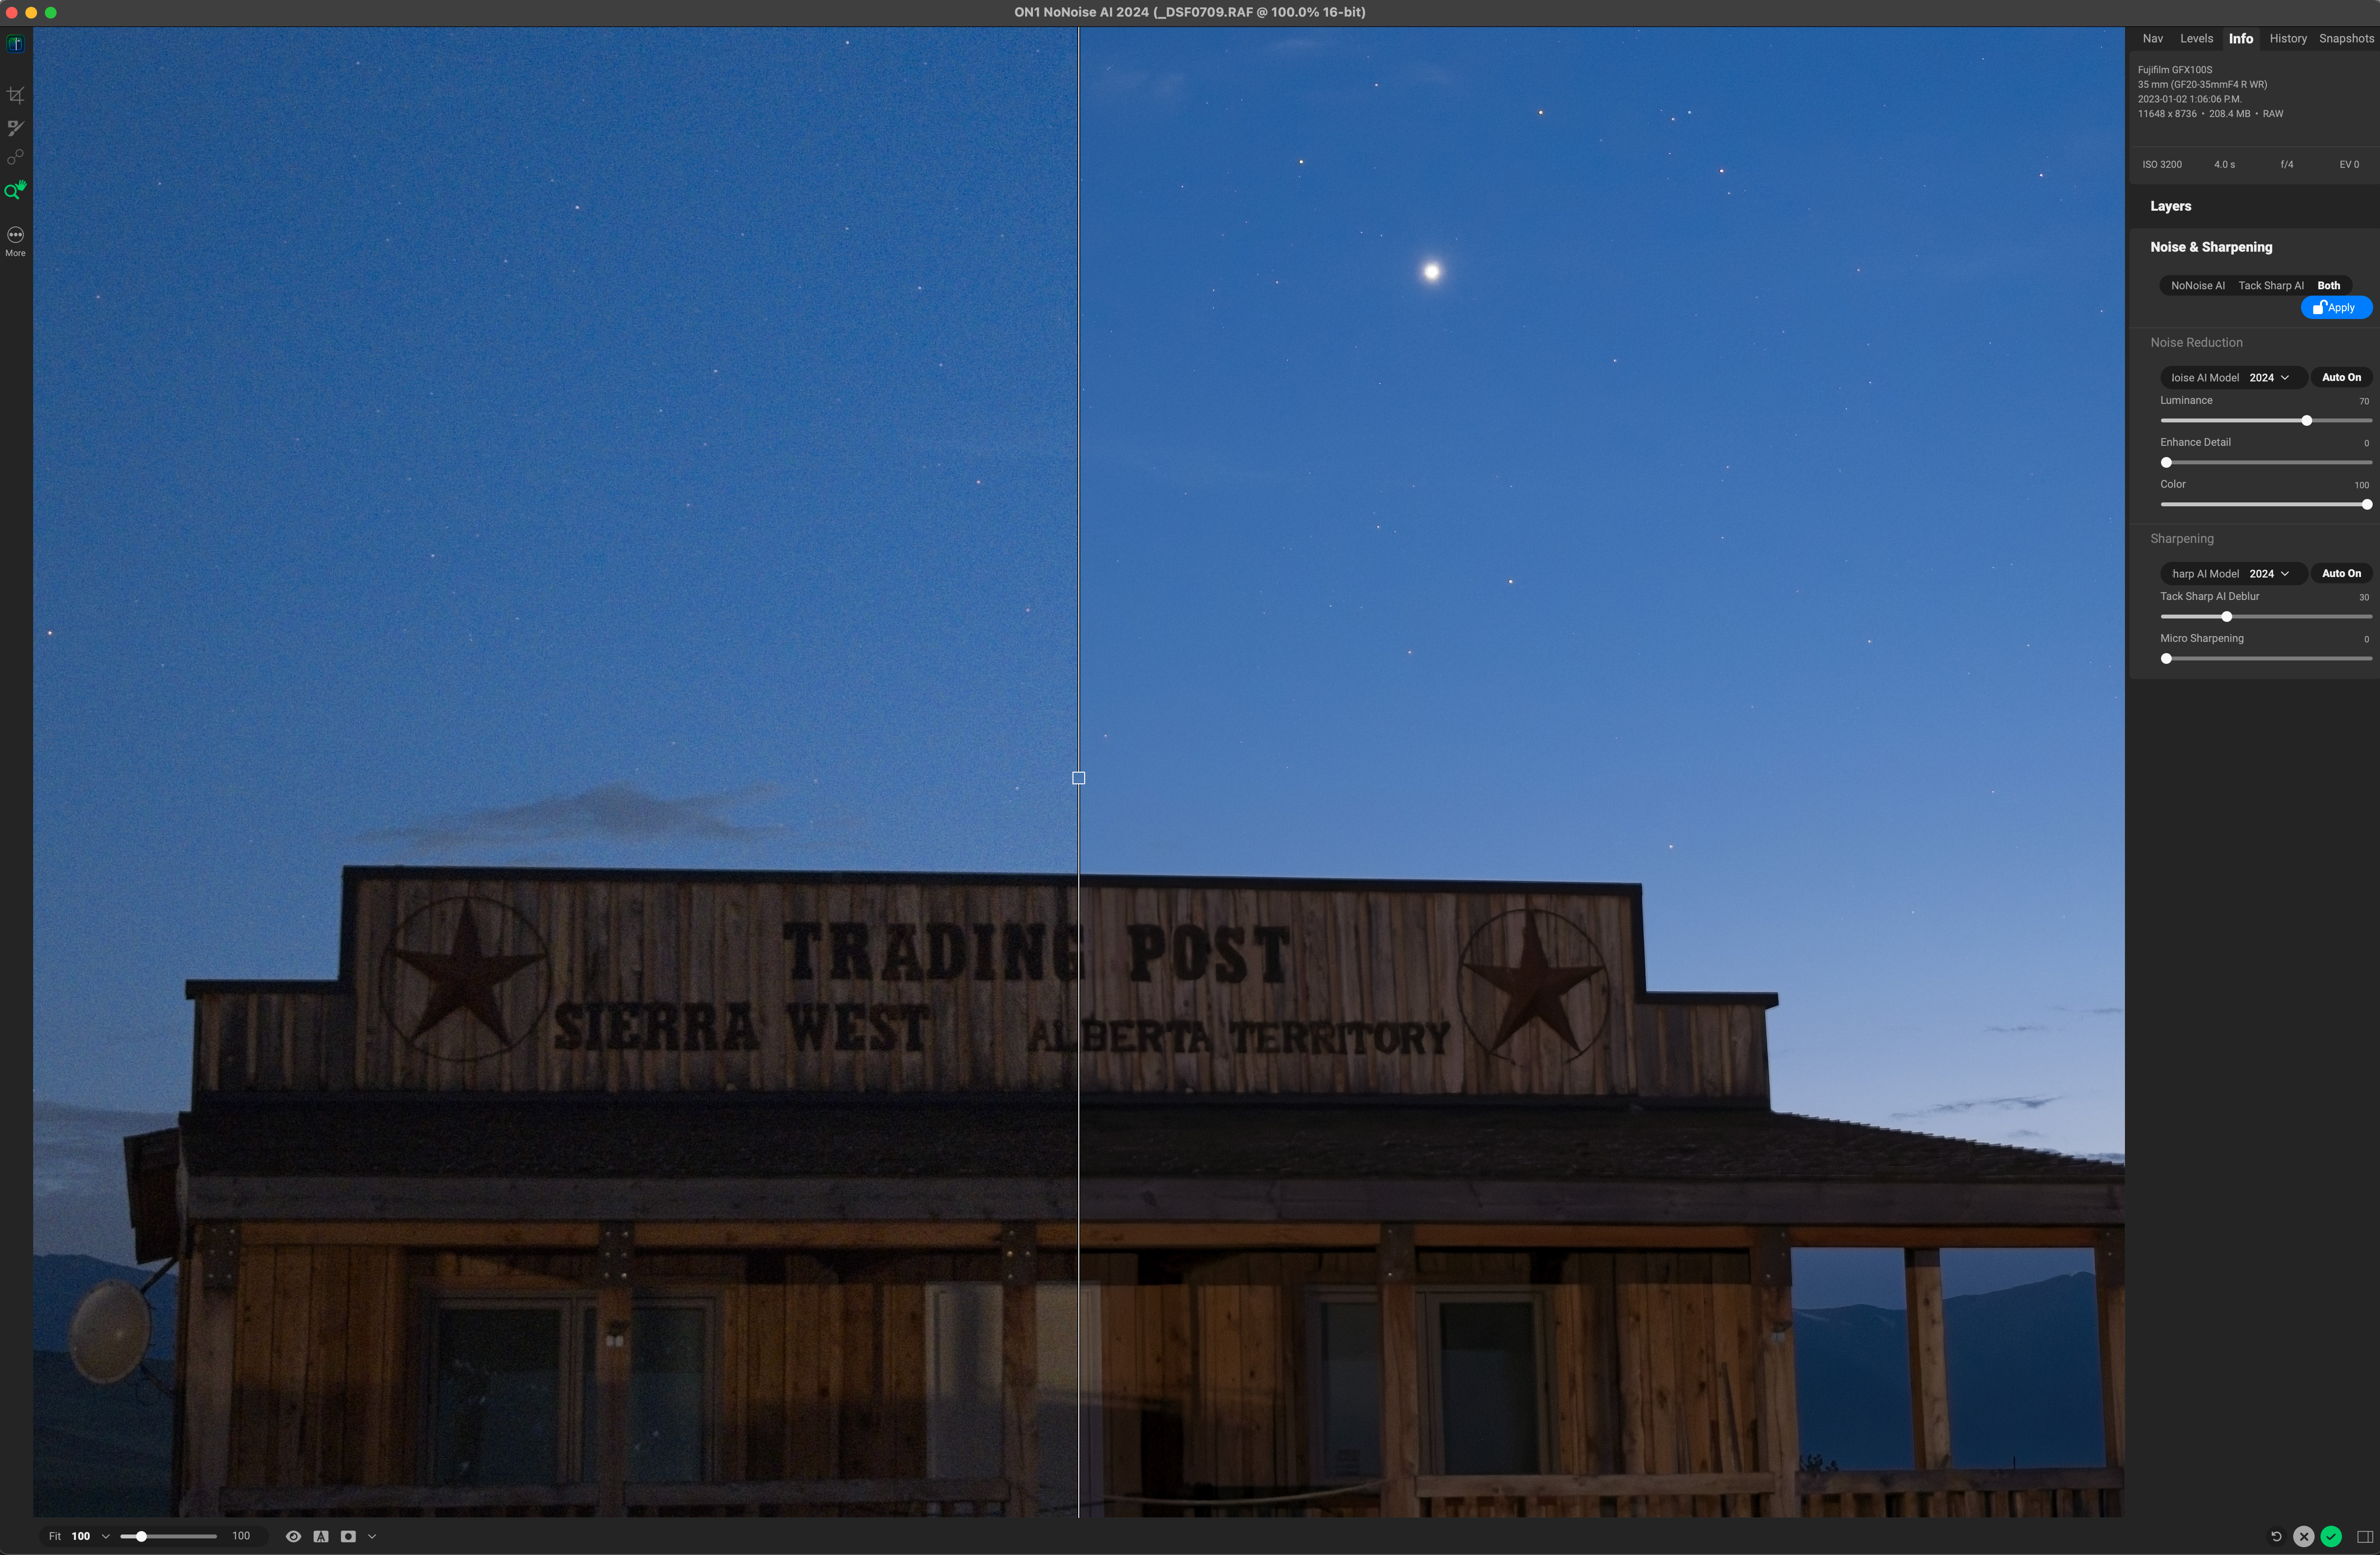
- ON1 NoNoise AI 2024 (v18.3)
- Topaz Photo AI (v3.02)

- Programs specialized for astro work:
- RC-Astro NoiseXTerminator (v1.1.3), usable only as a Photoshop plug-in
- GraXpert (v3.0.2), usable only as a stand-alone application
(The latter two can also be installed as “processes” accessed from within the specialized astrophoto program PixInsight; I did not test that workflow.)

MY METHODS (“BUT WHAT ABOUT …?”)
I tested the five general-purpose programs on four types of astrophotos:
- Nightscapes
- Aurora images
- Total solar eclipse images
- Deep-sky images, both wide-field and telescopic
I tested the two specialized programs only on sample deep-sky photos, the types of images they are designed and trained for.
In all cases, the test images are single frames. I did not stack any images for these examples, as I wanted to show what the programs could do with noisy originals.
I tested only on Raw files from mirrorless cameras. I did not test on FITS files from specialized cooled astronomy cameras, as those require a quite different workflow and software.
Anticipating the “What about …?” question — no, I did not test Topaz DeNoise AI. While popular among astrophotographers, both it and its companion program, Sharpen AI, were discontinued in 2023, in favor of Topaz concentrating on their single program, Photo AI, that can de-noise, sharpen, and upscale.
I also did not test other Raw developer programs that contain noise reduction panels. (For example, DxO PhotoLab includes a version of PureRAW, and ON1 PhotoRAW contains a version of NoNoise.) For my most recent comparison of those programs see my test from January 2023.
I made an exception for Luminar Neo. While it includes general processing functions, it is used more often (certainly by me!) just as a plug-in for its AI-driven effects and filters, noise reduction being one.
PLEASE NOTE:
- All the test images are full-resolution JPGs (6,000 to 8,000 pixels wide) that you can download (by right-clicking) for detailed inspection. You will often need to do so, to see the pixel-level differences I refer to.
- But the sizes of the images make the blog page slow to load initially. Patience, please!
- All images are © Alan Dyer, so any publication or posting elsewhere requires my permission, please and thank you! Just link to this blog if you wish to share the review.

TL;DR SUMMARY (with links to the software websites)
- Of the two Raw-only programs, Adobe’s DeNoise AI and DxO’s PureRAW 4, both worked well, with v4 of PureRAW much improved over its earlier artifact-prone v2 I tested and dismissed in 2022. Similarly, unlike its early version, Adobe DeNoise AI did not invent structures, such as auroral arcs.
- Adobe’s DeNoise AI brought out details in the shadows much better than DxO’s PureRAW 4, which blocked up shadows. But PureRAW produced sharper details in illuminated landscapes, yielding less of the plastic appearance that Adobe DeNoise is still prone to. However, both programs turned star trails into wiggly worms.
- Each of the three other general-purpose programs failed as stand-alone apps when importing Raw files, then exporting them as either Raw DNG (Digital Negative) files (ON1 NoNoise AI and Topaz Photo AI), or as TIFF files (Luminar Neo). Their exported images were either dark, vignetted, or hugely shifted in color or tonal balance. Results with that Raw-to-DNG/TIFF workflow were often unusable.
- However, the same three programs (Luminar Neo, ON1 NoNoise AI and Topaz Photo AI) worked well as plug-ins from within Adobe Photoshop. Images now looked fine, with ON1 NoNoise producing what I thought was the best overall noise reduction with the fewest artifacts and “patchiness” in most examples. Luminar Neo’s Noiseless AI was consistently the poorest performer in all cases. It’s the program I can rule out of the running for noise reduction.
- The two specialized astro programs, NoiseXTerminator and GraXpert, did a fine job on deep-sky images, reducing fine-grained noise without eliminating stars, just what they are “trained” to do. However, I felt NoiseXTerminator did the better job, with the new (as of May 2024) GraXpert 3.0 softening stars or leaving residual mottled artifacts. Neither worked well on nightscapes — while they didn’t harm detail too much, other programs performed better on what are often detailed but dark and noisy foregrounds.
My main takeaway — No one piece of AI software works best on all astrophotos. A program that provides great results on one image or class of image might perform poorly on another image. That’s the nature of AI-driven processing.
So … my overall conclusion and personal workflow picks? —
- Adobe DeNoise AI would be my first choice for noisy nightscape images, where it has to be applied early in the workflow. It will be worth trying on deep-sky images.
- DxO PureRAW might work better on some nightscapes with lots of ground textures.
- ON1 NoNoise AI works well on many images when applied as a plug-in later in the workflow, but its sliders often need adjusting from the defaults.
- NoiseXTerminator remains my preferred plug-in for deep-sky images.
PLEASE NOTE:
- I have not provided prices and explained buying options, as frankly some can be complex!
- For those details, go to the software’s website by clicking on the links in the names above. With the exception of Luminar Neo, all are available as free trial copies.
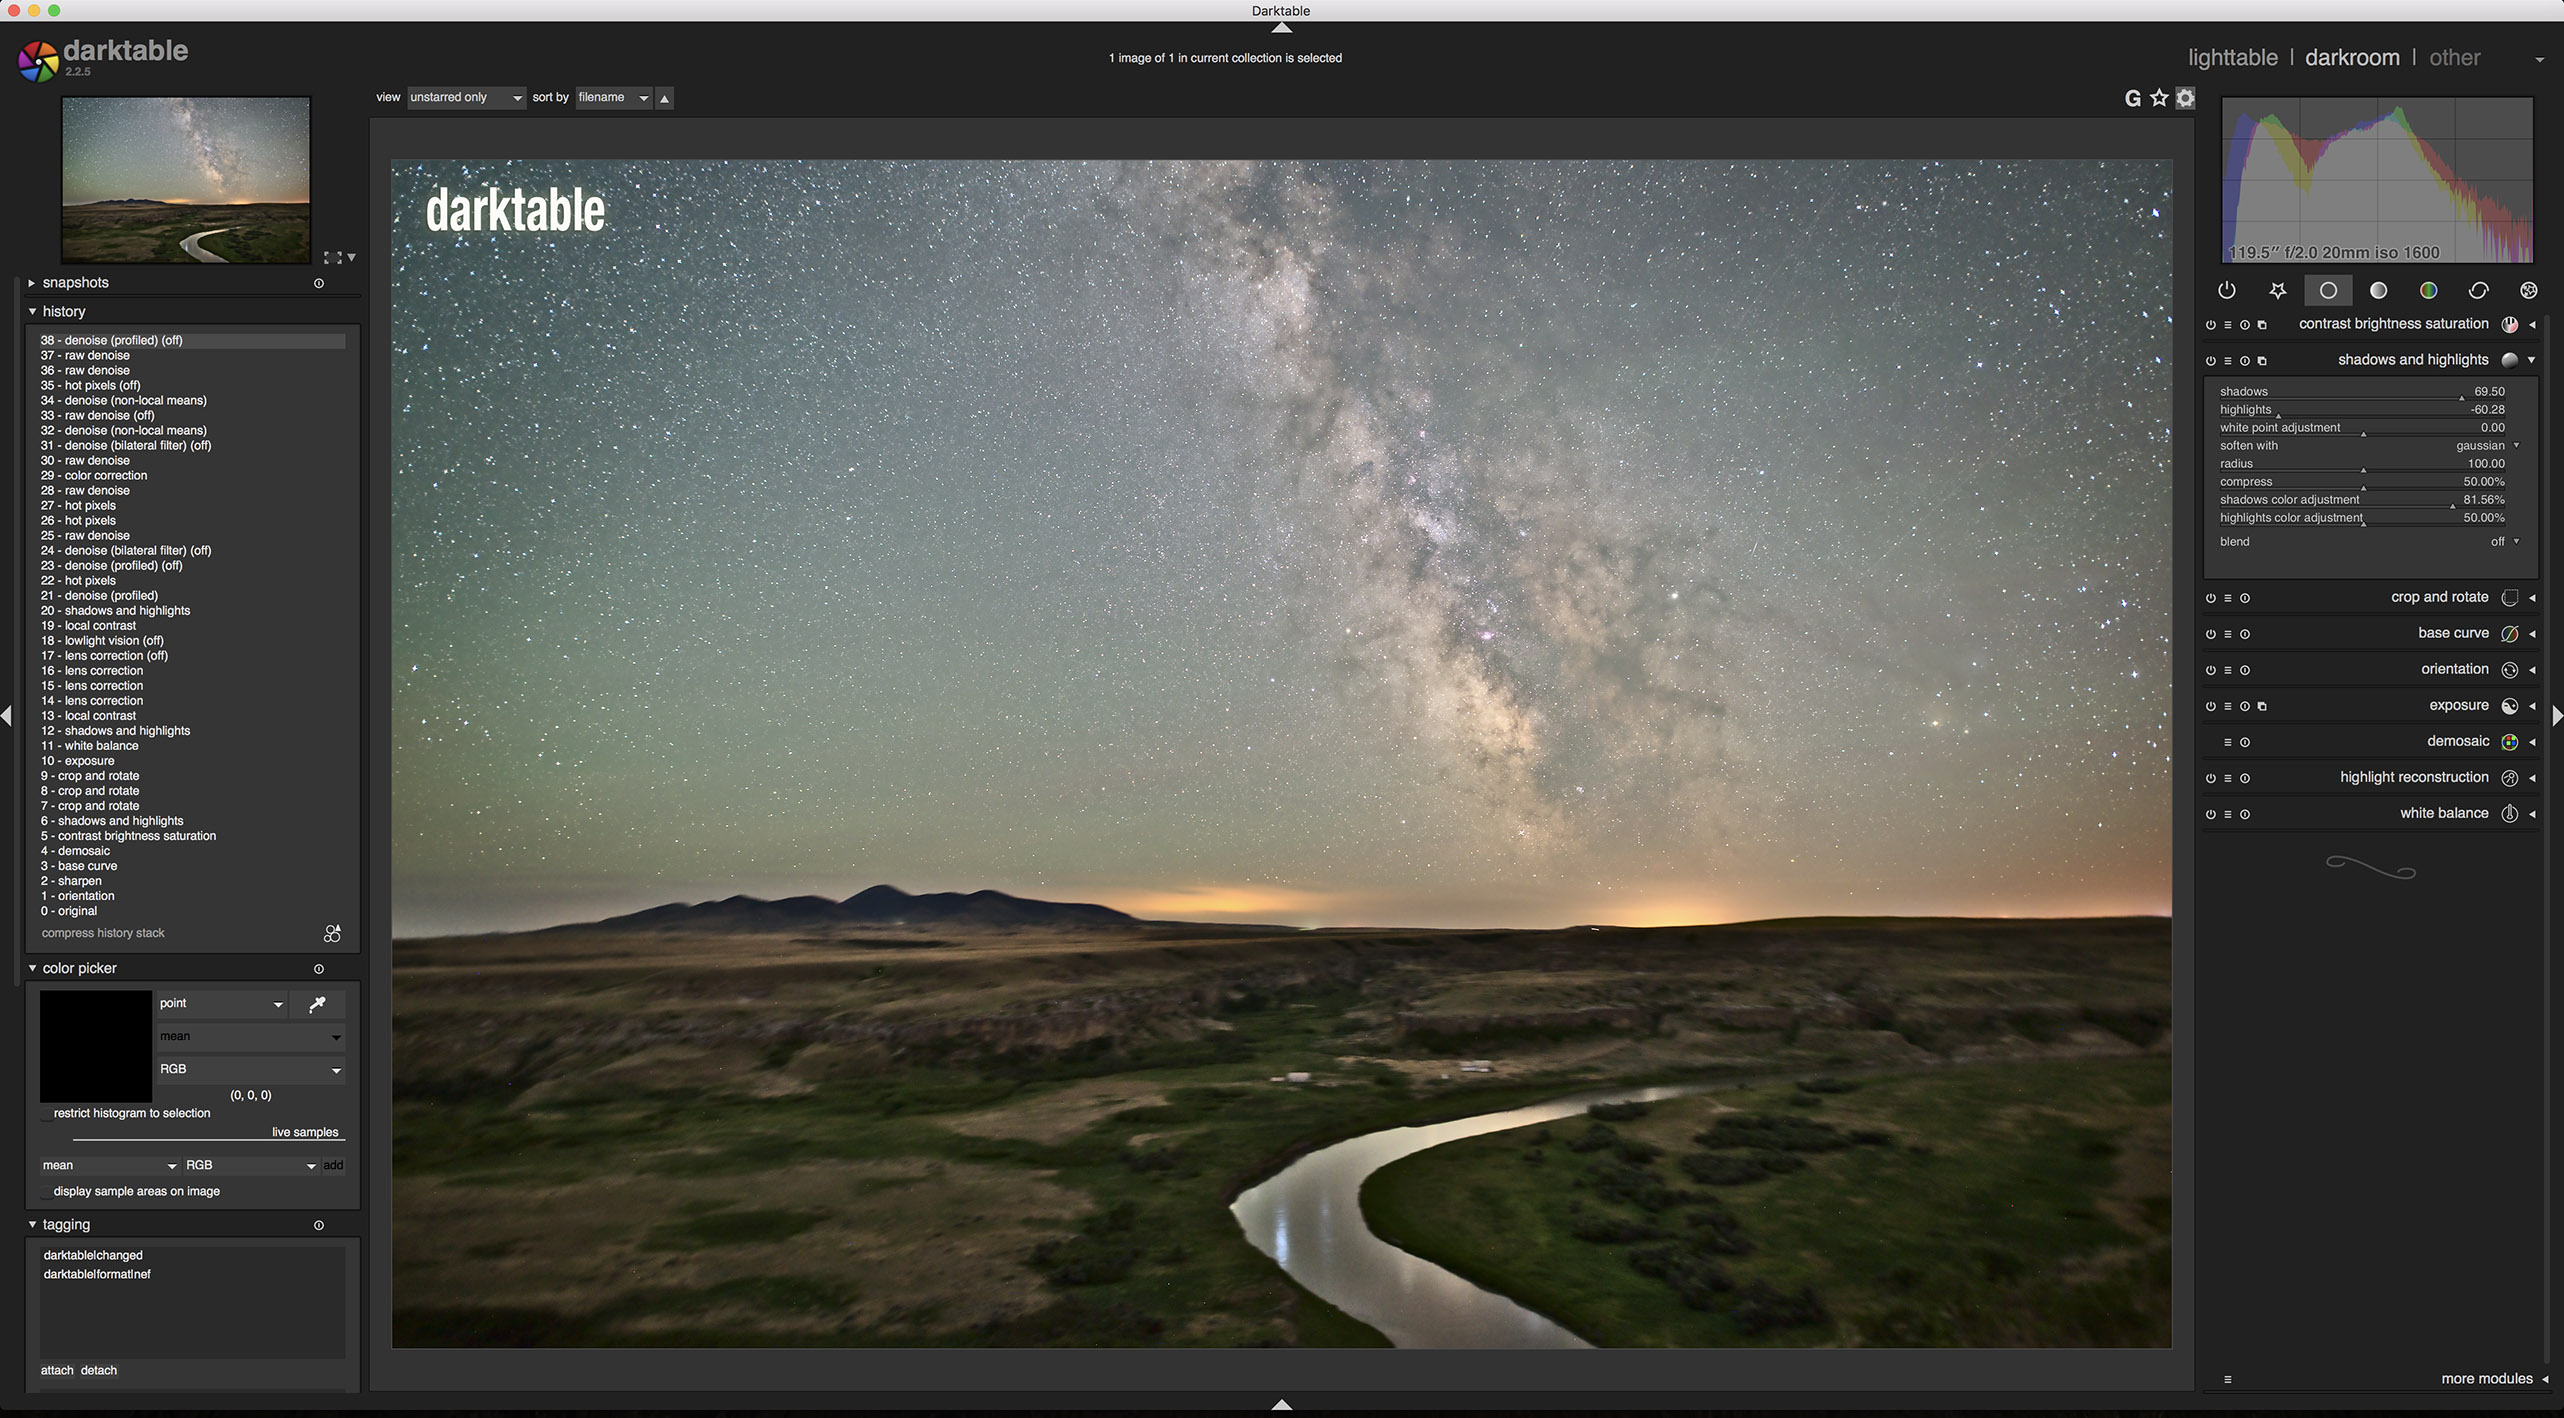
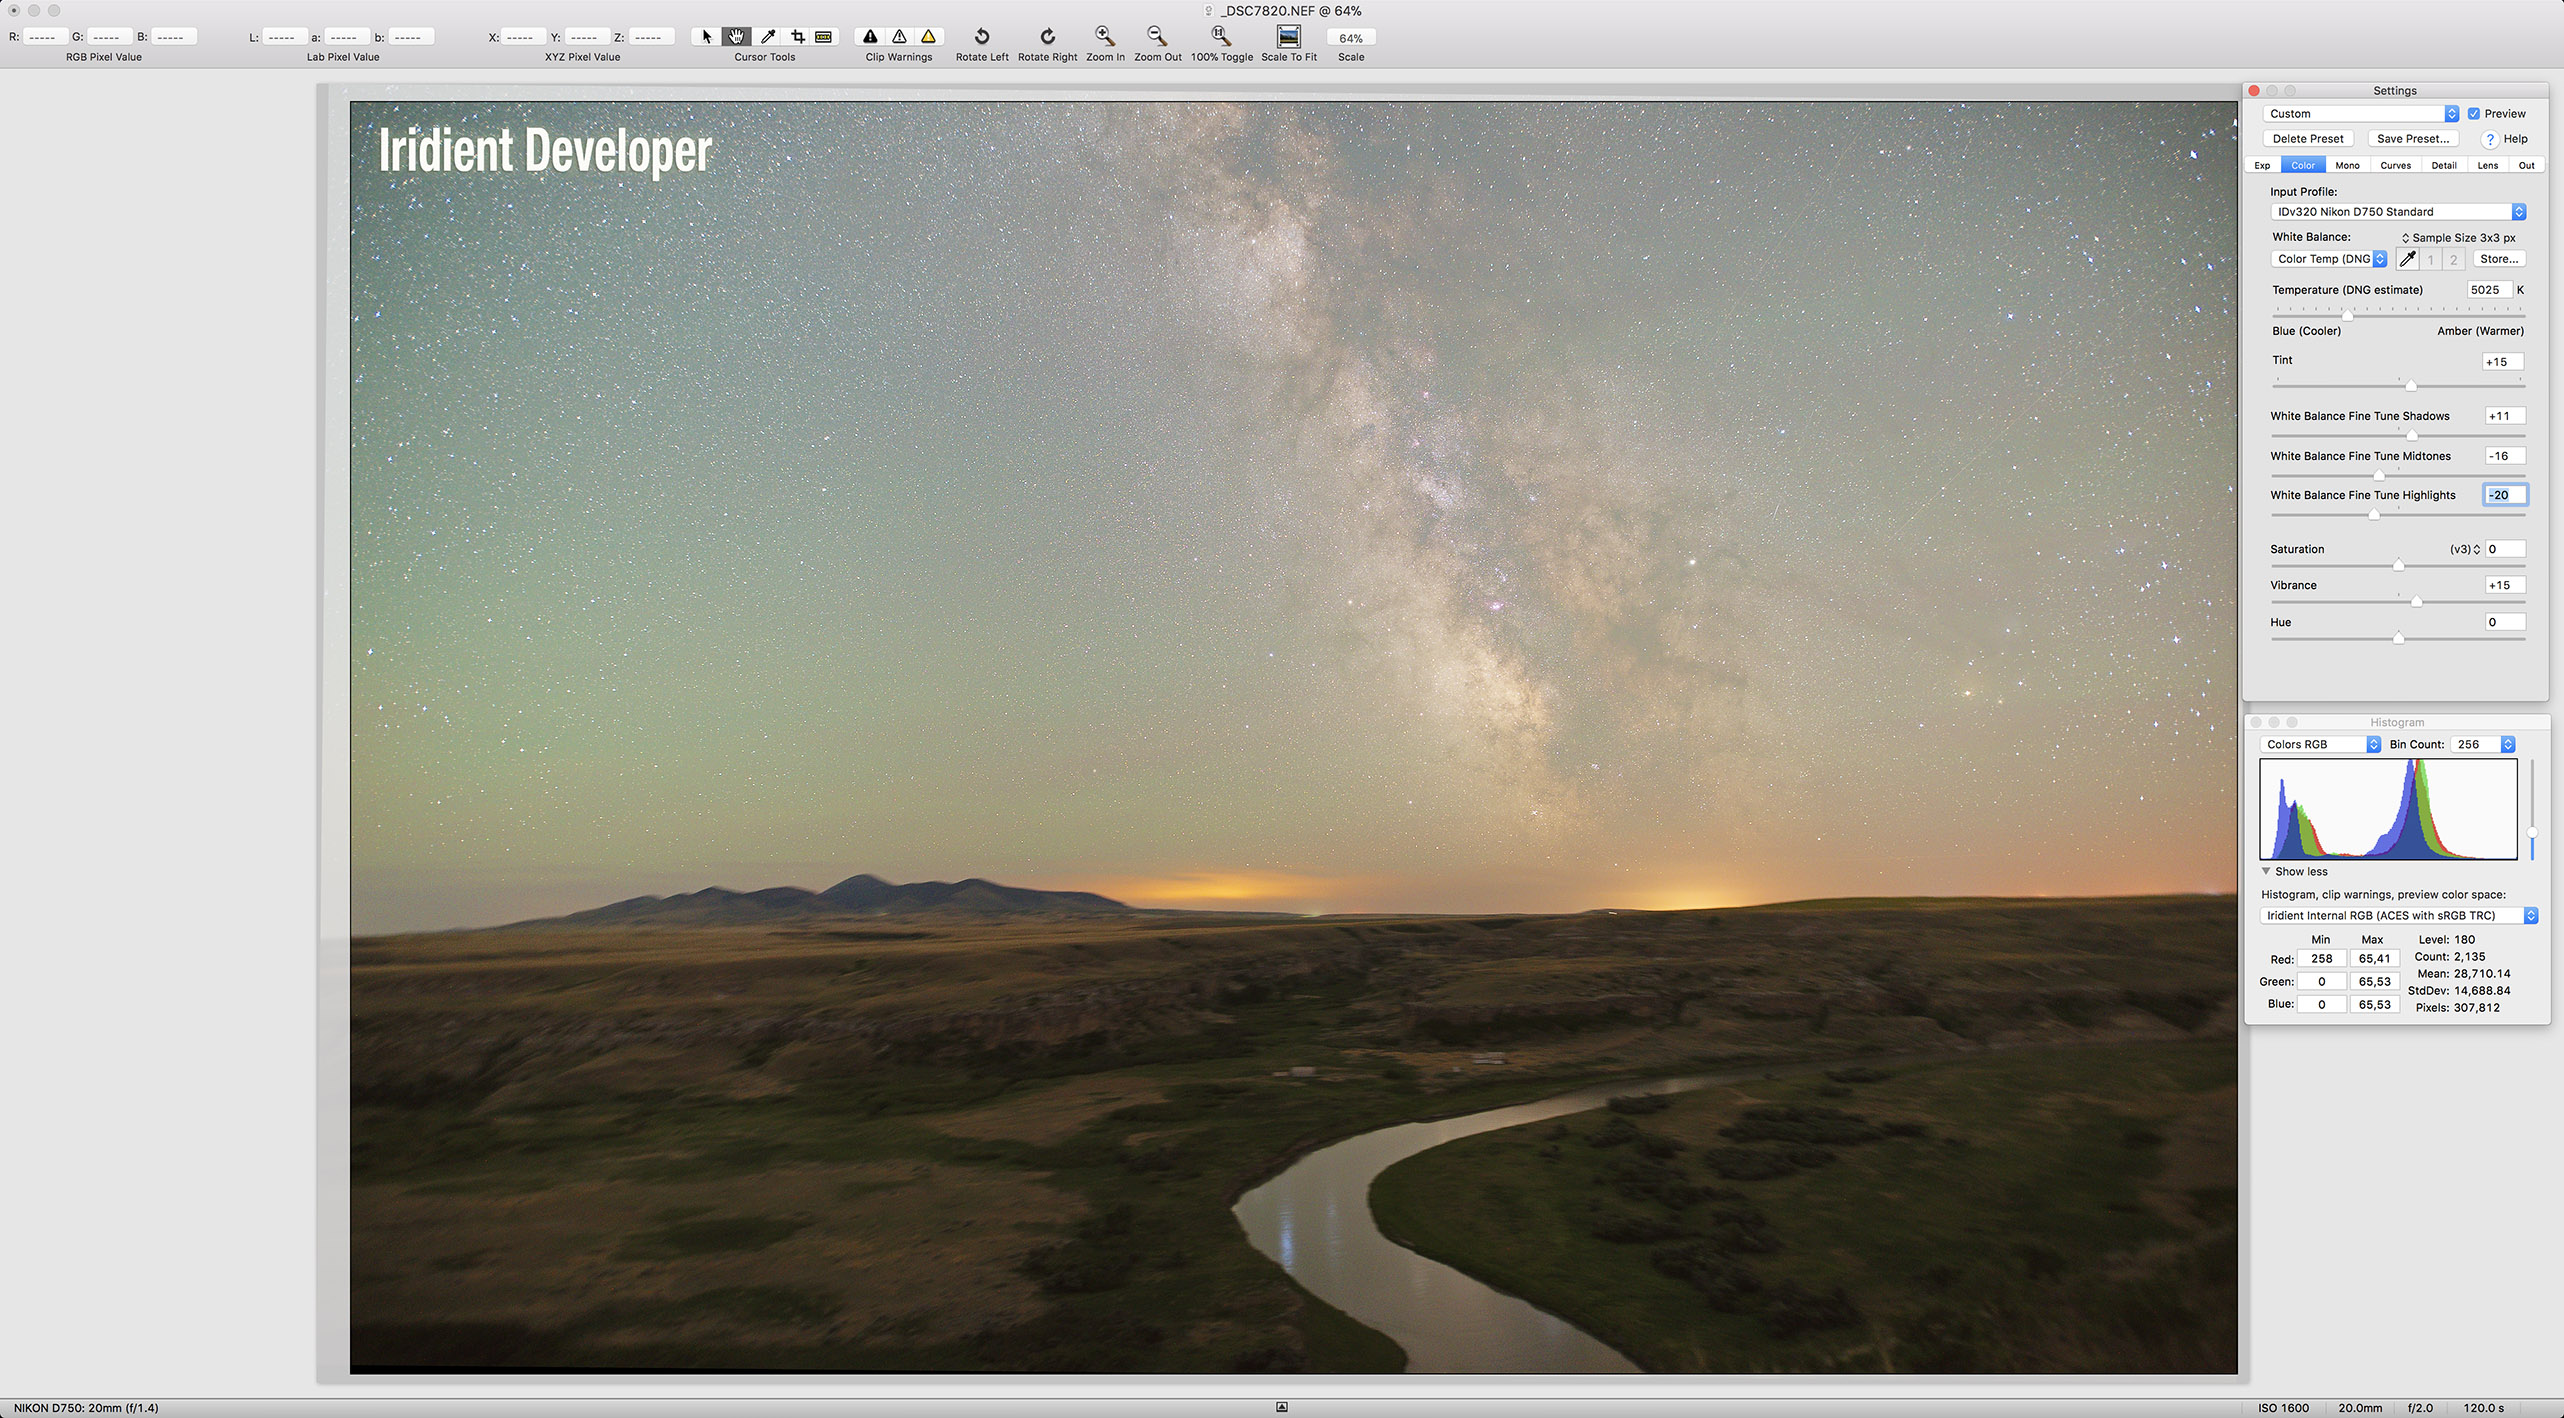
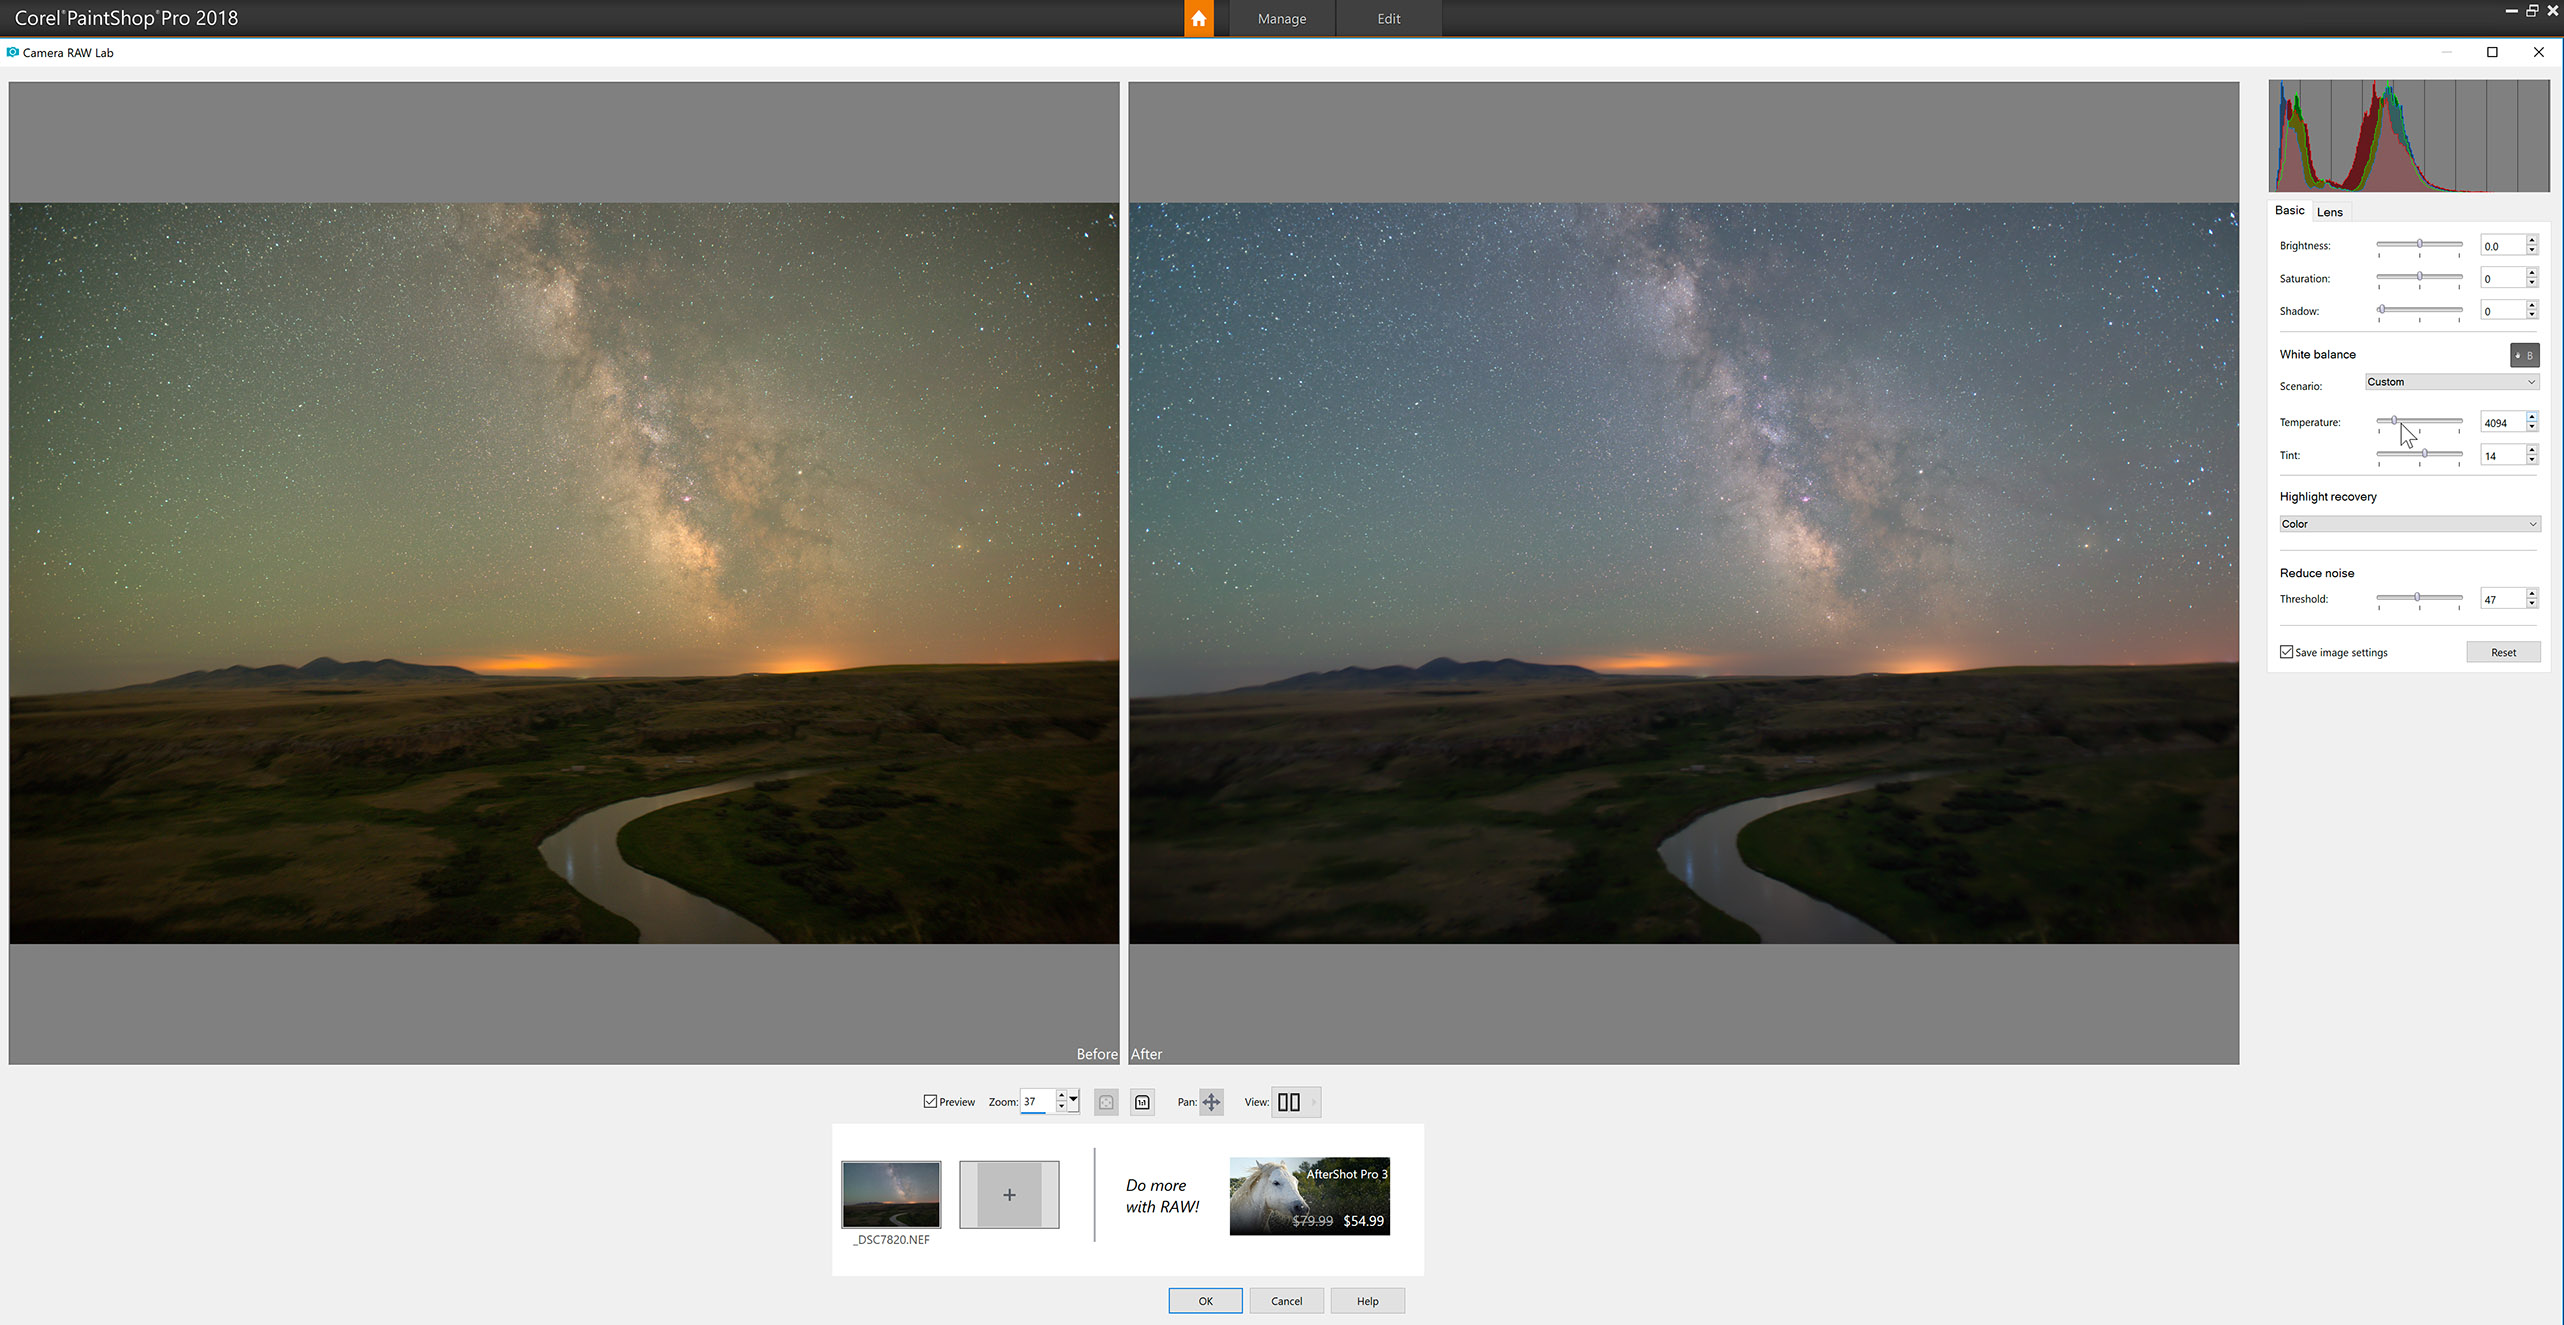
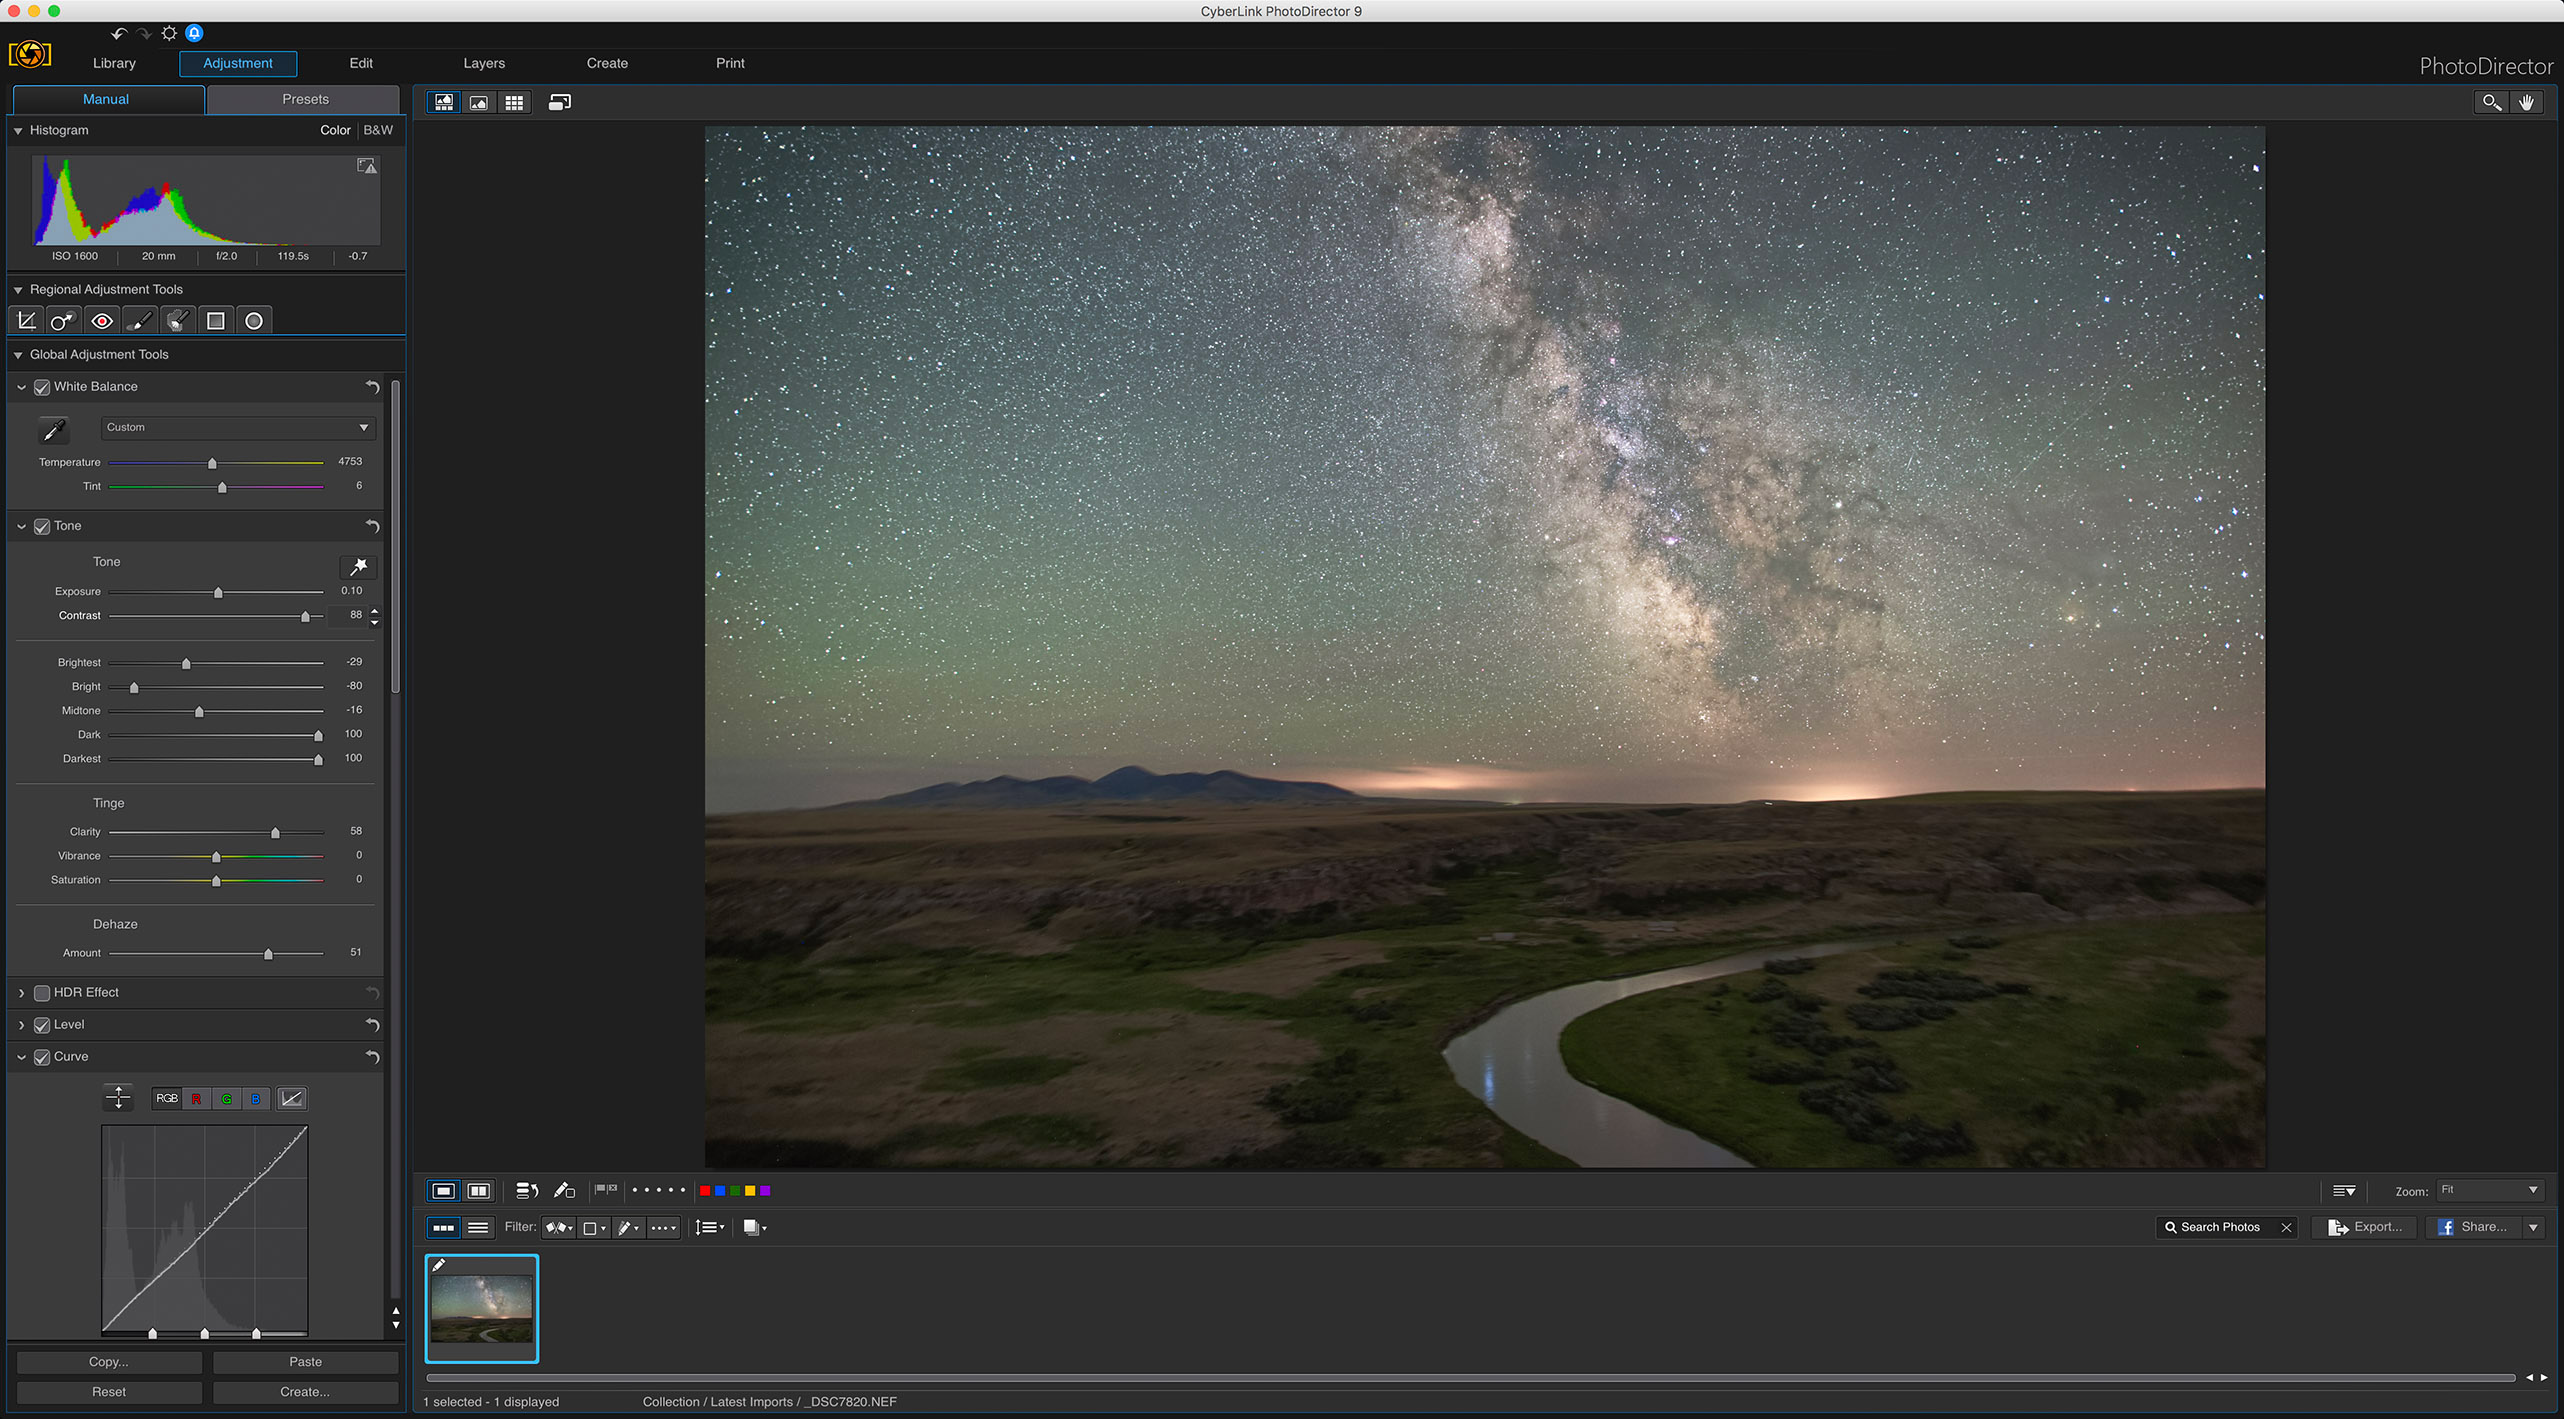
- All programs are available for Windows and MacOS. I tested the latter versions, on an M1 Max MacBook Pro.
RAW-ONLY PROGRAMS — NIGHTSCAPES
To provide evidence for my conclusions, I focus first on the two Raw-only programs, Adobe DeNoise AI and DxO PureRAW 4, as they produced by far the best results of all the programs on demanding nightscapes, often remarkably so. They not only reduce noise, they also recover fine details with AI sharpening you cannot turn off. How well that works is what I demonstrate below.
In each of the following examples, I show the two programs compared to an image processed in Adobe Camera Raw (ACR) using the Detail panel’s old non-AI adjustments for sharpening and noise reduction.
I developed all the images in ACR, then sent them through Adobe’s DeNoise AI option or into DxO PureRAW. Both options produce new raw DNG files, with all the develop settings intact and accurate, with some exceptions with PureRAW as shown below.
Peyto Lake Nightscape

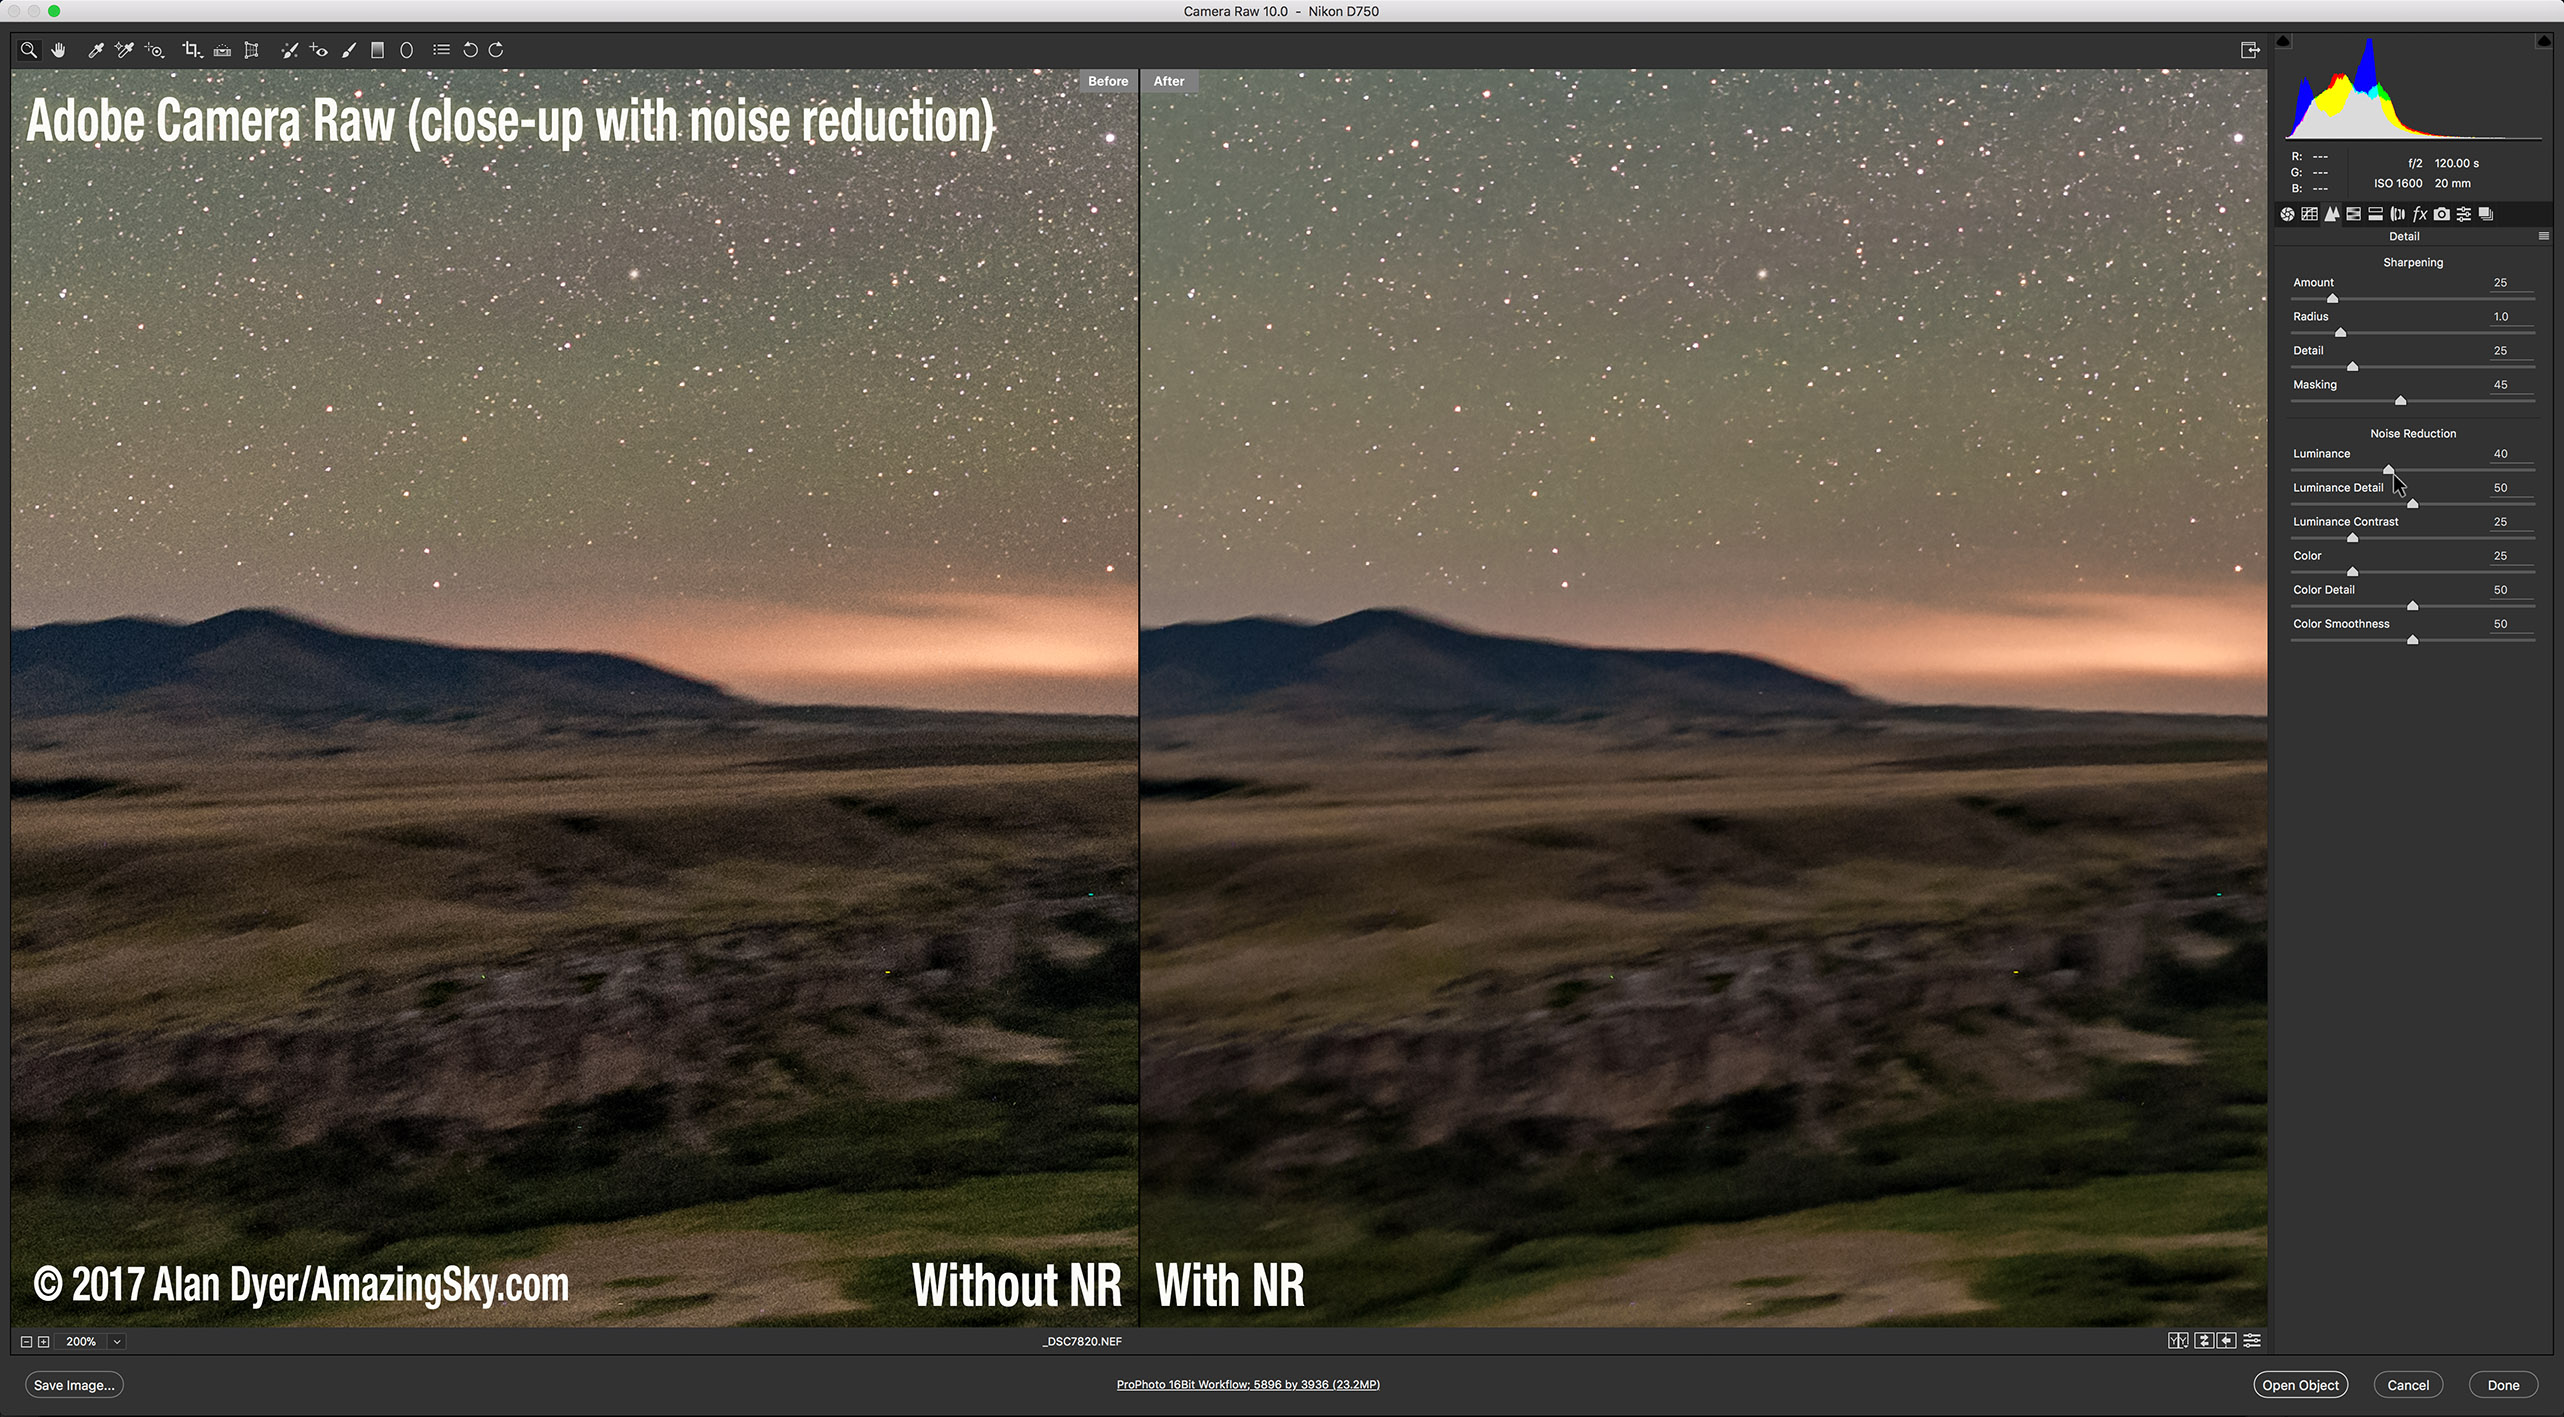
In most cases I show only a section of images blown up by 250% to 500%. Here, in the first example of a nightscape shot I zoom in on a corner, as illustrated above, where noise often lurks due to lens vignetting. (I shot this and many of the nightscape examples with the 45-megapixel Canon R5. See my test of it for astrophotography here.)
The standard ACR noise reduction leaves a blizzard of fine noise and large color blotches. The Adobe DeNoise AI version (with it at 60%, the setting I used for all the DeNoise images) shows much less noise and somewhat reduced color blotches. The PureRAW version shows even better noise reduction, but the trees turn very dark with no detail.
But compare the mountainside. Adobe turns the rock layers into artificial-looking ropey bands; PureRAW’s detail recovery looks much more natural for texture.
Lake Edith Nightscape

In this example, I again zoom in on a badly underexposed corner. The standard ACR version looks awful, riddled with color splotches and banding. The Adobe DeNoise version has cleaned up most of the mess. But the PureRAW version is better, eliminating even more noise and artifacts.
So is PureRAW better? Not so fast!
Storm Mountain Nightscape

In this close-up of the Storm Mountain twilight image (that I show in full farther down the page), the normal image shot at ISO 100 isn’t marred too much by noise. But it does exhibit the magenta discoloration often seen in underexposed frame corners when the shadows are “lifted” brighter, as I show in the inset of the Basics panel.
The Adobe DeNoise version automatically corrected the color back to normal (I made no manual adjustments) and brought out the fine details. By comparison, PureRAW turned the trees completely dark, a lazy way to reduce noise! I tried further lifting the shadows with some reverse vignetting (as shown), but the result was a muddy mess. PureRAW crushed the shadows to the point no detail was recoverable.
So is Adobe better? Not necessarily ….
Lake Louise Nightscape

Here I zoom in on famous Mount Victoria at the end of Lake Louise in Banff, in a one-minute exposure taken for the ground. As before, I think PureRAW has done a better job at recovering details in the mountain, though maybe to the point of over-sharpening? Adobe DeNoise perhaps looks more natural here.
But look at the star trails, which we sometimes want in our nightscapes, or have whether we want them or not! Yes, the sky in the AI-processed images looks less noisy, but the star trails now look like wiggly irregular streaks. PureRAW is a little worse, but both programs suffer from the same AI misinterpretation of the content. Both ruined the sky.
Will this always be the case?
Sierra Cabins Nightcape

All the other image examples are from Canon mirrorless cameras: the EOS R, Ra or R5. But this is a blow-up of a 100-megapixel photo from a medium-format Fuji GFX100S. The rustic cabin and the sky is less noisy in the AI images, with PureRAW the better performer here by a small margin. Stars look fine, and the AI sharpening of both programs has brought out the faint stars without any artifacts, a welcome improvement I think.
RAW-ONLY PROGRAMS — AURORA
I include this as a separate example, as an aurora photo provides a sky with a different type of content. In the past I’ve seen Adobe AI invent aurora rays.
Aurora Curtain
This is an image from the Great Aurora show of May 10, 2024. There’s less noise in the AI versions of this example, and both programs also eliminated the errant hot red pixel at lower right in the ACR image. I’ve found these two AI programs can correctly identify and eliminate some hot pixels, though hot pixel removal can be hit or miss.
In all, I found the AI routines of Adobe and DxO did a fine job on auroras, reducing noise without introducing artifacts such as banding or posterized color gradations. Neither overly sharpened foreground details, nor added structures into the aurora or clouds that shouldn’t be there or that look unrealistic.
RAW-ONLY PROGRAMS — SOLAR ECLIPSE
Many of us have close-ups of the April 8, 2024 total eclipse of the Sun. Even though you might have shot them at a low ISO (even when eclipsed, the Sun is bright), you might have been surprised to see how much fine noise remains in the corona and sky.
Solar Eclipse Corona Close-Up
This is a close-up of a frame taken through a 105mm f/6 refractor at a focal length of 630mm. Even at ISO 100, there’s a pixel-level granulation visible, but in this case I don’t think either Adobe DeNoise or PureRAW provided much of an improvement, likely because this is a low-ISO original.
In fact, I think Adobe DeNoise AI made noise worse, as its inherent sharpening added some dark flecks throughout the corona. But neither program introduced any banding, unlike Topaz was guilty of below.
RAW-ONLY PROGRAMS — DEEP-SKY
Here I compare the two Raw-only programs on several examples of deep-sky images — photos of the Milky Way and nebulas taken with tracking mounts so the stars remain pinpoints, ideally! These examples are tough tests, as the AI models have likely received little training on what these are supposed to look like! And faint stars can look like noise.
Orion Portrait

First is a wide-angle portrait of Orion, blowing up the center of a tracked exposure with a 28-70mm zoom lens set to 46mm. (See my test of Canon RF zoom lenses here.) Shot at ISO 800, low for deep-sky images, this single frame is fairly clean to begin with. The AI programs do smooth the noise, without wiping out stars. Nice!
But they do accentuate the residual chromatic aberration (the blue haloes) on stars. PureRAW looks a little worse as it seems to have shifted the color to more magenta. All three Raw files have identical settings and profiles applied, yet PureRAW looks slightly different.
Cygnus H-alpha Monochrome

This is a more demanding example, shot with the same lens but at 70mm, and with the red-sensitive Canon Ra. It is rendered in monochrome as it was shot through a deep-red hydrogen-alpha filter to isolate the red light from the nebulas, here in Cygnus.
This is a single frame (you would normally stack lots of these!), very noisy due not only to the high ISO used, but also because only the red pixels (one quarter of the total on the sensor) recorded any signal.
Both Adobe DeNoise AI and DxO PureRaw have cleaned up the noise well. PureRAW has added more sharpening, tightening the stars and enhancing fine structure. Whether this is good or not depends on your goals and tolerance for AI-induced changes. In this case, I don’t think it has invented details.
But then there’s this example ….
Vela Supernova Remnant
This, too, is a filtered single frame, taken through a 61mm-aperture telescope equipped with a “dual narrowband” filter which isolates the red H-alpha wavelength, but also the cyan Oxygen emission lines prominent in supernova remnants like this one in Vela. The deep filter requires shooting at a high ISO. So there’s lots of noise.
In this trio, I also applied NoiseXTerminator to the left image, an AI-based noise reduction program designed for just such images. I show more examples with “NoiseX” at the end.
I don’t think Adobe DeNoise or PureRAW have done any better job than NoiseX at reducing noise. If anything, each might have added some additional texturing that looks artificial, and accentuated chromatic aberration haloes on the stars. NoiseX wins here, right?
Well … look at the fine structures of the wisps of nebulas in all three panes. In the two panels at center and right, you can see more structure in the nebulosity, such as the protruding red fingers at top, that are not there in the NoiseX version at left. Is this real? Might other sharpening routines later in the workflow have brought it out anyway? Or are these details the products of AI imagination!?
Before purists dismiss the Adobe and DxO AI programs for fabricating details, here’s another example.
Crab Nebula
This is another supernova remnant, the famous Crab Nebula in Taurus. It is a 500% blow-up of the center of a single exposure with a modified Canon R on a 120mm f/7 refractor.
In this case, the “normal” image on the left has had just ACR’s old-style noise reduction applied, nothing else. In the middle and on the right, the Adobe and DxO AI versions are noticeably less noisy.
But … the small red tendrils are also more obvious with AI enhancement — and they are real (as comparisons to other more detailed astrophotos showed me). So here the AI has helped bring out subtle details while smoothing noise. I think PureRAW has sharpened stars a little too much, and shifted the colors, again to magenta.
Summary Points:
- Both Adobe DeNoise AI and DxO PureRAW 4 can work wonders on nightscapes…
- … Except on star trails! Both programs ruin star trails.
- Their improvements to low ISO images is not so great, if minimal.
- In its conversion of Raw to DNG, PureRAW sometimes introduced minor and unwelcome changes to images’ brightness and color. Adobe DeNoise did not.
- But PureRAW recovered details in textured landscapes much better than DeNoise, which can suffer from plastic looking artifacts.
- Both programs are worth trying on deep-sky images, if your workflow allows working with Raw files.
- But you have to look carefully at the details – pixel peep! – as you might see oddities introduced by either program that you feel are unacceptable. Or you might see welcome sharpening, saving you more work later in processing.
Recommendations:
- Adobe DeNoise AI has the advantage that if you are an Adobe Cloud subscriber you already have it. It is included with Lightroom and Camera Raw. So try DeNoise AI; you might like the results. Or not! But as with DxO PureRAW, it can be applied only to Raw files and only at the start of a workflow.
- Download the trial copy of DxO PureRAW and test it on your own images. You might prefer it in your workflow.
OTHER PROGRAMS — WORKING STAND-ALONE ON RAW FILES
Now I test Luminar Neo Noiseless AI, ON1 NoNoise AI, and Topaz Photo AI — three AI noise reduction programs that can work not only on Raw files but on other file formats, allowing them to be applied at various points in a workflow.
All three programs can read Raw files from a wide range of cameras. Like PureRAW, ON1 and Topaz can also export DNG files, Adobe’s universal version of a Raw file. The best format Luminar can export to is a 16-bit TIFF.
I sent all the raw images I’ve shown above, plus a dozen more I’m not showing, through all three programs working as stand-alone apps, similar to how PureRAW operates. I usually applied their default or auto settings for noise reduction, and also for sharpening, as both Adobe and DxO also sharpen — you can’t have them not sharpen. I wanted to compare like to like.
Aurora Curtain

The exported files from all three programs showed noticeable differences in brightness and color on this aurora example from the May 10, 2024 display. Again, all have had the same develop settings applied to them as were applied to the original file in Camera Raw. Topaz shows over-sharpening, but that can be turned down from the usually excessive level chosen by its “Auto Pilot” routine.
Aurora over House
Another aurora example also shows significant differences in brightness, color and contrast. Auroras are particularly sensitive to shifts in white balance and to the camera profile chosen. In this case the profile was Camera Neutral. Only Luminar honored that profile; ON1 and Topaz offered only a generic Color profile in their DNGs. Luminar did not apply the lens correction for the Venus Optics 15mm lens used here, as it was not in its database. So its image looks dark and vignetted, requiring manual adjustments.
Peyto Lake Nightscape

The differences became even more marked on some of my test nightscapes. In this ISO 3200 Canon R5 image from Peyto Lake in Banff only Topaz’s exported DNG succeeds in resembling the original developed Raw file from ACR. Luminar’s TIFF is far too dark and ON1’s DNG is way too bright and contrasty. What happened there?
Storm Mountain Nightscape

Another example, shot at ISO 100 with the Canon R5, also shows major disparities between the original Raw files and the exported images, with Luminar’s now looking the closest, ON1 still too bright and contrasty, and Topaz’s way too dark. There is no predicting what you’ll get.
I think the differences might be due to how each program interprets the camera profile used, but the reason is a mystery.
Summary Points:
- Unlike DxO PureRAW 4, none of these three programs can be used in practice as stand-alone noise reduction apps, at least not with reliable results.
Recommendations:
- Use Luminar Neo, ON1 NoNoise AI and Topaz Photo AI only as plug-ins, at least for noise reduction. That’s what I test next.
THE SAME TRIO — AS PLUG-INS WITHIN PHOTOSHOP
Thankfully, when I used the same three programs called up from within Photoshop as filter plug-ins, all worked well, though with varying levels of noise reduction quality.
All three can also be called up from within Adobe Lightroom.

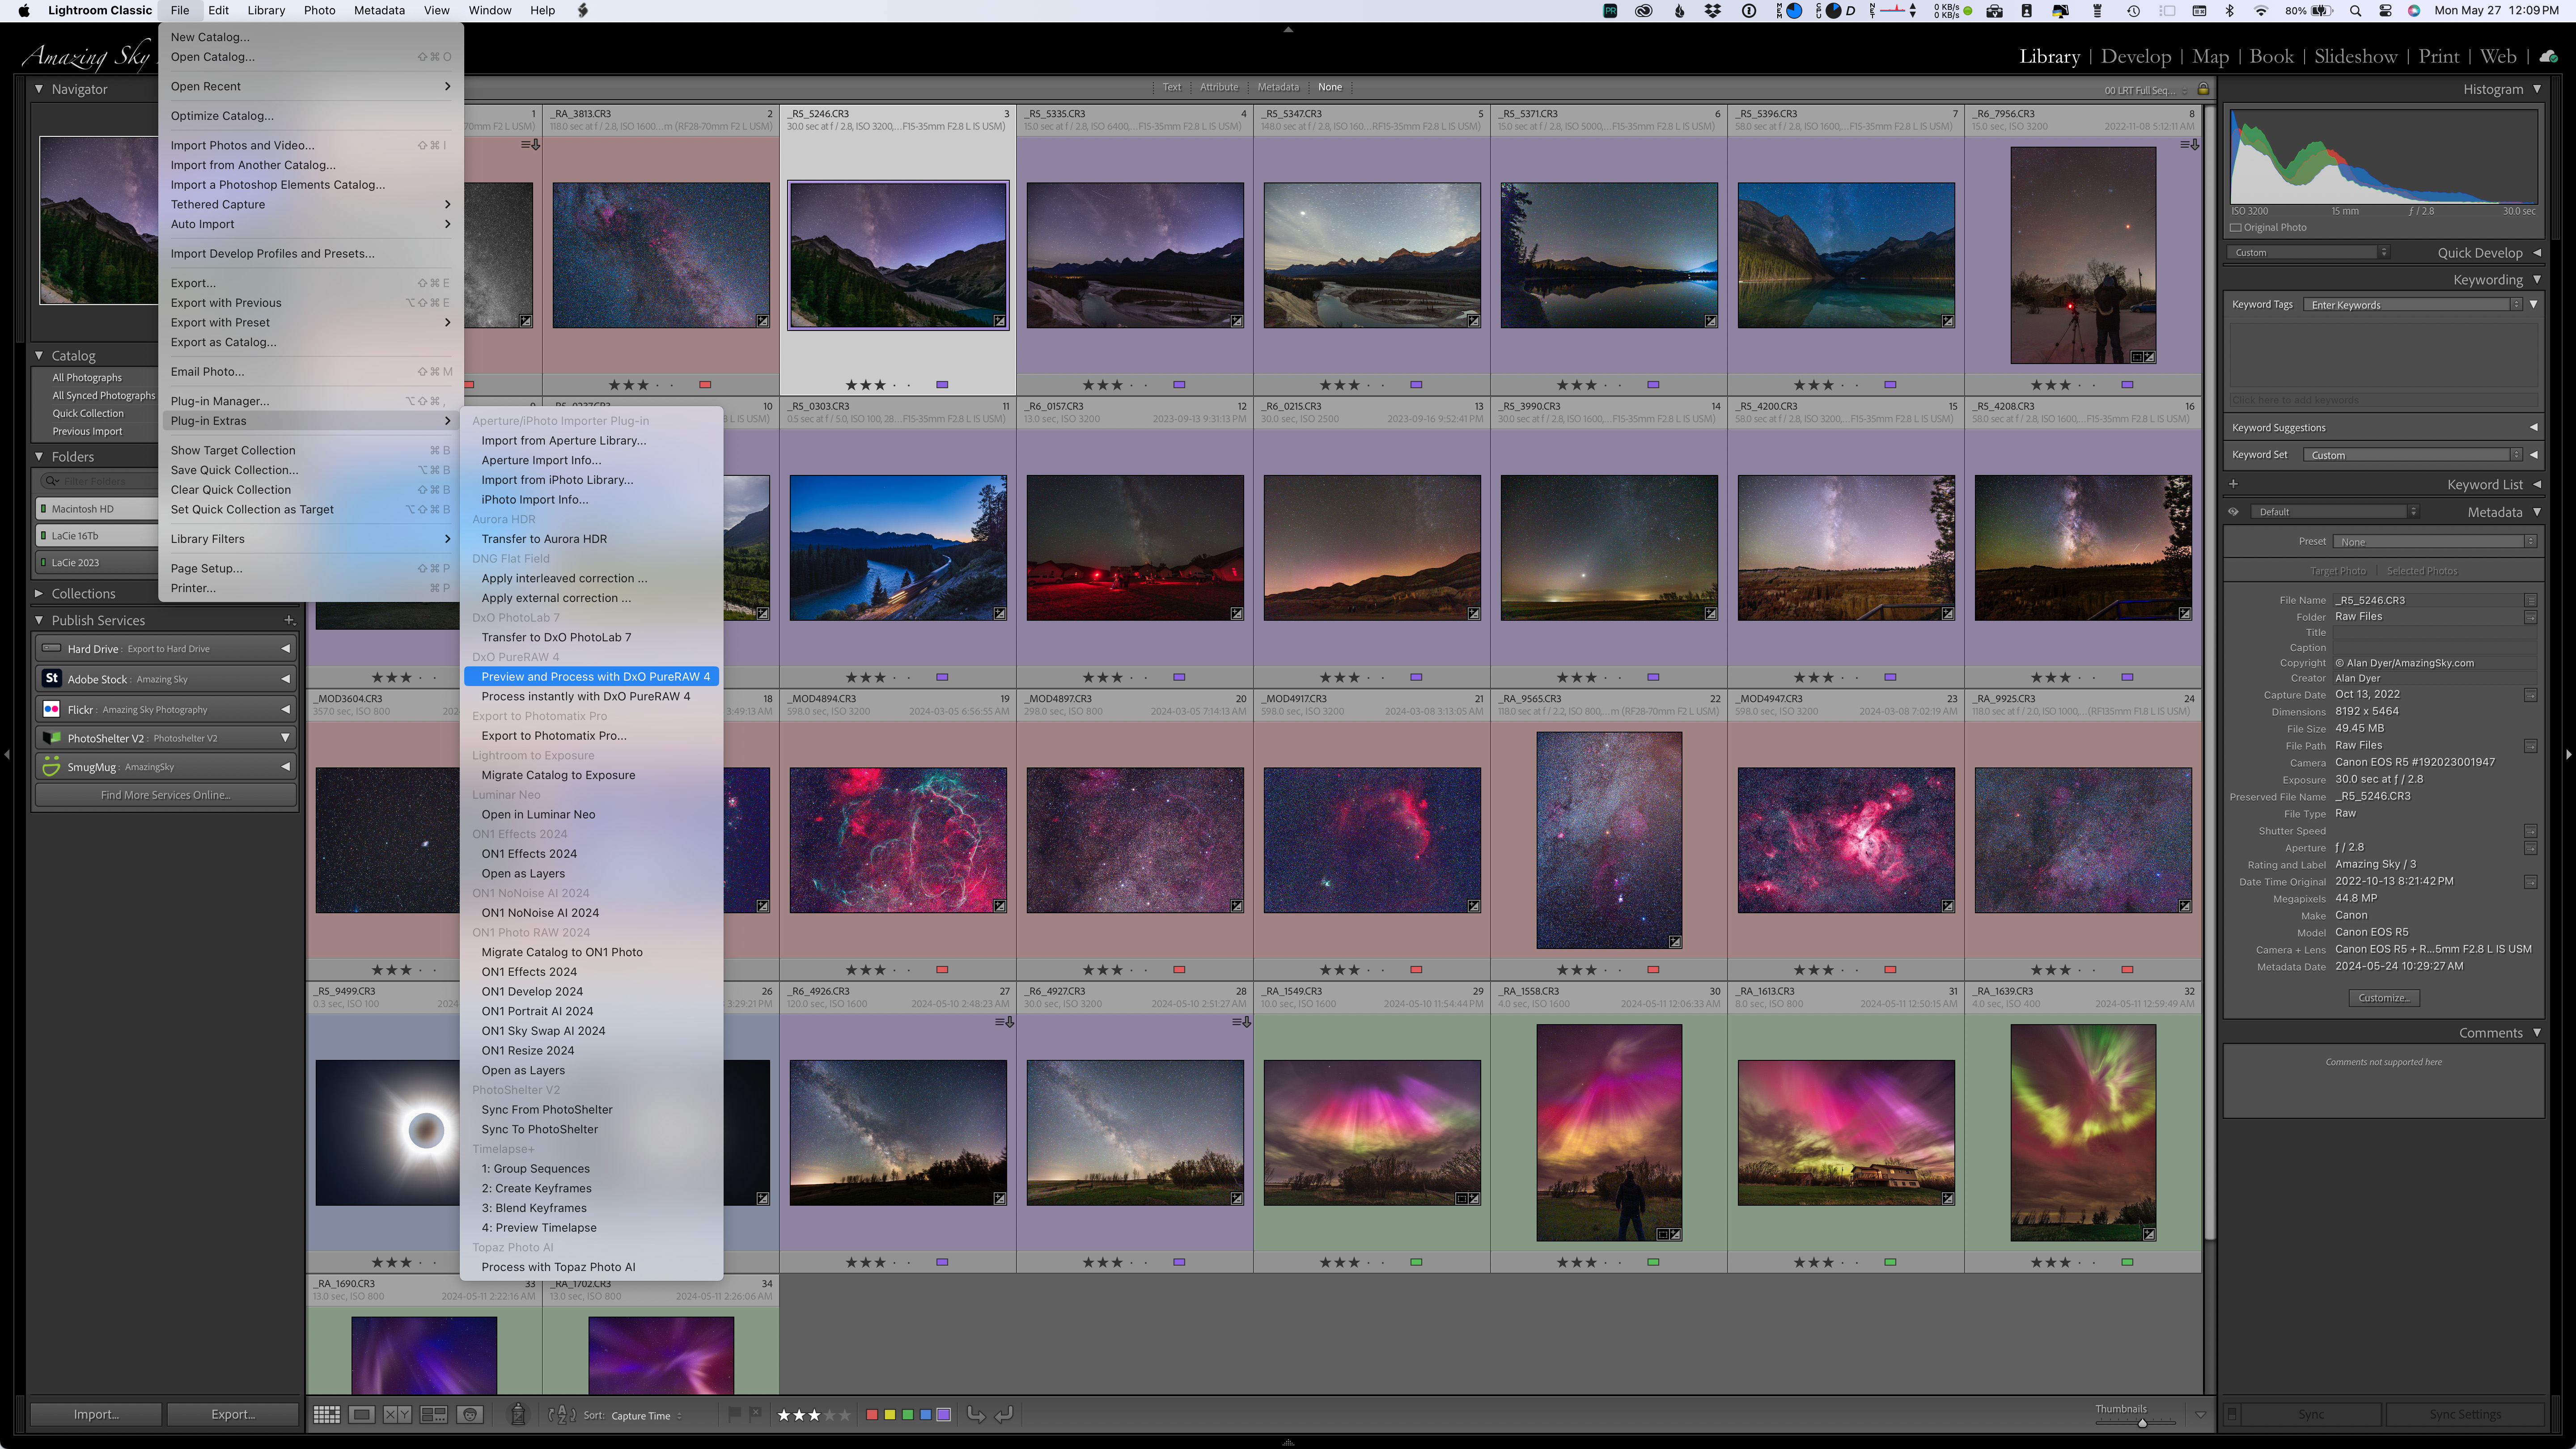
However, for the latter, do not use the route I advised at the beginning for DxO PureRAW. Do not send images to them via File>Plug-In Extras …. While that will work, you’ll get the same bad results I show in the previous section when using the programs as stand-alone apps.
Instead, as I show immediately above, from Lightroom, use Photo>Edit In… and choose your plug-in. That will produce the same good results I show below.
An even better method is to choose Photo>Edit In>Open as Smart Object in Photoshop. You can then apply these or any plug-in as a non-destructive “smart filter,” with settings you can re-adjust at any time, rather than being “baked into” the resulting TIFF file. That’s what I did for the tests below.
I can hear the anti-Adobe faction clamouring! For those who do not use Photoshop, all three programs will also install as plug-ins into Affinity Photo 2, a very Photoshop-like layer-based editor available under a perpetual license at low cost. However, I did not test that workflow variation.
Peyto Lake Nightscape
Here, on blow-ups of a noisy frame corner, I show the settings I used. Most are default, except for ON1 where I backed off its Tack Sharp Deblur from the 100 it had picked. While ON1 NoNoise ostensibly has an Auto function for detecting and applying an amount of noise reduction and sharpening suitable for each photo, it often picks 100%.
However, ON1 NoNoise AI did the best job. Topaz Photo AI still left noise in the foreground. Luminar Noiseless AI wasn’t bad, but left a noisier sky with some patchy artifacts.
Aurora Curtain

On the aurora example, I also applied Photoshop’s old Reduce Noise filter to the image brought in from Camera Raw. It can do a good job smoothing fine-scale noise.
With that conventional filter applied I found there wasn’t a big difference among the four versions. The three AI programs did a good job, with ON1 and Topaz better than Luminar, which still left some noise. Topaz over-sharpened the stars and trees, leaving colorful ringing artifacts on the latter. And that was with its Sharpen filter backed off to 30 from the 50 the Auto Pilot routine suggested using.
Vela Supernova Remnant Deep-Sky

Luminar Noiseless AI improved this noisy frame by only a small degree. ON1 and Topaz were much better, providing good noise reduction without adding significant artifacts or odd “invented” structures. As usual, Topaz sharpened stars by default, and perhaps a little too much.
Cygnus Starfield Deep-Sky

This star-rich field taken with a 70mm lens tests how well the programs can retain tiny stars while smoothing noise. Luminar left stars intact but didn’t provide much better noise reduction over what Camera Raw’s old manual noise sliders produced.
ON1 did provide a smoother background sky. But retaining faint stars required backing off Luminance noise reduction and increasing Enhance Detail to bring back the faint stars it wiped out with its default settings. Boosting Deblur and Micro Contrast can add ugly haloes on stars. So, with a deft touch to the sliders the results with ON1 can be very good, with the added benefit that it appears to reduce residual chromatic aberration around stars without affecting star colors.
With Topaz, sliding up Original Detail helped bring back stars lost to noise smoothing. However, there was an odd general reduction in contrast over the image.
Solar Eclipse Corona Close-Up

Each program handled this low-ISO file a little differently. Luminar seemed to actually increase noise, adding coarser structures and some banding. ON1 was the smoothest, with noticeably less noise than the original Camera Raw image. Topaz left (or added?) some fine scale color noise. It sharpened the lunar limb very well, though with a slight dark halo.
But the real revelation was when I zoomed out to look at the darker sky beyond the brightest parts of the corona.
Solar Corona Banding Artifacts

Topaz Photo AI introduced very noticeable banding in the form of square blocks, an artifact of how AI programs analyze images in “tiles.” I did see this in other photos processed with Photo AI, in areas that should look smooth. The culprit is the noise reduction; turn it off and the banding goes away, but now you have noise!
In this case, Topaz’s noise reduction ruined the image, though its sharpening was useful. Overall, I think ON1 NoNoise AI 2024 was the winning plug-in for noise reduction. But I’ve used Photo AI to sharpen solar prominences.
Summary Points:
- All three programs worked well as plug-ins, with none of the extreme shifts in color or tone shown in the previous section in the stand-alone app exports.
- However, even as a plug-in I felt Luminar Neo’s Noiseless AI filter consistently produced the worst results, or often little benefit at all.
- Topaz Photo AI can produce good results, but watch for banding artifacts and over-sharpening. I also found that Topaz was prone to crashes and lock-ups, requiring force-quitting.
- ON1 NoNoise AI 2024 provided the best overall noise reduction among these three plug-ins. The 2024 version is much improved over the 2023 version which had a High Detail mode that was awful! Even so, watch for loss of stars, or sharpening haloes. Play with the sliders.
Recommendations:
- While Topaz Photo AI is popular among nature photographers, I would suggest ON1’s NoNoise AI 2024 is the better choice for astrophotographers looking for a noise reduction plug-in.
- I can’t dismiss Luminar Neo. I like it for some of its other special effect filters, such as Orton glows, Magic Light, Sky Enhancer AI, and Accent AI. I find it a useful plug-in for effects and finishing touches. However, I would not recommend Luminar for noise reduction.
SPECIALIZED PROGRAMS — NOISE XTERMINATOR and GRAXPERT
No review of AI programs for astrophotography can leave out RC-Astro’s XTerminator plug-ins. Here I show Russell Croman’s NoiseXTerminator which uses AI trained on star-filled astrophotos. I tested it as a filter plug-in for Photoshop.
Also becoming popular in the last year is the free stand-alone application GraXpert. Developed first to eliminate nasty gradients of tone and color across deep-sky images due to light pollution, GraXpert now also includes AI-based noise reduction. I tested it as a stand-alone application; it does not install as a plug-in, though like NoiseXTerminator, it can install as a process accessible from within the popular astrophoto program PixInsight.
As a stand-alone app, GraXpert can only import and work on TIFFs, JPGs, or FITS files, the latter format produced by dedicated astro cameras.
I show only deep-sky image examples, as that’s the domain of these two programs.
Crab Nebula with NoiseXTerminator vs. ON1 and Topaz

First I show a comparison of the Crab Nebula test image with ACR’s standard non-AI noise reduction applied plus Photoshop’s old Reduce Noise filter. I compare this to the same image but with NoiseXTerminator also applied at 60% strength. Now compare this to versions with ON1 NoNoise and Topaz Photo AI.
NoiseXTerminator produced the smoothest result with no detrimental affect on the stars or nebulosity. ON1 is a good second place for noise reduction, with slightly sharper stars, which may or may not be desirable. Topaz produced subtle patchy artifacts and added tiny structures that may or may not be real.
NGC 1763 with NoiseXTerminator vs. ON1 and Topaz

This is a single-frame close-up of the second best nebula in the Large Magellanic Cloud (after the Tarantula), taken at ISO 3200 through a dual-narrowband filter. So it is noisy.
The left panel is again with ACR and Photoshop’s Reduce Noise. But applying NoiseXTerminator cleaned the image up a lot. ON1 looks almost as good. Topaz sharpened detail to the point of revealing pinprick faint stars that are just blurs in the other images. These may indeed be real!
Vela Supernova Remnant with Noise XTerminator and GraXpert

The same Vela SNR image I used earlier shows excellent noise reduction from NoiseXTerminator, with star colors and nebula structures left alone. GraXpert at 50% strength (the developers have suggested backing off the settings) did not produce as smooth a sky. Applying GraXpert at 100% strength did yield noise reduction on par with NoiseX, but produced a slightly softer overall image.
Crab Nebula with Noise XTerminator and GraXpert

Processing the Crab Nebula image shows much the same results. Though I think here even at 100% GraXpert isn’t producing as good a level of noise reduction as NoiseX, leaving some patchiness amid the nebula, and a mottled texturing to the background sky.
Summary Points:
- For the best noise reduction on deep-sky images, especially telescopic close-ups, the dedicated programs NoiseXTerminator and GraXpert trained on such images can do a better job than general-purpose AI programs.
- I find NoiseXTerminator the better of the two, but GraXpert is new and evolving.
Recommendations:
- GraXpert has the great benefit of being free! But on Macs it runs very slowly, something the developers admit and seem resigned to, as their market is Windows users. My test images each took 2 to 2.5 minutes to process, some 5 to 10 times slower than any of the other programs. And it runs only as a stand-alone app, yet it cannot read Raw files from DSLRs or mirrorless cameras, unlike PureRAW. But if you are a deep-sky imager, try it, as its main purpose – gradient removal – might prove indispensable.
- As I prefer to accomplish as much of my editing as possible within one program, I prefer NoiseXTerminator as it can be applied from within Photoshop, and as an editable smart filter. I use it on most of my deep-sky images. I highly recommend it and RC-Astro’s other plug-ins.

YOUR MILEAGE MAY VARY!
The nature of AI means that results with any program can vary from image to image. That’s why no one, me included, can claim that one program is “the best!” Best for what? And with what workflow?
As some programs, such as Topaz Photo AI, offer multiple AI models and settings for strength and sharpening, results on the same image can be quite different. In most of my testing I used either the program’s auto defaults or backed off from those defaults where I thought the effect was too strong and detrimental to the image.
This is all by way of saying, your mileage may vary! In fact, it certainly will.
So don’t take my word for it. Most programs (Luminar Neo is an exception) are available as free trial copies to test out on your astro-images and in your preferred workflow. Test for yourself.
But do pixel peep. That’s where you’ll see the flaws. And the benefits. We are fortunate to have such a great arsenal of tools at our disposal. They will only get better as the AI models improve.
I hope my review – as lengthy as it is! – has helped you make an informed decision on what to buy.
— Alan, May 29, 2024 / AmazingSky.com


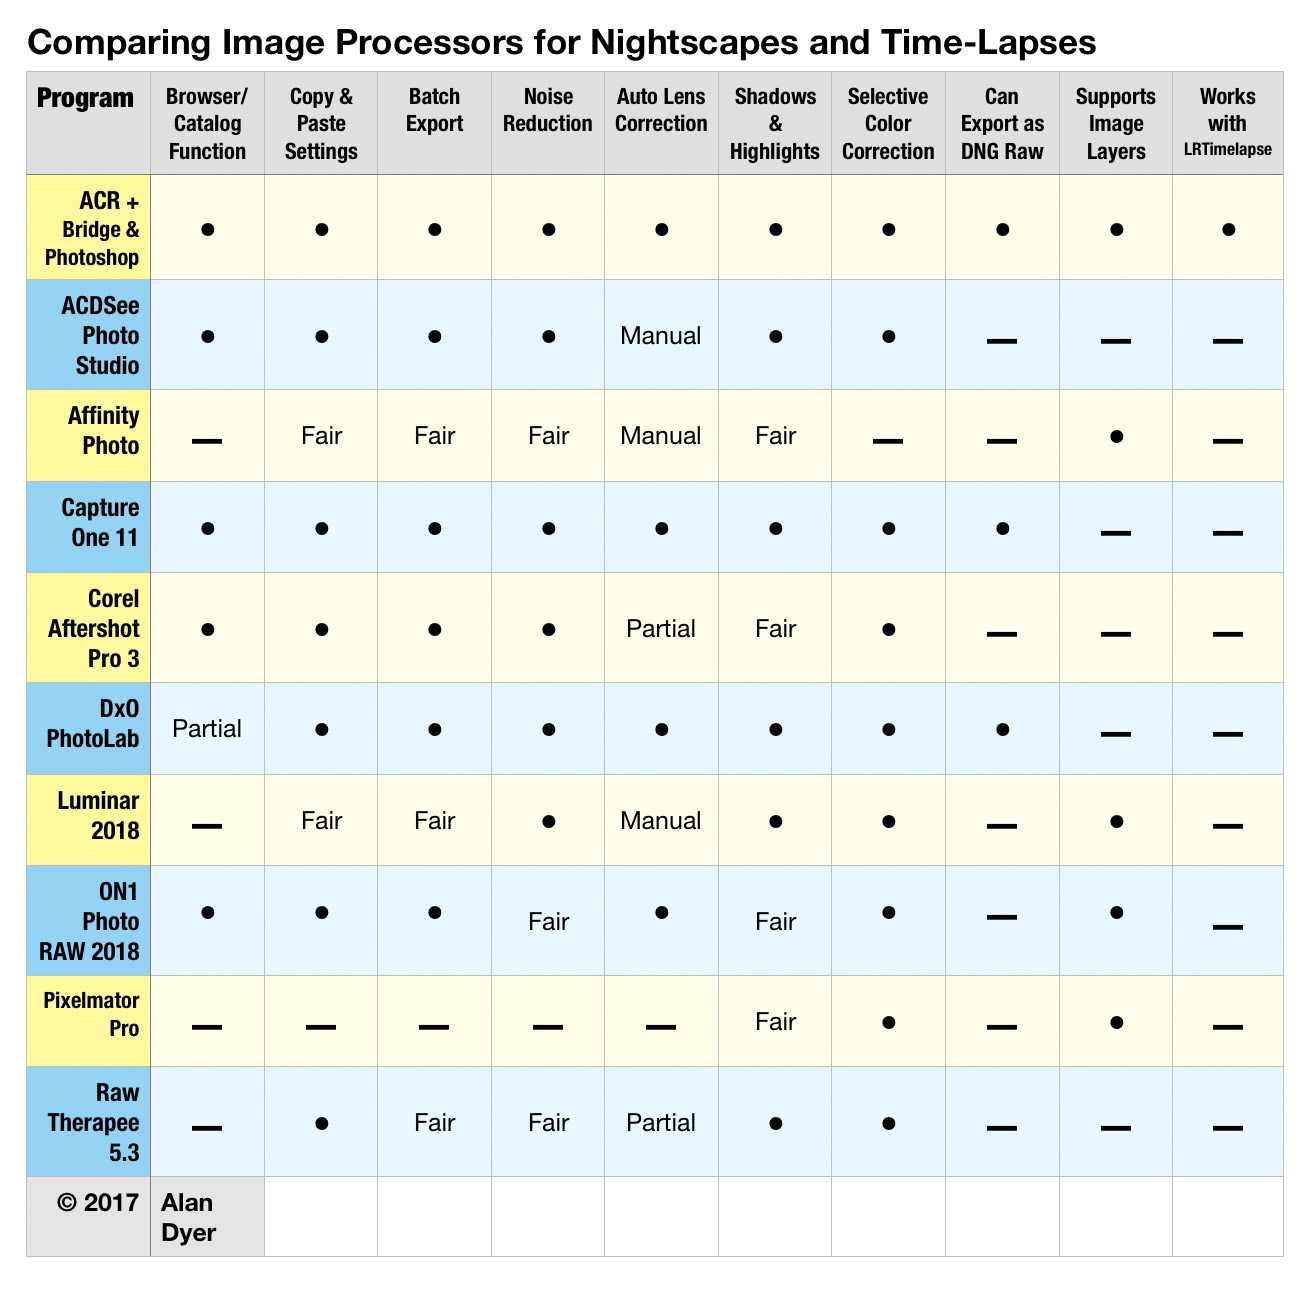
 Lightroom Contenders: Five Raw Developers
 Photoshop Contenders: Four Raw Developers with Layering/Compositing