

Here are my top tips for shooting terrific still-image nightscapes … and time-lapse movies of the night sky.
1. Go for pixel size, not pixel count
When choosing a camera for night sky scenes, the most important characteristic is not number of megapixels. Just the opposite.
The best cameras are usually models with more modest megapixel counts. Each of their individual pixels is larger and so collects more photons in a given exposure time, yielding higher a signal-to-noise ratio – or lower noise, critical for night shooting.
Cameras with pixels (the “pixel pitch”) 6 to 8 microns across are best. Many high-megapixel cameras have tiny 4-micron pixels.
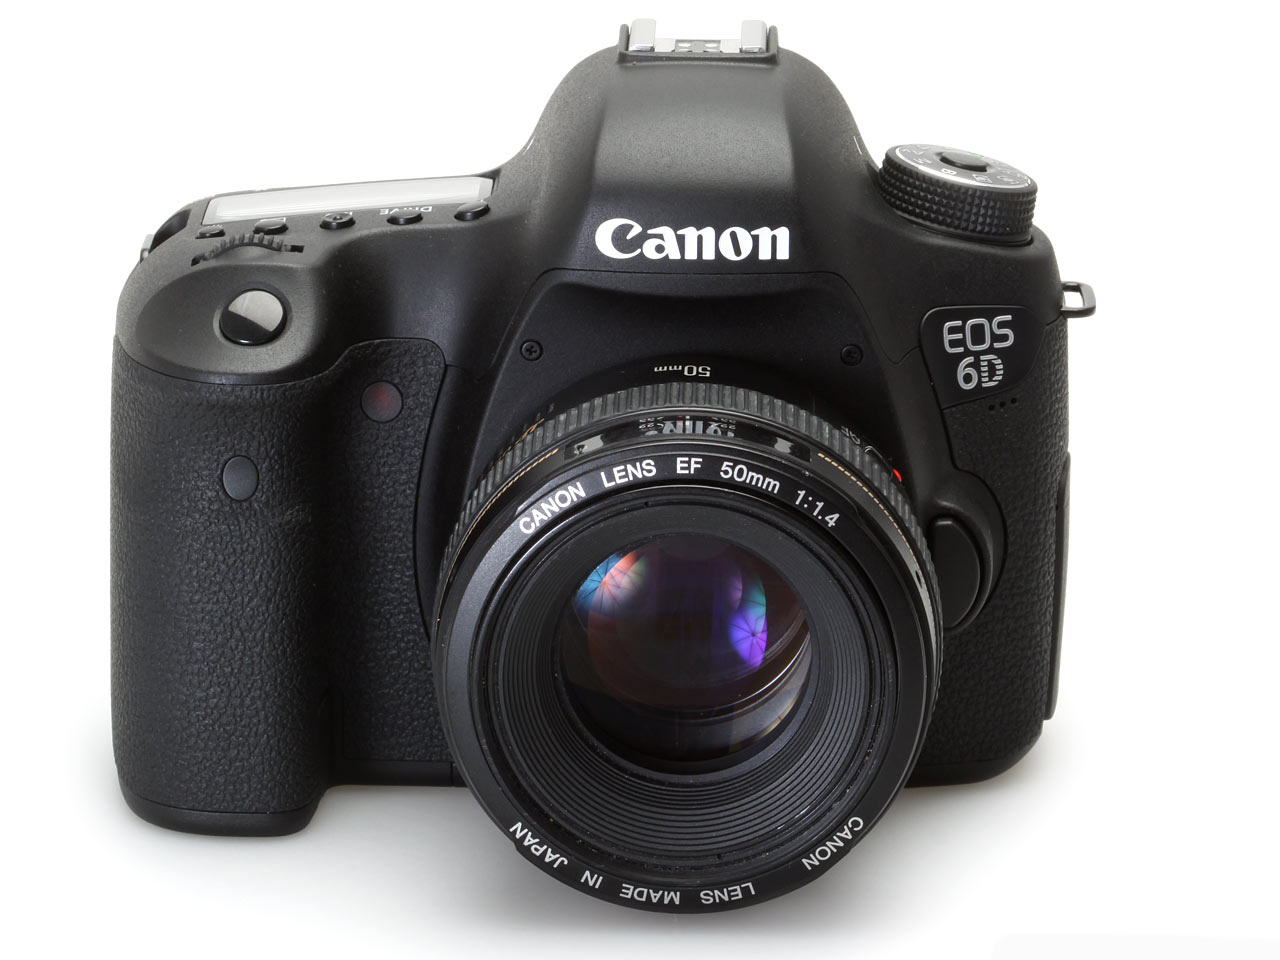
Large-pixel cameras are often the full-frame models, such as the Canon 5D MkIII and 6D, the Nikon D610, D750, and Df, and the Sony a7s and a7S II.
Many “cropped-frame” cameras are now 18- to 24-megapixel models with smaller, noise-prone pixels. They can certainly be used, but will require more care in exposing well at lower ISOs, and in processing to smooth out noise without blurring detail.

2. Learn to fly on manual
While DSLRs and Compact System Cameras have amazing automatic functions we use none of them at night.
Instead, we use the camera on Manual or Bulb, dialling in shutter speed, aperture and ISO speed manually. We also have to focus manually, using Live View mode to focus on a bright star or distant light.
Learn the tradeoffs involved: Increasing ISO sensitivity of the sensor keeps exposure times down but increases noise. Opening up the lens aperture to f/2 or f/1.4 also keeps exposures short but introduces image-blurring aberrations, especially at the frame corners.
To prevent stars from trailing due to the sky’s motion adhere to the “500 Rule:” the maximum exposure time is roughly 500 divided by the focal length of your lens.
3. Expose to the right
At night, always give the sensor plenty of signal.
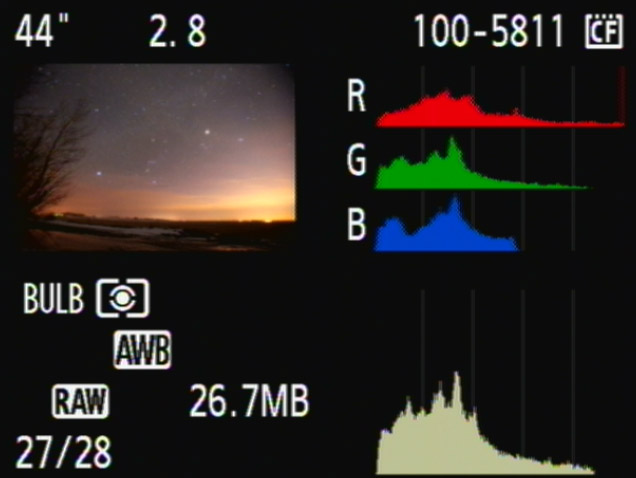
Use whatever combination of shutter speed, aperture and ISO will provide a well-exposed image. The image “histogram,” the graph of number of pixels at each brightness level shown above, should never be slammed to the left.
It should be a well-distributed “mountain range” of pixels, extending well to the right. If the 500 Rule restricts your shutter speed, and your desire for sharp images across the frame demands you shoot at f/2.8 or even slower, then don’t be afraid to bump up the ISO speed to whatever it takes to produce a good histogram and a well-exposed image.
Noise will look far worse if you underexpose, then try to boost the image brightness later in processing. Expose to the right!

4. Shoot Raw!
Shoot Raw. Period.
When comparing Raw and compressed JPG versions of the same image, you can be fooled into thinking the JPGs look better (i.e. smoother) because of the noise reduction the camera has applied to the JPG that is beyond your control. However, that smoothing has also wiped out fine detail, like stars.
By shooting Raw you get to control whatever level of noise reduction and sharpening the image needs later in processing.
JPGs are also 8-bit images with a limited tonal range – or palette – in which to record the subtle gradations of brightness and colour present in our images.
Imported Raw files are 16-bit, with a much wider tonal scale and colour palette. That’s critical for all astrophotos when, even with a well-exposed image, many tonal values are down in the dark end of the range. Processing Raw images makes it possible to extract detail in the shadows and highlights.
Even when shooting a time-lapse sequence, shoot Raw.
5. Take dark frames (sometimes!)
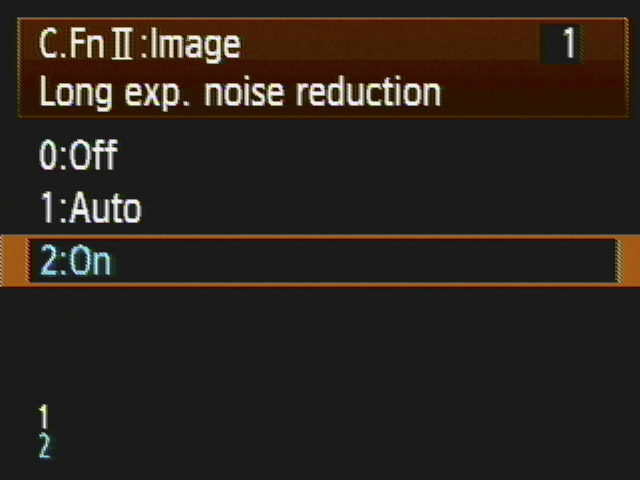
LENR reduces noise.
It’s a topic of some debate, but in my experience it is always better to turn on the camera’s Long Exposure Noise Reduction (LENR) function when shooting individual nightscape images. Doing so forces the camera to take a “dark frame,” an exposure of equal length but with the shutter closed.
It records just the noise, which the camera then subtracts from the image. Yes, it takes twice as long to acquire an image, but the image is cleaner, with fewer noisy pixels.
This is especially true when shooting on hot summer nights (the warmer the sensor the higher the noise). That said, you cannot use LENR when shooting frames for star trail composites or time-lapse movies.
For those, the interval between images should be no more than 1 to 5 seconds. Using LENR would introduce unsightly gaps in the trails or jumps in the star motion in time-lapses.
As an alternative, it is possible to take separate dark frames at the end of the night by simply covering the lens and taking exposures of the same duration and at the same ISO as your “light frames.”
Some stacking software, such as StarStax and the Advanced Stacker Actions have places to put these dark frames, to subtract them from the stack later in processing.
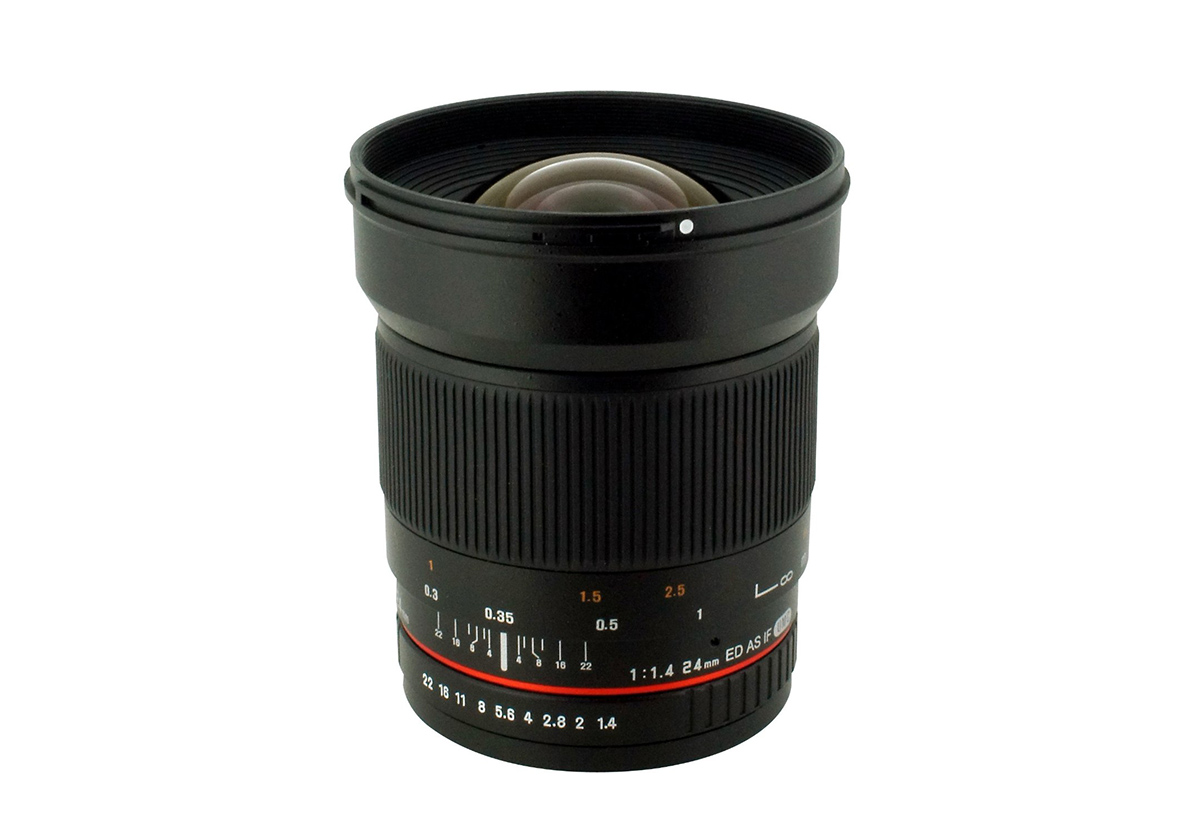
6. Use fast lenses
A fast lens is your best accessory.
While the “kit zoom” lenses that come with many DSLRs are great for shooting bright twilight or Full Moon scenes, they will prove too slow for dark starlit scenes with the Milky Way.
In addition to exposing to the right and shooting Raw, the secret to great nightscapes is to shoot with fast lenses, usually “prime” lenses with fixed focal lengths. They are usually faster and have better image quality than zooms.
Your most-used lens for nightscape and time-lapse shooting is likely to be a 14mm to 24mm f/2 to f/2.8 lens.
Fortunately, because we don’t need (and indeed can’t use) autofocus we can live happily with low-cost manual lenses, such as the models made in Korea and sold under brands such as Rokinon, Samyang and Bower. They work very well.
7. Get to know the Moon & Milky Way
For many nightscape and time-lapse shoots, the Moon is your light source for illuminating the landscape.
When the Moon is absent, the Milky Way is often your main sky subject.
Knowing where the Moon will be in the sky at its various phases, and when it will rise (in its waning phases after Full Moon) or set (in its waxing phases before Full) helps you a plan a shoot, so you’ll know whether a landscape will be well lit.
Astronomy apps for desktop computers and mobile devices are essential planning aids. A good one specifically for photographers is The Photographer’s Ephemeris.
Knowing in what season and time of night the Milky Way will be visible is essential if you want to capture it. Don’t try for Milky Way shots in spring – it isn’t up!

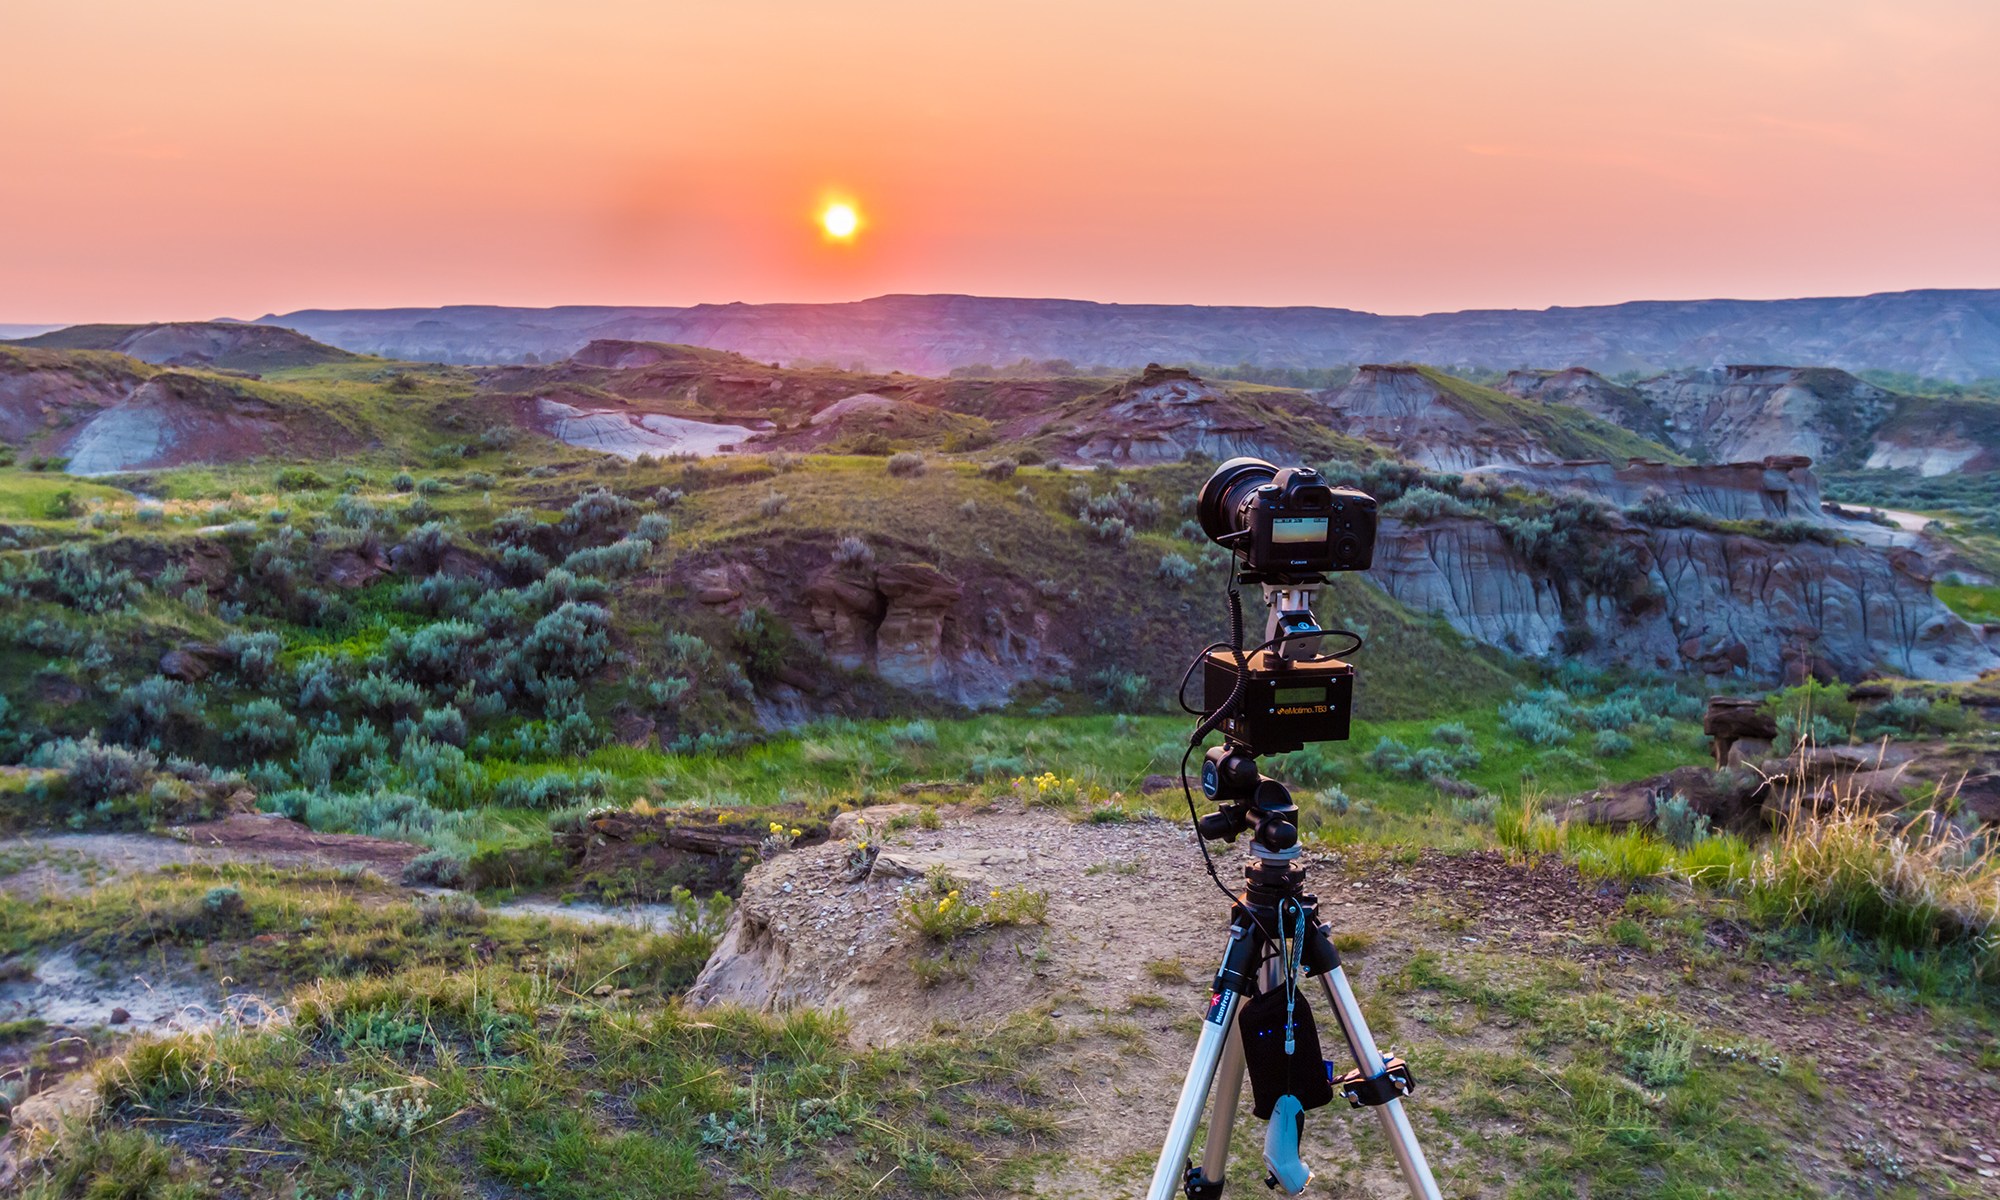
8. Keep it simple to start
Don’t be seduced by the fancy gear.
Time-lapse imaging has blossomed into a field replete with incredible gear for moving a camera incrementally during a shoot, and for automating a shoot as day turns to night.
I explain how to use all the fancy gear in my ebook, linked to below, however … Great time-lapses, and certainly still-frame nightscapes, can be taken with no more than a DSLR camera with a good fast lens and mounted on a sturdy tripod. Invest in the lens and don’t scrimp on the tripod.
Another essential for shooting multi-frame star trails and time-lapses is a hardware intervalometer ($50 to $150).
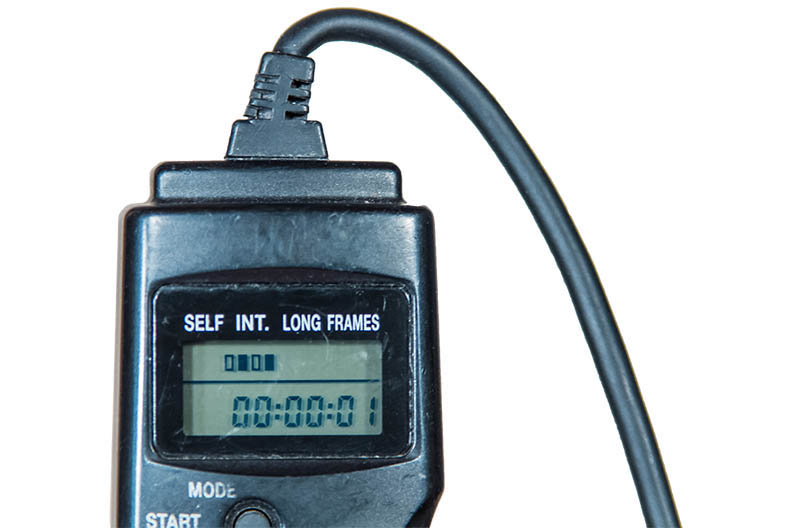
9. Learn the intricacies of intervals
For time-lapses, an intervalometer is essential.
Mastering exposure and focus in still images is essential for great time-lapse movies because they are simply made of hundreds of well-exposed still frames.
But move to time-lapses and you have additional factors to consider: how many frames to shoot and how often to shoot them. A good rule of thumb is to shoot 200 to 300 frames per sequence, shot with an interval of no more than 1 to 5 seconds between exposures, at least for starry night sequences.
However, most intervalometers (the Canon TC-80N3 is an exception) define their “Interval” setting to mean the time from when the shutter opens to when it opens again. In that case, you set the Interval to be a value 1 to 5 seconds longer than the exposure time you are using. That’s also true of the intervalometer function Nikon builds into their internal camera firmware.
Test first!

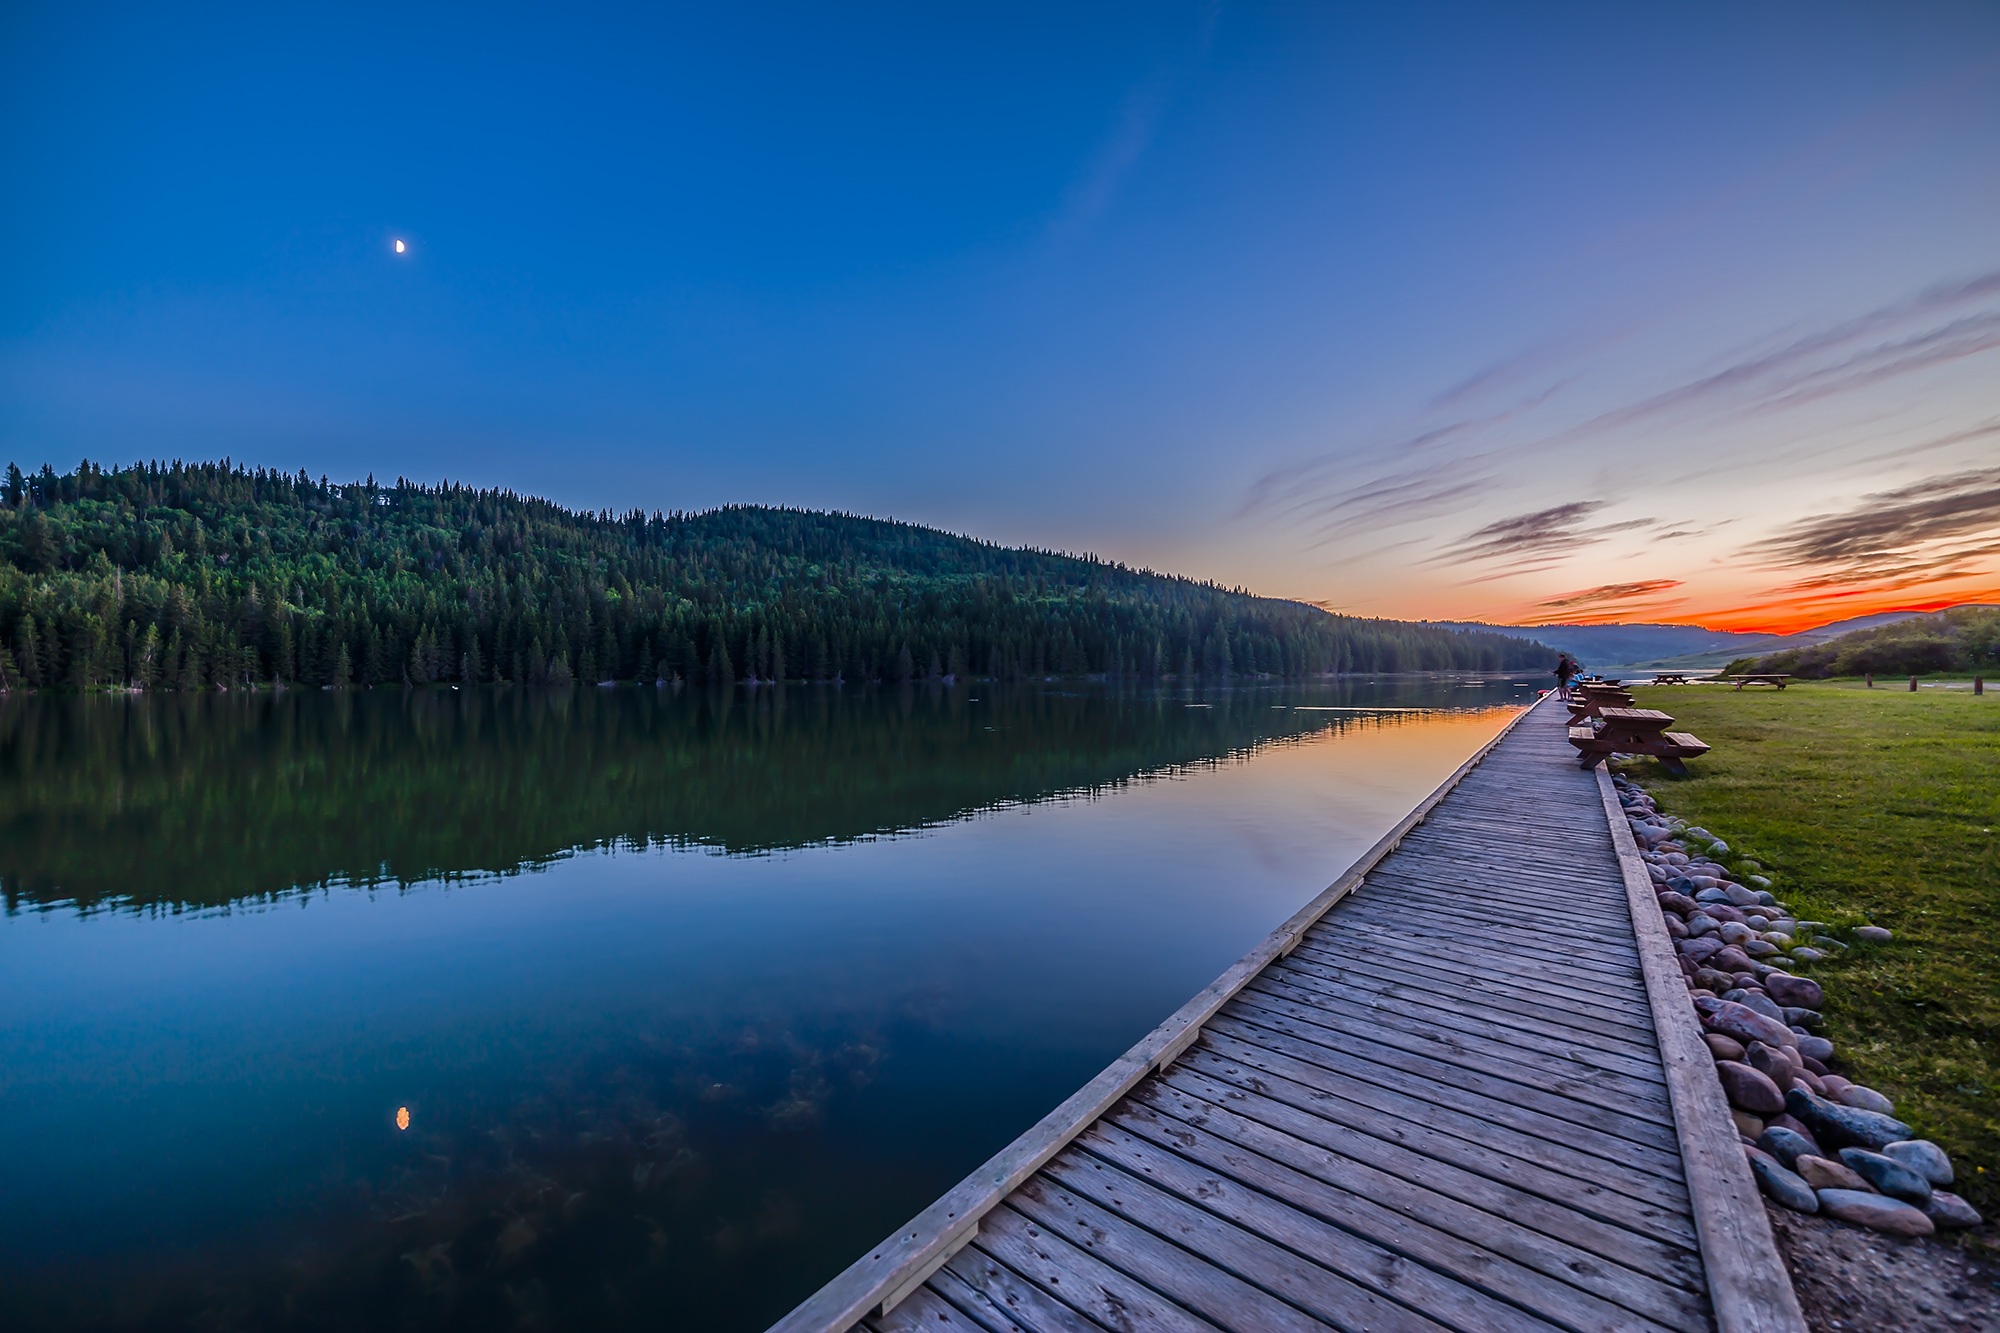
10. Go to beautiful places
While the gear can be simple, great shots demand an investment in time.
By all means practice at home and at nearby sites that are quick to get to. Try out gear and techniques at Full Moon when exposures are short (the Full Moon is bright!) and you can see what you are doing.
But beautiful images of landscapes lit by moonlight or starlight require you to travel to beautiful locations.
When you are on site, take the time to frame the scene well, just as you would during the day. Darkness is no excuse for poor composition!
While shooting nightscapes and time-lapses can be done with a minimal investment in hardware and software, it does require an investment in time – time to travel and spend nights shooting at wonderful places under the stars.
Enjoy the night!
I cover all these topics, and much more, in detail in my ebook How to Photograph & Process Nightscapes and Time-Lapses. Click the link below to learn more.
— Alan, September 16, 2015 / © 2015 Alan Dyer / www.AmazingSky.com

Very useful and well-written article that touches on all the important points. One further suggestion for Milky Way and scouting software to pre-visualize the night sky locations and movement, that I have found quite useful, is the PlanIt! Pro appfor Android and iPhone…
Looks like a nice app. I’ve been using The Photographers Ephemeris mostly, though Photopills is also very popular. But I’ll give PlanIt a try in future shoots. Thanks!
Nice summary. Is it correct that shooting in RAW doesn’t enable you to have a preview of what you have shot? I have RAW next to ‘M’ mode and spiders on my ‘try not to be afraid of’ list. 🙂
When shooting raw the preview image comes from a JPG version of the image. Set your PIcture Styles or whatever you camera calls it so that contrast, saturation, sharpness, etc is as neutral as possible. Don’t choose one of the settings like Landscape, etc. That way the preview will most closely resemble the Raw.
Thx Alan
Thanks Alan, I have been using the night sky imaging techniques that I learned from your E-book. Great stuff.
Thanks Alan. What great info to encourage us to try the night sky, with whatever gear we have. I enjoy of your blogs and can follow you from everywhere.
Thank you. This info is fabulous
Dave