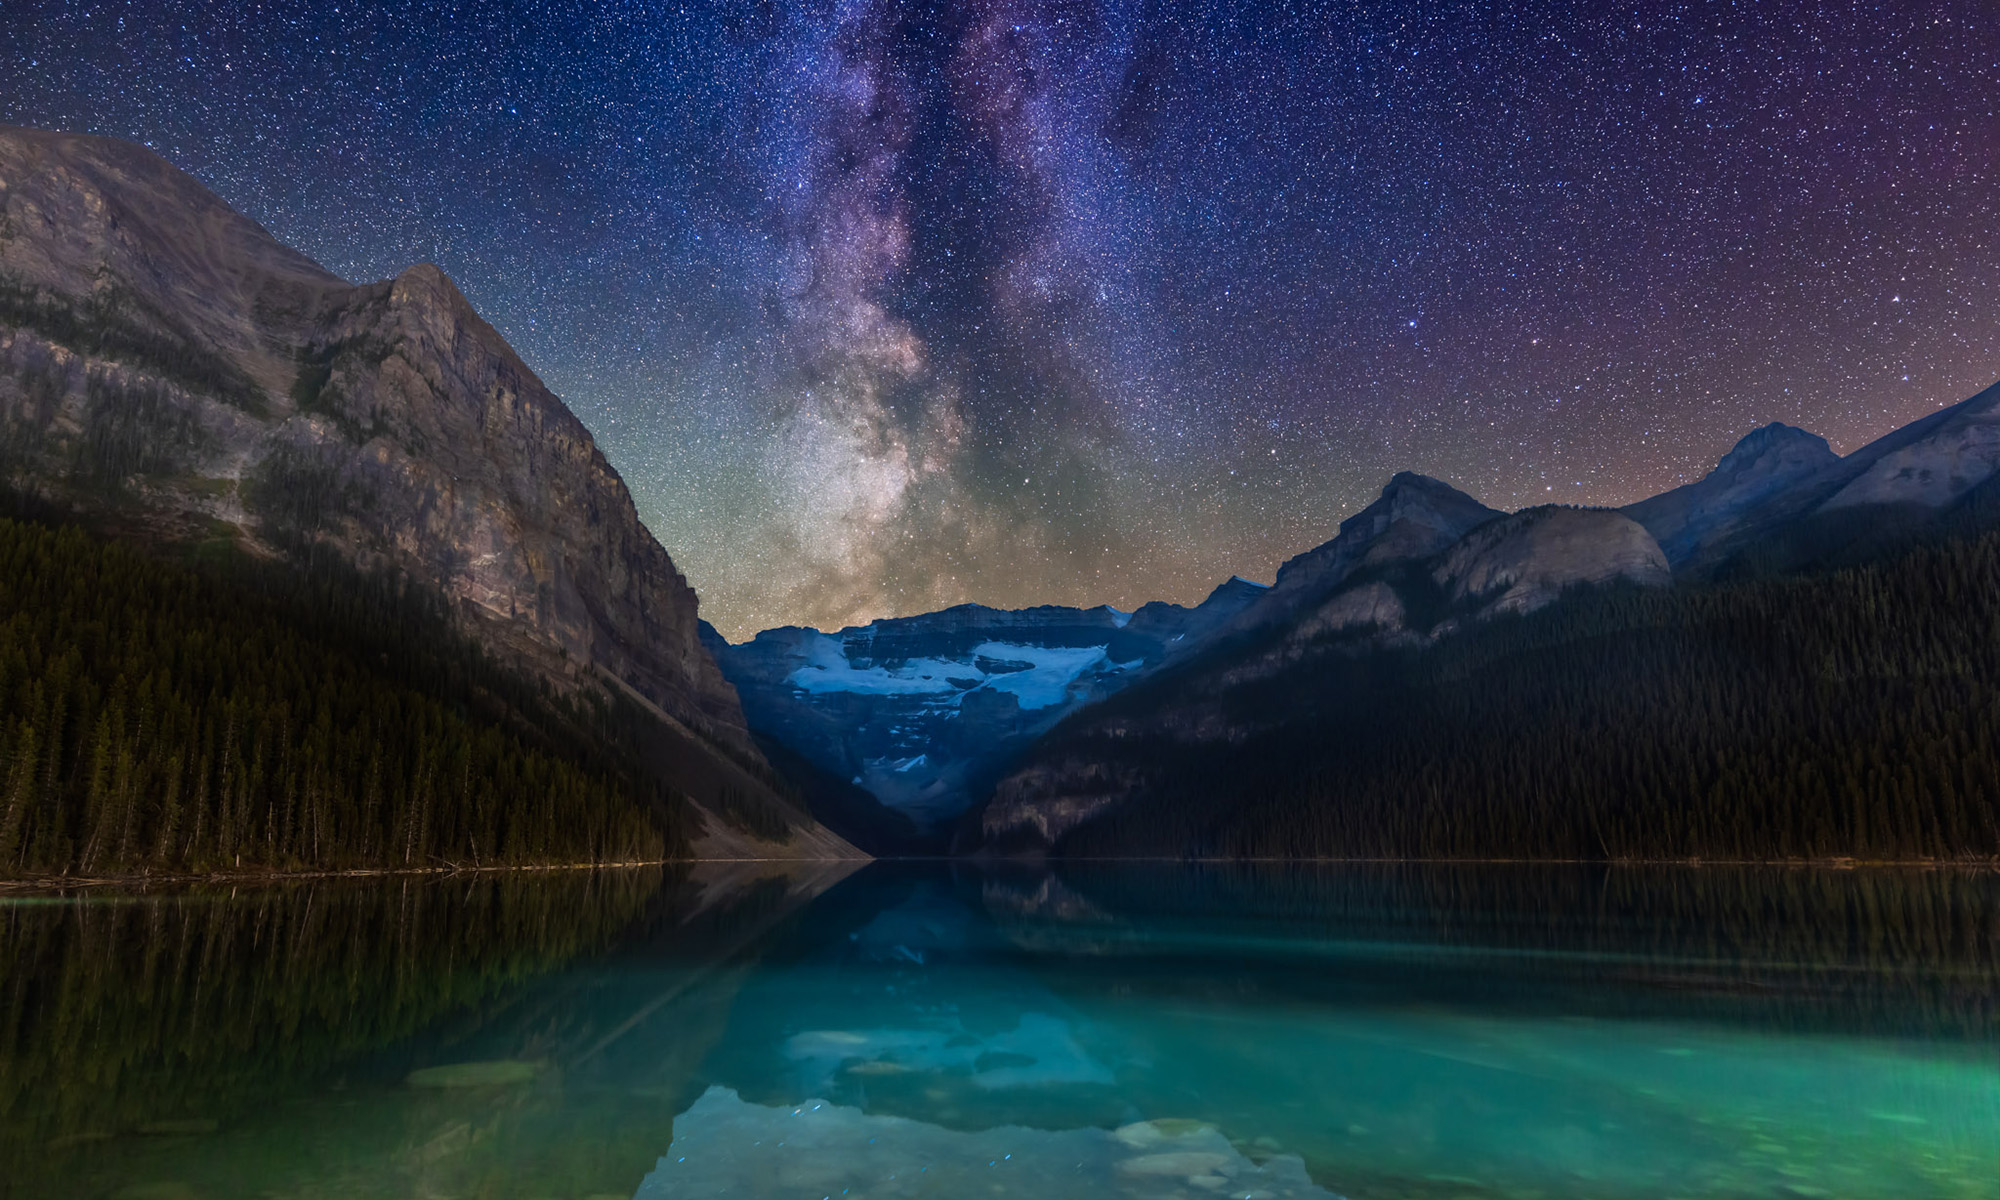
My encounter with the old farmstead near home continued the next night (after the shot featured in the previous blog), under another stunningly clear moonlit sky. Here I let the camera fire away for three and half hours, producing a rather neat juxtaposition of surreal starfield above an abandoned old farmhouse.
For this shot I stacked 660 17-second exposures that were taken in rapid succession at one second intervals. I used the Canon 5D MkII at ISO 800 and Sigma 8mm lens at f/4.5.
My workflow for an image like this is to…:
1. Use Adobe’s Photo Downloader to download all the images from the camera card into a folder on a local hard drive, then open Adobe Bridge to inspect them. Toss out any junk shots at the beginning and end of the set.
2. Open a representative image in the sequence using Adobe Camera Raw and process it for Colour Correction, Contrast, Noise Reduction, Vibrance, Fill Light (to bring out shadow detail) and Recovery (to recover details in highlights).
3. Then in Bridge, go under Edit: Develop Settings: Copy Camera Raw Settings.
4. Select all the images (Select All) and then Paste Camera Raw Settings. This applies that custom setting to all the images in the sequence in one fell swoop. 600+ images processed in seconds! Sometimes it can take a few iterations to get a good setting that works well through the whole set.
5. Then Select All again in Bridge and go under Tools: Photoshop: Image Processor. This open Photoshop itself and brings up a dialog box that allows you to convert those processed RAW files into other formats (JPGs, TIFFs, etc. in whatever size you want). For this type of single image I convert the RAWs into full resolution TIFFs. While I am at it, I’ll also convert each image into a smaller-sized (1080 pixels high) JPG. The folder of JPGs are for creating an HD-format time-lapse movie from the same set of images. Image Processor can create two sets of images simultaneously from the same RAW master. Very nice.
6. This will take a while as Image Processor dutifully opens up each image one by one and creates a TIFF (and a JPG, too, if you like) from each RAW file in another folder. Go for a very leisurely coffee!
7. Once a folder of finished TIFFs is there, I can use Chris Schur’s Photoshop Action to take each of those images and stack them one by one into a single image. That process can take hours with full-res TIFFs. Start it before you go to bed! Slow, yes, but it’s better than doing it all by hand.
8. The final image can still use touch-ups, to sharpen, alter the brightness and contrast of the sky (frames taken when the sky was still bright with twilight can make the scene look too bright).
It can take a day’s worth of computer crunching to get a final image. But the result is certainly unique.
— Alan, July 20, 2011 / Image © 2011 Alan Dyer

