

I present suggestions for how to ensure everything under your control will go well on eclipse day. The secret is: Practice, Practice, Practice!
The techniques I suggest practicing are outlined in my previous blog, Ten Tips for the Solar Eclipse. It’s prerequisite reading.
However, while you can read all about how to shoot the eclipse, nothing beats actually shooting to ensure success. But how do you do that, when there’s only one eclipse?
Here are my “Top 10” suggestions:

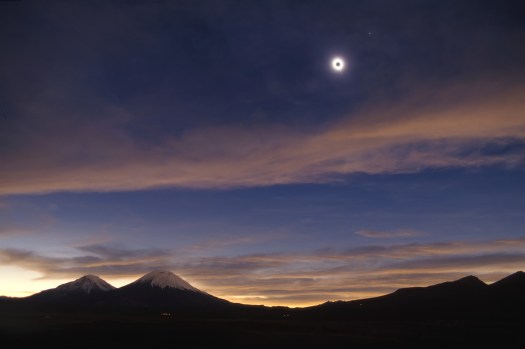
Wide-Angle Shots – Shoot a Twilight Scene
The simplest way to shoot the eclipse is to employ a camera with a wide lens running on auto exposure to capture the changing sky colors and scene brightness.
-
Auto Exposure Check in Twilight
If you intend to shoot wide-angle shots of the eclipse sky and scene below, with anything from a mobile phone to a DSLR, practice shooting a time-lapse sequence or a movie under twilight lighting. Does your camera expose properly when set to Auto Exposure? If you are using a phone camera, does it have any issues focusing on the sky? How big a file does a movie create?

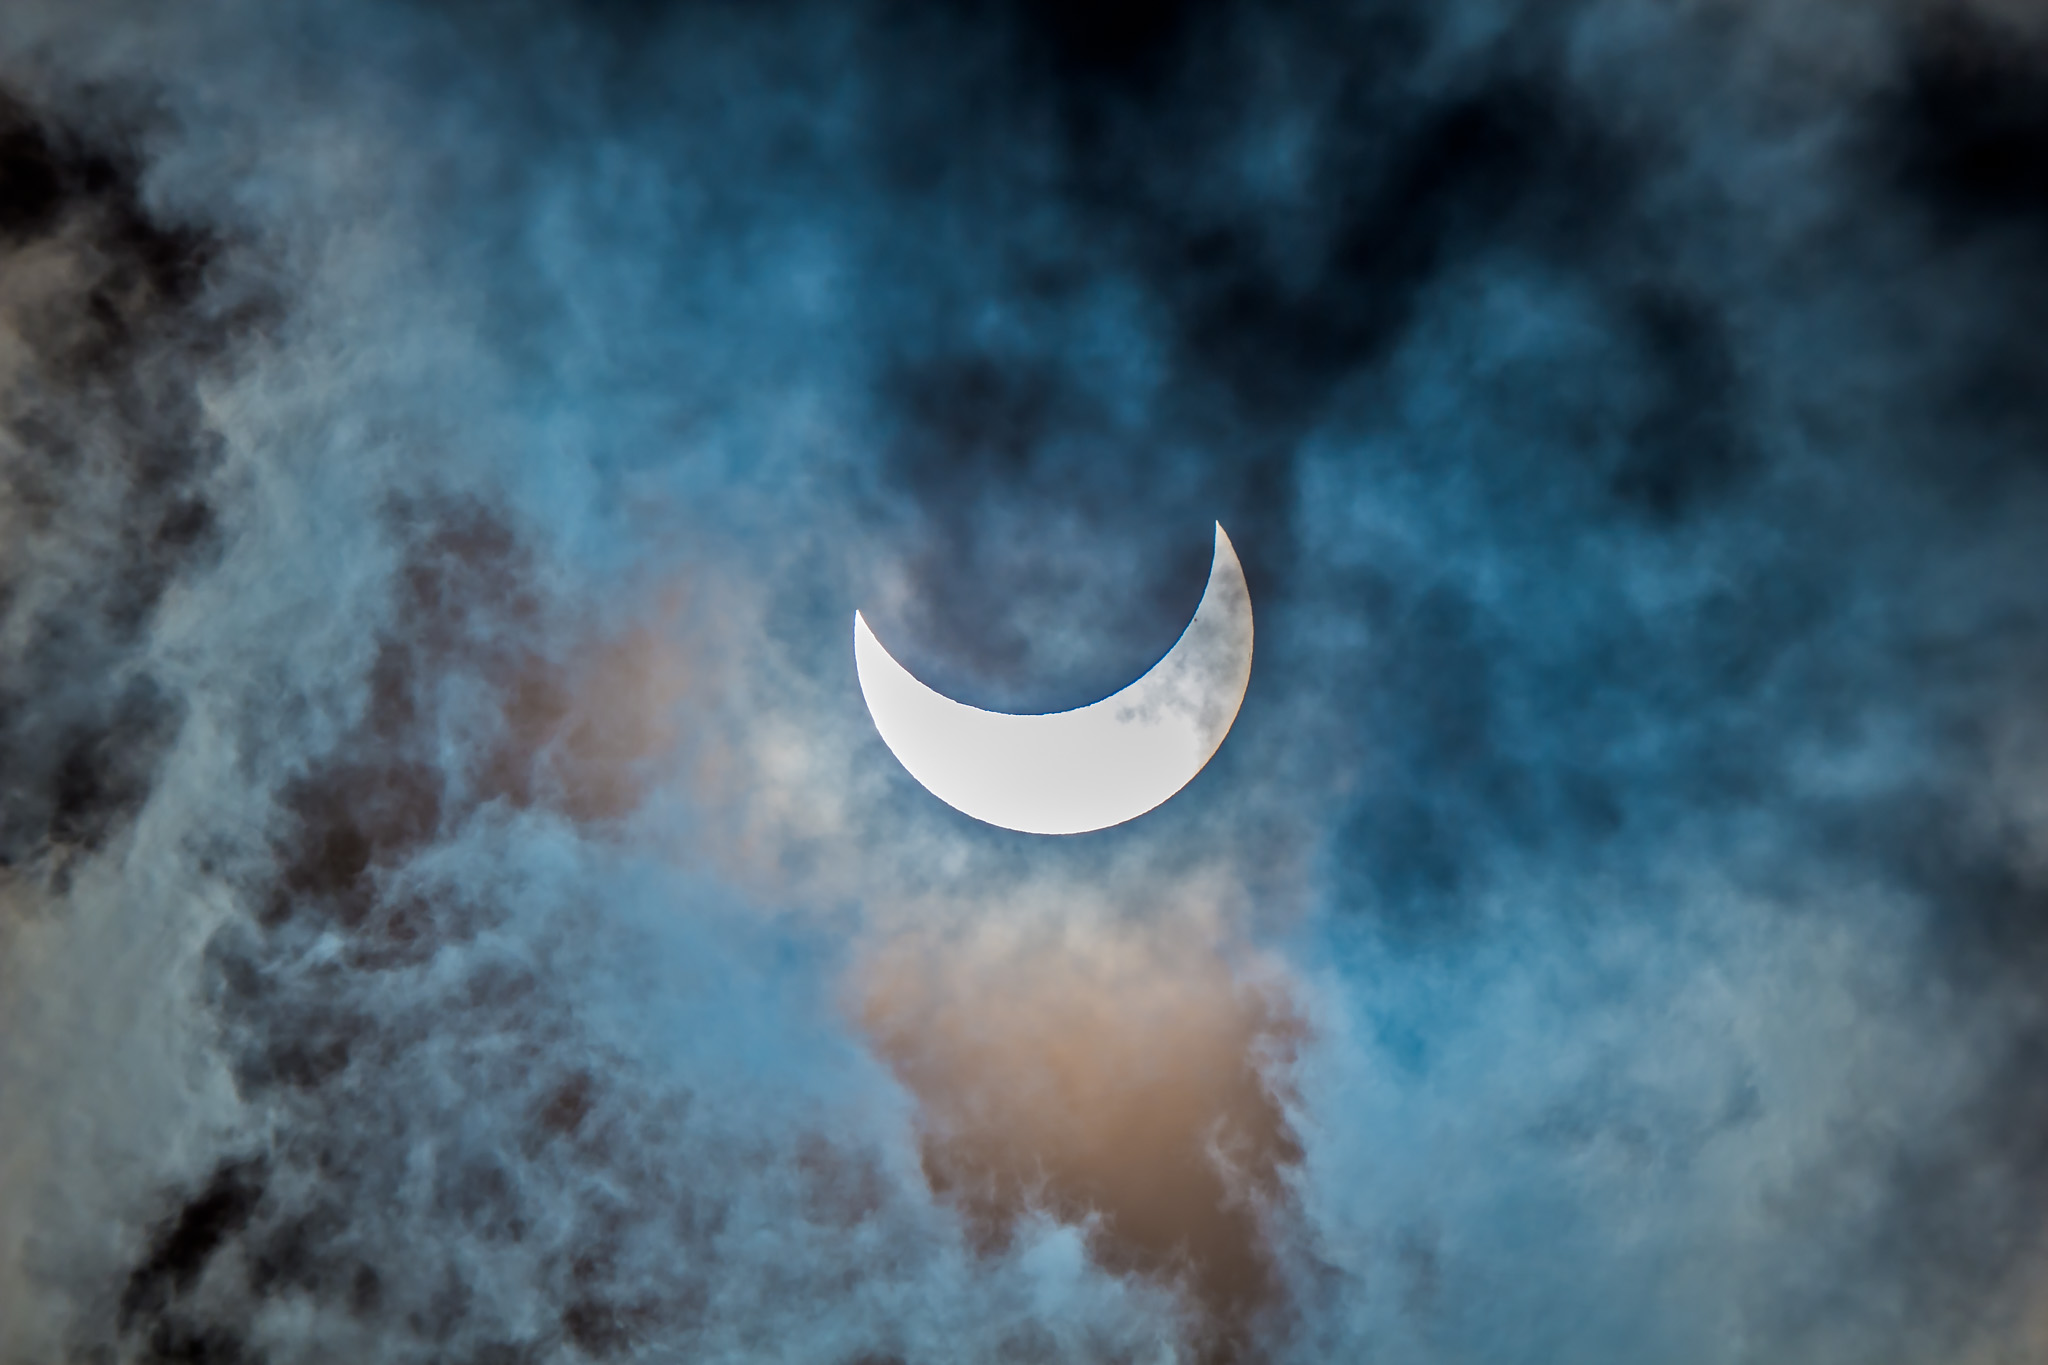
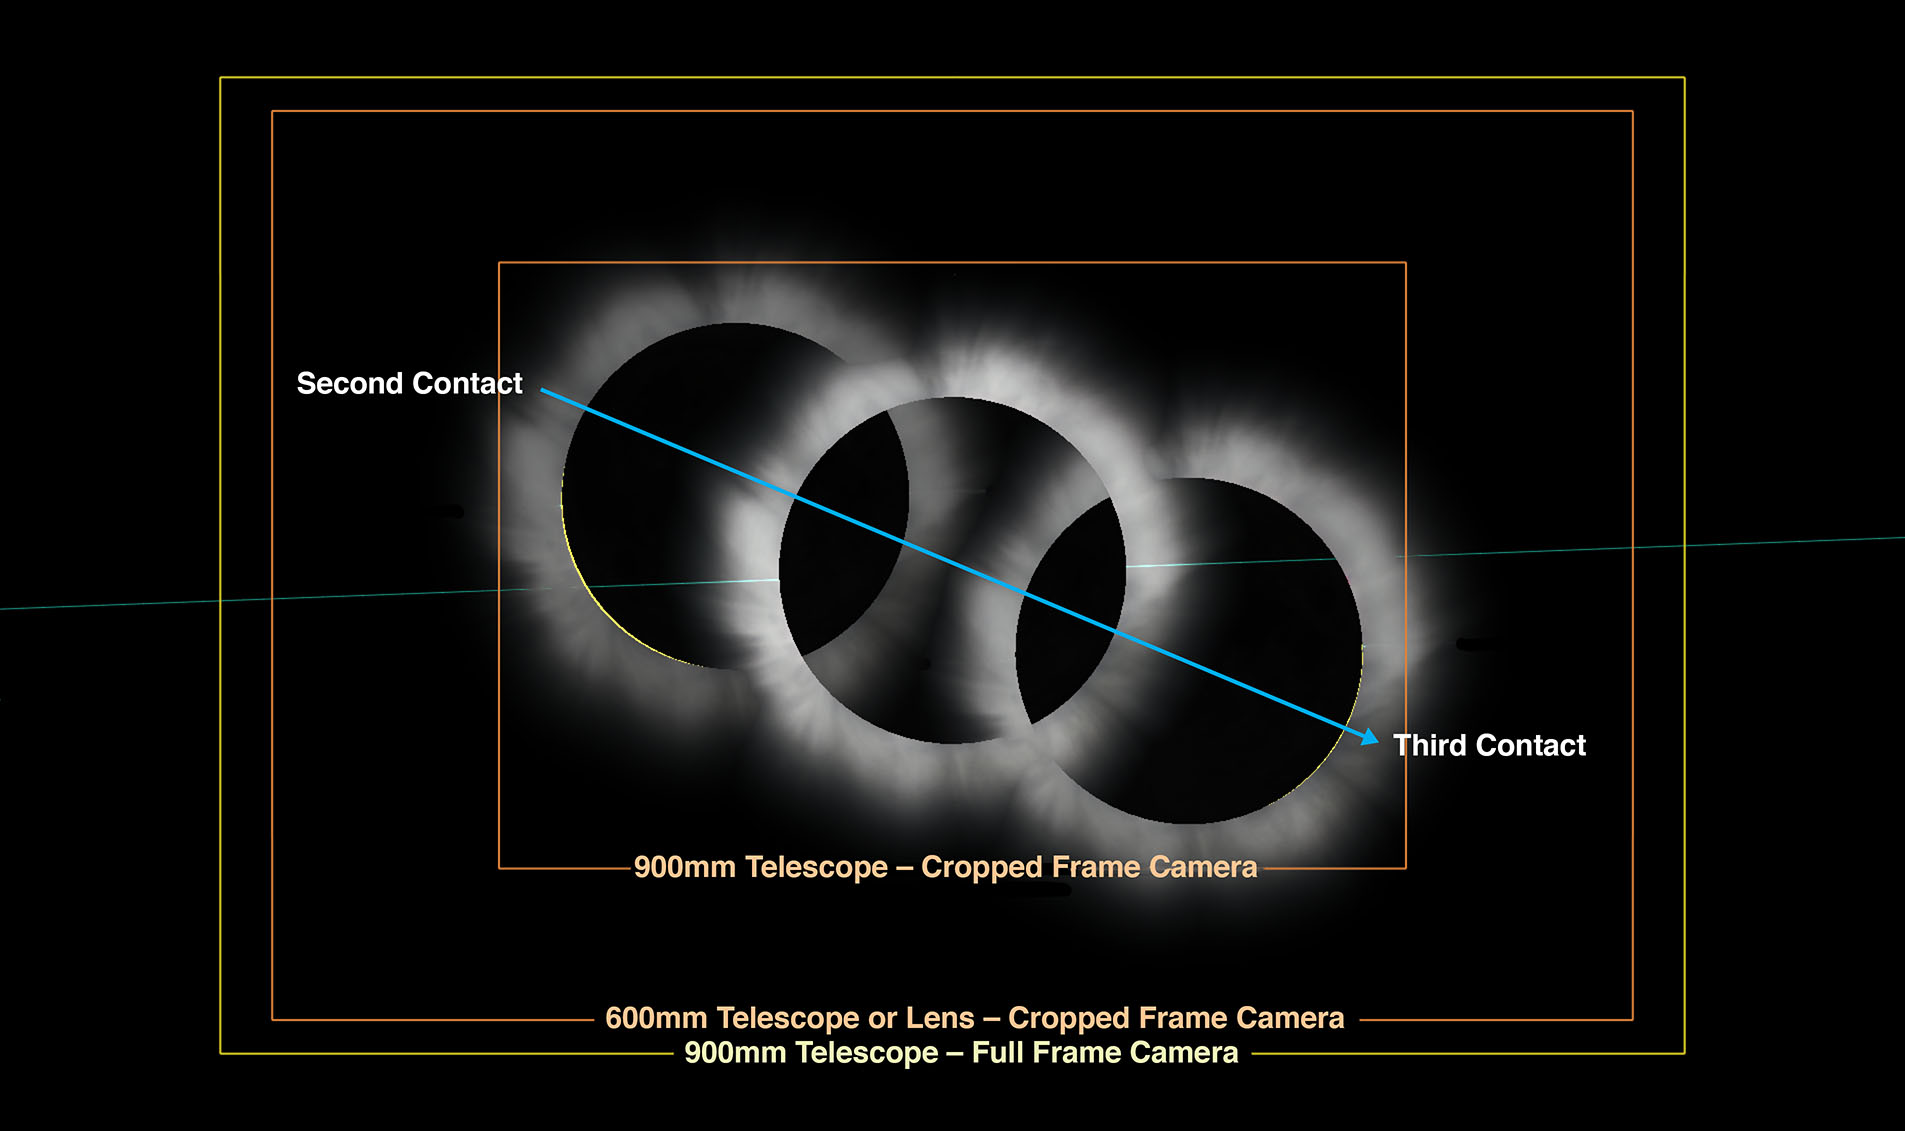
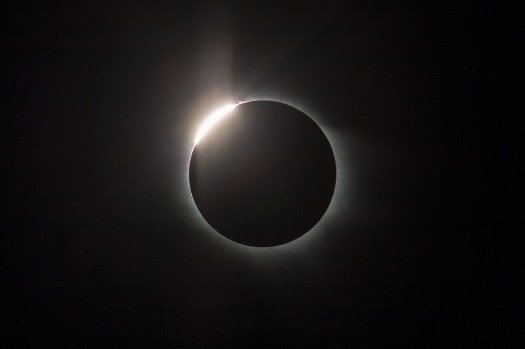
With Telephotos and Telescopes – Shoot the Filtered Sun
The toughest techniques involve using long lenses and telescopes to frame the eclipsed Sun up close. They need lots of practice.
-
Framing and Focusing
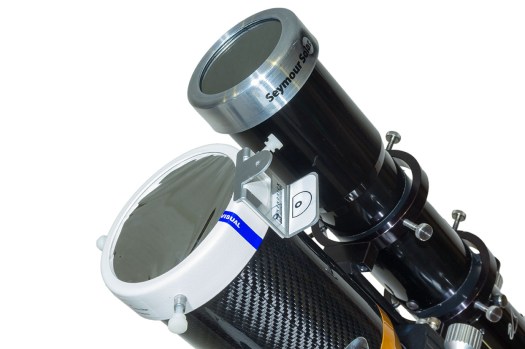
You’ll need to have your safe and approved solar filter purchased (don’t wait!) that you intend to use over your lens or telescope. With the filter in place, simply practice aiming your lens or telescope at the Sun at midday. It’s not as easy as you think! Then practice using Live View to manually focus on the edge of the Sun or on a sunspot. Can you get consistently sharp images?
-
Exposure Times
Exposures of the filtered Sun will be the same as during the partial phases, barring cloud or haze, as above, that can lengthen exposure times. Otherwise, only during the thin crescent phases will shutter speeds need to be 2 to 3 stops (or EV steps) longer than for a normal Sun.
-
Filter Removal
With the camera aimed away from the Sun (very important!), perhaps at a distant landscape feature, practice removing the filter quickly. Can you do it without jarring the camera and bumping it off target? Perhaps try this on the Moon at night as well, as it’s important to also test this with the camera and tripod aimed up high.
-
Ease of Use
With the Sun up high at midday (as it will be during the eclipse from most sites), check that you can still look through, focus, and operate the camera easily. Can you read screens in the bright daylight? What about once it gets darker, as in twilight, which is how dark it will get during totality.
-
Sun Motion
If you are using an untracked tripod, check how much the Sun moves across your camera frame during several minutes. For videos you might make use of that motion. For still shots, you’ll want to ensure the Sun doesn’t move too far off center.

-
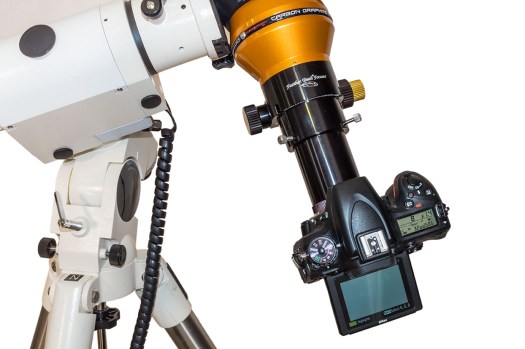
Aligning Tracking Mounts
If you plan to use a motorized equatorial mount capable of tracking the sky, “Plan A” might be to set it up the night before so it can be precisely polar aligned. But the reality is that you might need to move on eclipse morning. To prepare for that prospect, practice roughly polar aligning your mount during the day to see how accurate its tracking is over several minutes. Do that by leveling the mount, setting it to your site’s latitude, and aiming the polar axis as close as you can to due and true north. You don’t need precise polar alignment to gain the benefits of a tracking mount – it keeps the Sun centered – for the few minutes of totality.
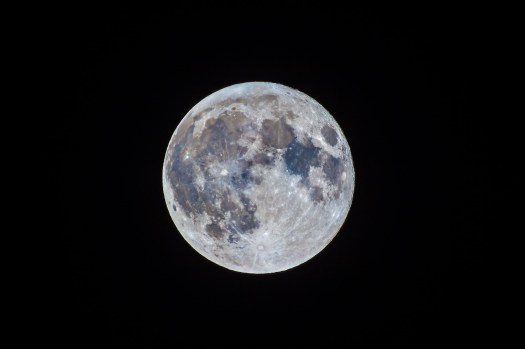
Telephotos and Telescopes – Shoot Full Moon Closeups
-
Exposure Check
Shoot the Full Moon around July 8 or August 7. If you intend to use Auto Exposure during totality, check how well it works on the Full Moon. It’s the same brightness as the inner corona of the Sun, though the Moon occupies a larger portion of the frame and covers more metering sensor points. This is another chance to check your focusing skill.
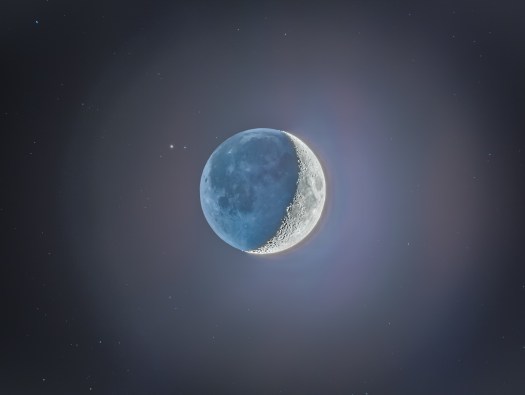
Telescopes and Telescopes – Shoot Crescent Moon Closeups
-
Exposure Check
Shoot the waxing crescent moon in the evening sky during the last week of June and again in the last week of July. Again, test Auto Exposure with your camera in still or movie mode (if you intend to shoot video) to see how well the camera behaves on a subject with a large range in brightness. Or step through a range of exposures manually, from short for the bright sunlit crescent, to long for the dark portion of the Moon lit by Earthshine. It’s important to run through your range of settings quickly, just as you would during the two minutes of totality. But not too quickly, as you might introduce vibration. So …
-
Sharpness Check
In the resulting images, check for blurring from vibration (from you handling the camera), from wind, and from the sky’s east-to-west motion moving the Moon across the frame, during typical exposures of 1 second or less.
By practicing, you’ll be much better prepared for the surprises that eclipse day inevitably bring. Always have a less ambitious “Plan B” for shooting the eclipse simply and quickly should a last-minute move be needed.
However, may I recommend …

For much more detailed advice on shooting options and techniques, and for step-by-step tutorials on processing eclipse images, see my 295-page eBook on the subject, available as an iBook for Apple devices and as a PDF for all computers and tablets.
Check it out at my website page.
Thanks and clear skies on August 21!
— Alan, June 24, 2017 / © 2017 Alan Dyer / amazingsky.com

3 Replies to “Top 10 Tips for Practicing for the Eclipse”